How to Configure and Style EA Ninja Forms #
EA Ninja Forms helps you to style to any form created with Ninja Forms. You can design an awesome looking Contact Forms with the help of this element and get your client feedback. Thus, the client interaction will massively increase through the EA Ninja Forms.
How to Activate Ninja Forms #
Before you begin, make sure that you have ‘Ninja Forms‘ Plugin activated. You need to create a form through Ninja Forms. You can check out their documentation to get started with Ninja Forms. To use this Essential Addons element, find the ‘EA Ninja Forms‘ element from the Search option under the ‘ELEMENTS‘ tab.

Simply just Drag & Drop the ‘EA Ninja Forms’ into the ‘Drag widget here‘ or the ‘+’ section. After you are successfully done with step 1, this is how the element is going to look like.

How to Configure the Content Settings #
Under the ‘Content’ tab, you will be able to configure the settings for EA Ninja Forms.
Ninja Forms #
First of all, use the drop-down menu to choose your preferred Ninja Forms which you have created. You can use the toggle to hide or display ‘Custom Title & Description’, ‘Title’, ‘Labels’ and ‘Placeholder’.

Errors #
If something goes wrong during the submission, you can even show the Error Messages. You also have the freedom to hide or display ‘Validation Errors’ as well. For instance, if the option is enabled and inserted email address isn’t valid, it will display the error.

How to Style Ninja Forms #
Switch to the ‘Style’ tab to style all the features of EA Ninja Forms.
Form Container #
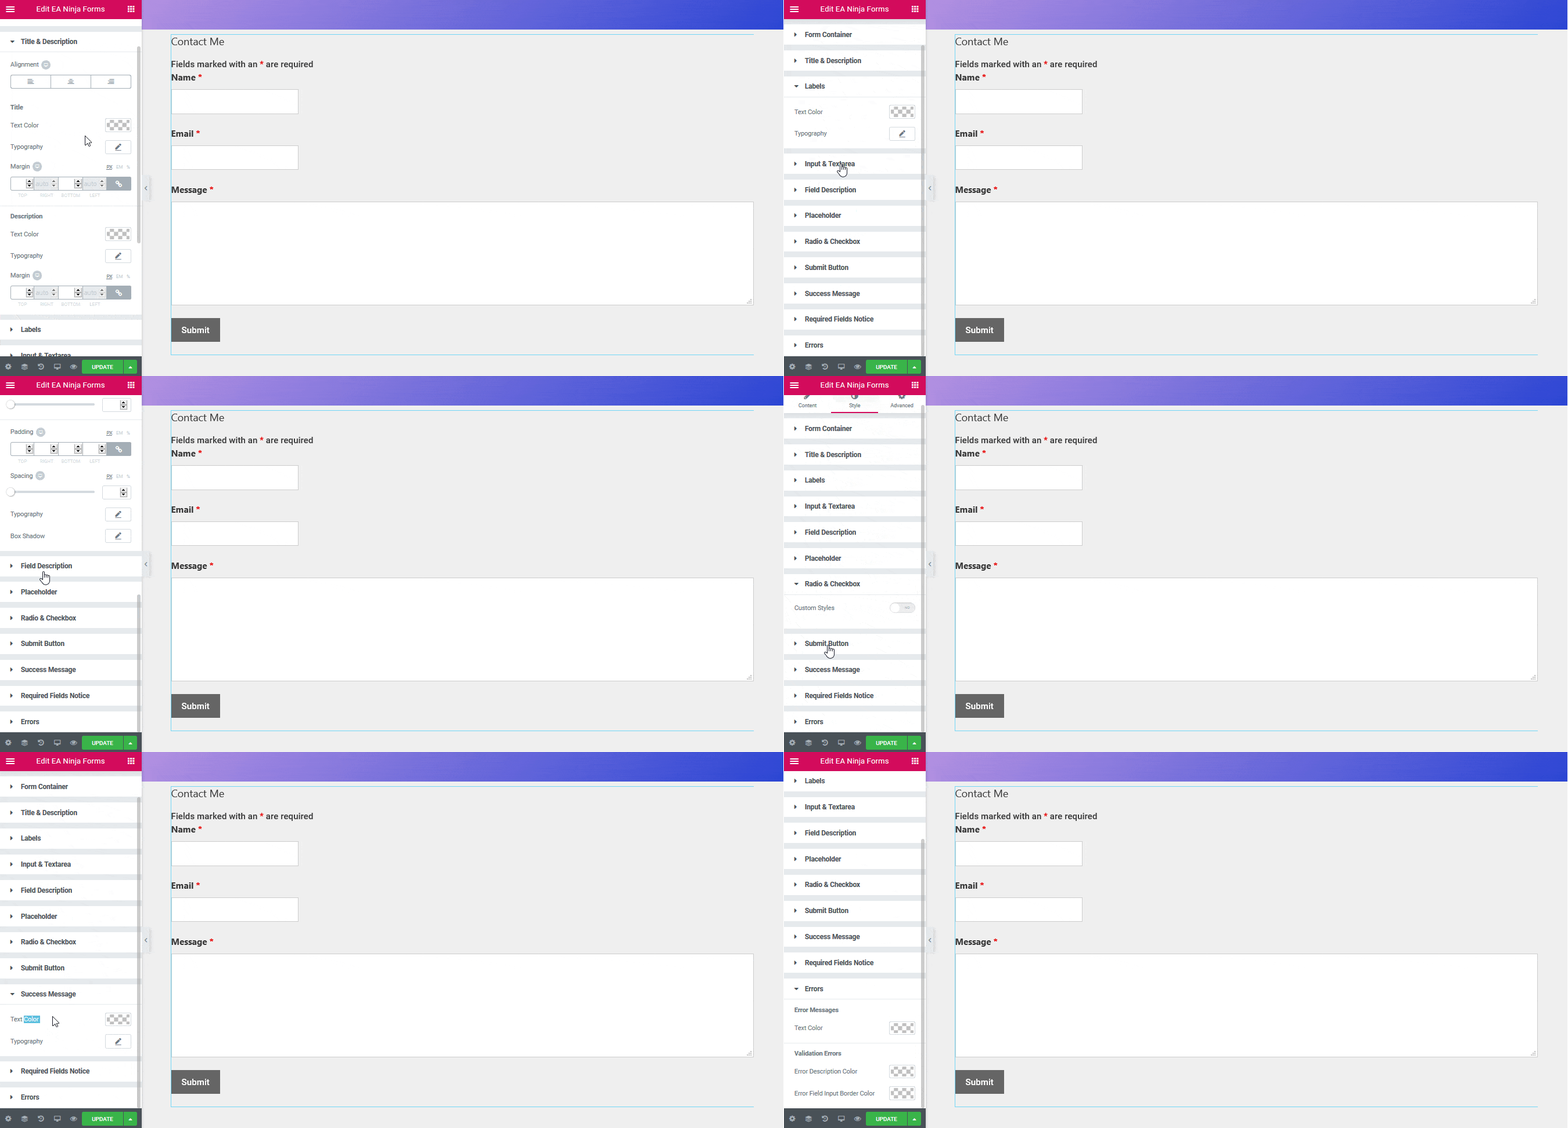
‘Form Container’ section gives you the freedom to change the Background color of the Ninja Forms. Besides, you can change its alignment, width and max width as well. Moreover, you can add border and then style it too. Besides, you can even add Box shadow in the Ninja Form as well.

Others #
If you want, you are able to change Text Color & Typography of the Form Labels, Field Description and Placeholder of EA Ninja Forms. Aside from that, you have the freedom to change the alignment, background & text color and many more for the Input & Textarea. Addition to that, If you are using Radio Button or Checkbox in your form, you can even add custom styling to it.
Moreover, you have the freedom to change the text & background color, alignment and many more styling options to the ‘Submit Button’. On top of that, you are able to style the ‘Success’ and ‘Error’ Messages as per your wish. EA Ninja Forms also allows you to change the styling for the ‘Required Fields Notice’.
 #
#
Final Outcome #
By following the basic steps and a bit more modifying, you can style your Ninja Forms as per your preference
.
With the help of EA Ninja Forms, this is how you can receive feedbacks from your client through attractive forms.
Getting stuck? Feel to Contact Our Support for further assistance.


