In the world of modern web design, visually appealing images play a crucial role in capturing users’ attention and enhancing the overall user experience. Image masking and morphing are one of the most creative ways to show images on a website. By creatively blending shapes and animations, designers can add a layer of sophistication and interactivity to websites, making them stand out in a crowded digital landscape. In this blog, you will learn more about how to mask and morph images in Elementor websites.

What Is Image Masking And Morphing Effect?

Over the years, the way of website design has changed. With an editor like Elementor, this has become easier for non-technical personnel to build creative and interactive websites. One of the most creative and engaging designs is the Image Masking and Morphing effect. So what are those effects?
Masking image is a photo editing technique that hides or reveals a specific part of an image. This does not damage the pixels of the image. With different shapes, you can generate this type of image. On the other hand, image morph means showing an animated type effect on the shapes. These two types of effects make the image more interactive and engaging, which gives a unique look at a website. These types of effects are popular in photo editing, but now in web design day-by-day it is gaining popularity.
Why Are Mask And Morph Images Effect Gaining Popularity in Website Design?
Modern website design nowadays is not all about static design. Different interactive animations and effects are changing the way visitors look and perceive a website. One of the most popular effects is image masking and morphing. Let us see more about why these effects are gaining popularity.
Enhances Visual Storytelling
Image masking and morphing effect blend visuals seamlessly, creating smooth transitions that attract the viewer. These dynamic effects and storytelling help visitors get hooked on the website and engage more. For instance, a portfolio website template, showcasing image masking and morphing effects, can help visitors to better understand the creativity of an individual.
Interactive & Engaging Experience
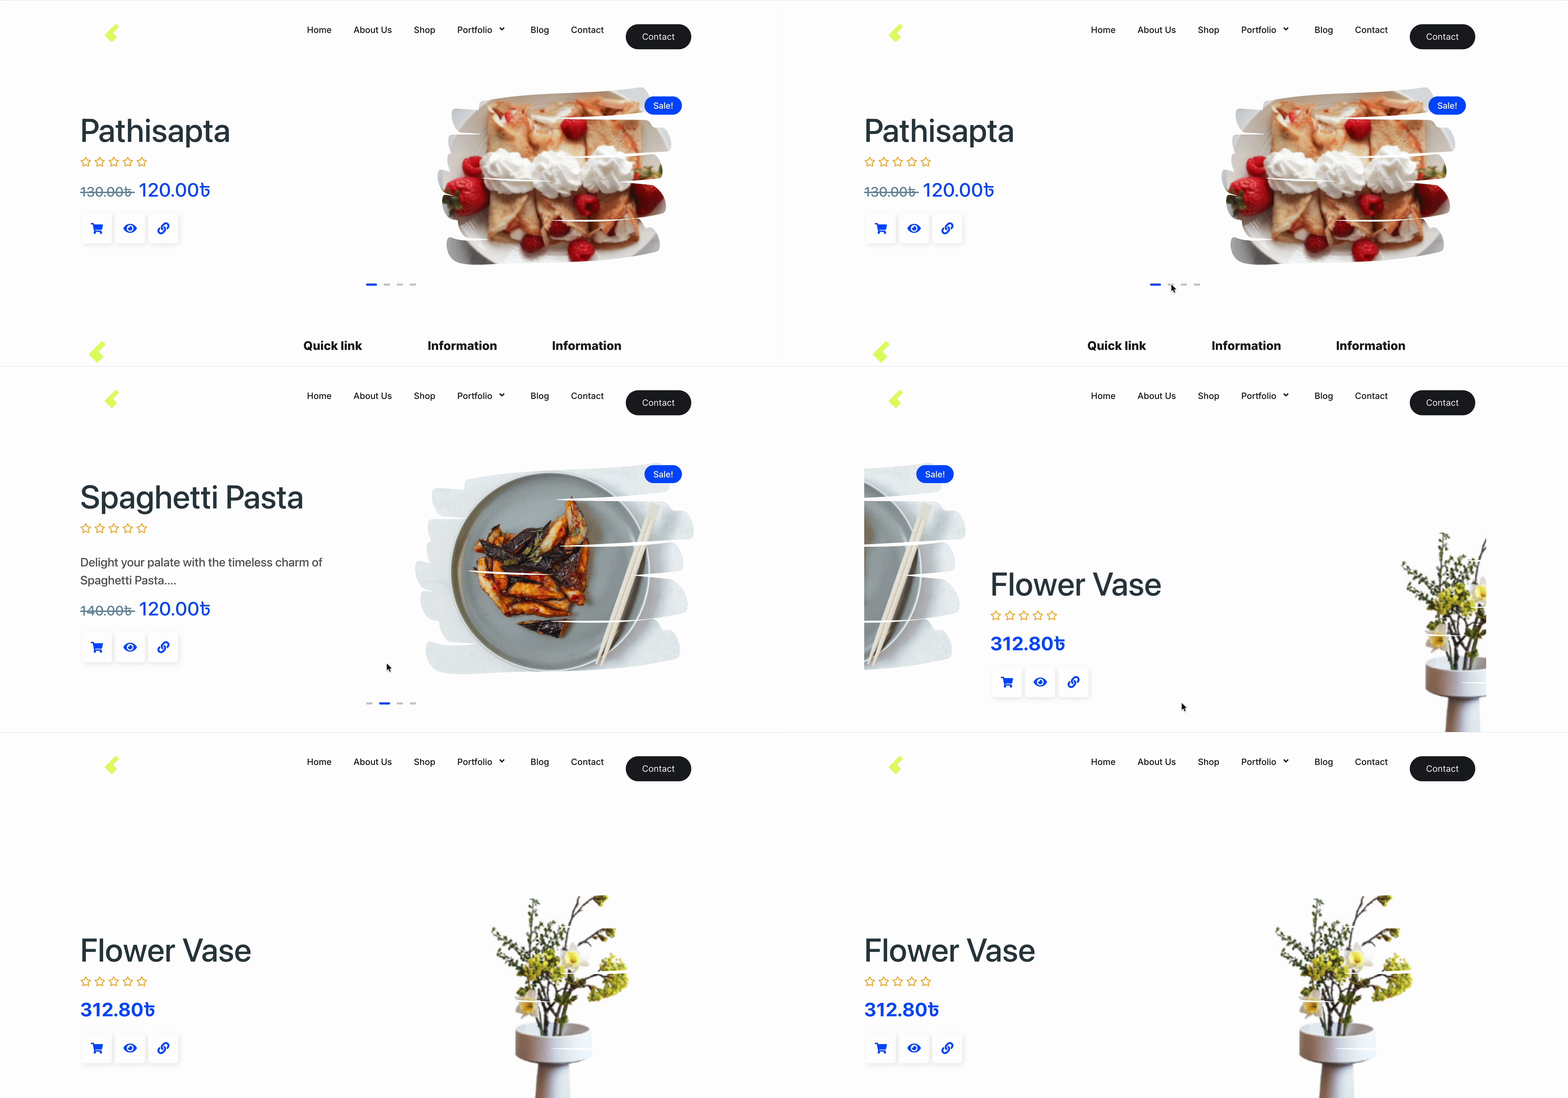
Masking images and morphing effects enhance interactivity. While showing static images might seem monotonous to the visitors, this type of visual effect can actually make the overall website interactive. For example, in an eCommerce website, showcasing different morphing effects on different products can enhance the creative experience of the store.
Perfect for Modern Performance
Websites are getting modern every day with creative effects. Image masking and morphing effects are one of those effects. Showcasing stunning, creative shapes, the masking image effect can enhance the overall experience of a website. For instance, in a gaming website, showcasing gaming characters with creative effects can give a modern look that attracts gamers around the world.

Strengthens Brand Identity
Unique visuals also help to strengthen the brand identity. When a brand totally focuses on showing images creatively, it allows them to set themselves apart from the competition. Visitors also feel unique while visiting these types of sites. For example, showcasing food items normally might not attract visitors most, but with a creative Mask Image effect, it can set them apart from other restaurants.
Introducing Image Masking And Morphing Effects by Essential Addons for Elementor

Now, on your Elementor website, you can add image masking and morphing effects without any coding or technical expertise. With Essential Addons, add image masking and morphing effects effectively on your website. This feature allows you to show interactive image effects effortlessly. Want to know what you will find in the extension? Let us have a look:
✅ 19 Unique Shapes: Get 19 exclusive shapes for the image masking effects to show images creatively.
✅ Add Customized Shapes: Upload customized SVG or add a shape directly from Clippy, where you can generate a custom clip path.
✅ Easy Customization: Add different customization options by changing the size and position of each image for masking effects.
✅ Customized Morphing Shapes: Try 3 different morphing shapes or add your preferred custom morphing effects within minutes.
✅ Set Duration: Set the specific duration for the morphing effect to showcase the animation properly.
For different customization flexibility, Image Masking and Morphing can become an easy solution for all Elementor websites.
How to Add EA Image Masking And Morphing Effect in Elementor Website
Now that you have masking and morphing effects in Elementor, it is time to know more about how you can do that. Let us explore how to add image masking and morphing effects with Essential Addons.
Before getting started, make sure you have installed and activated Essential Addons. To use the Morphing effect, you have to install and activate Essential Addons PRO on your WordPress website.
Step 1: Activate the Image Masking Extension
To start using the Image Masking and Morphing feature, you will need to turn on the extension first. Just head over to the Essential Addons tab in your WordPress dashboard, click on Extensions and look for Image Masking. Switch the toggle on, hit Save, and you are all set to use it on your website.

Step 2: Configure the Image Masking on Elements
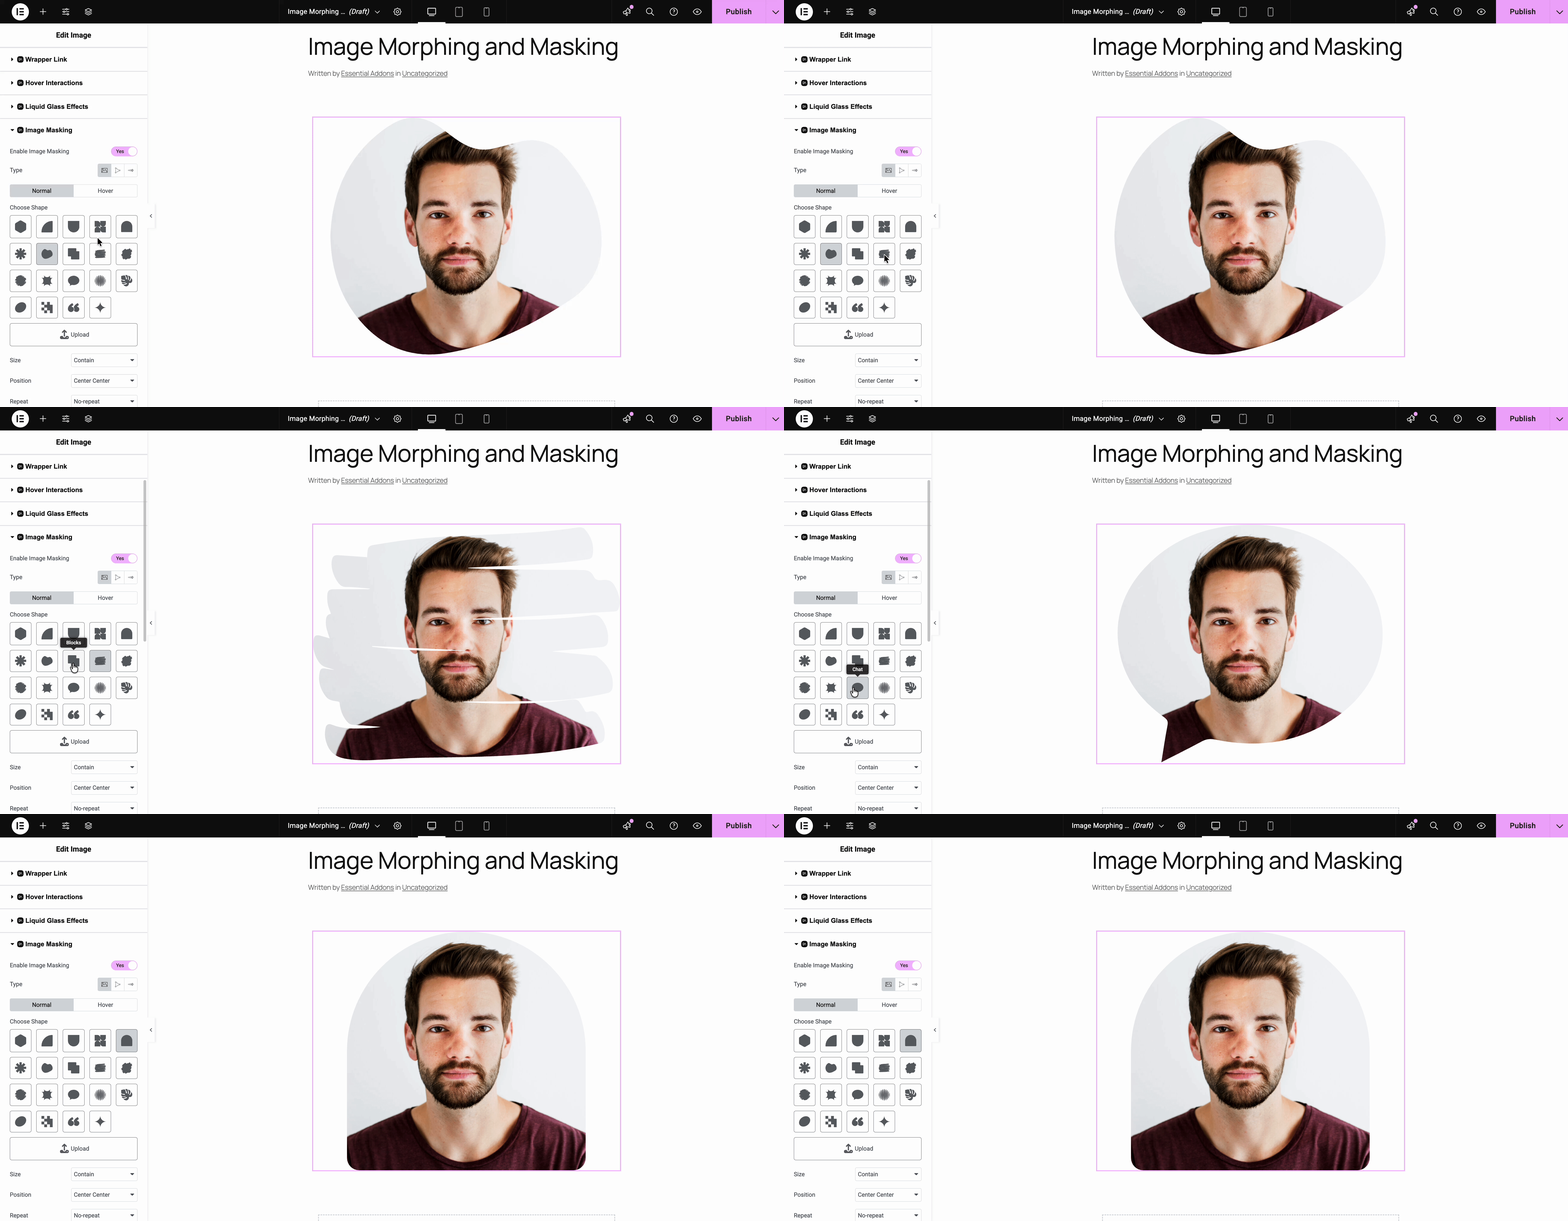
Once the Image Masking extension is activated, you will have access to various customization options. This effect can be applied to any Elementor widget that includes images. To use it, select either the entire section to apply changes to all images or a specific image where you want to add the masking effect. Then, navigate to the Advanced tab, locate the Image Masking extension and toggle the switch to enable it.
After turning on Image Masking, you will see options to pick from 19 different images or SVG shapes. You can even upload your own custom SVG shape. Plus, you can easily adjust the size, position, and choose whether the shape repeats or not.
Step 3: Configure the Image Morphing
Image Morphing is a premium feature of Essential Addons. From the Image Masking settings panel, select the Morphing tab from ‘Type’, then choose one morphing type, either Clip Path or SVG. For clip paths, you can create custom shapes with Clippy and adjust the duration, animation loop, and rotation. For SVG shapes, you get three default options or can upload your own, along with controls for duration, animation loop and four easing options to customize the effect.
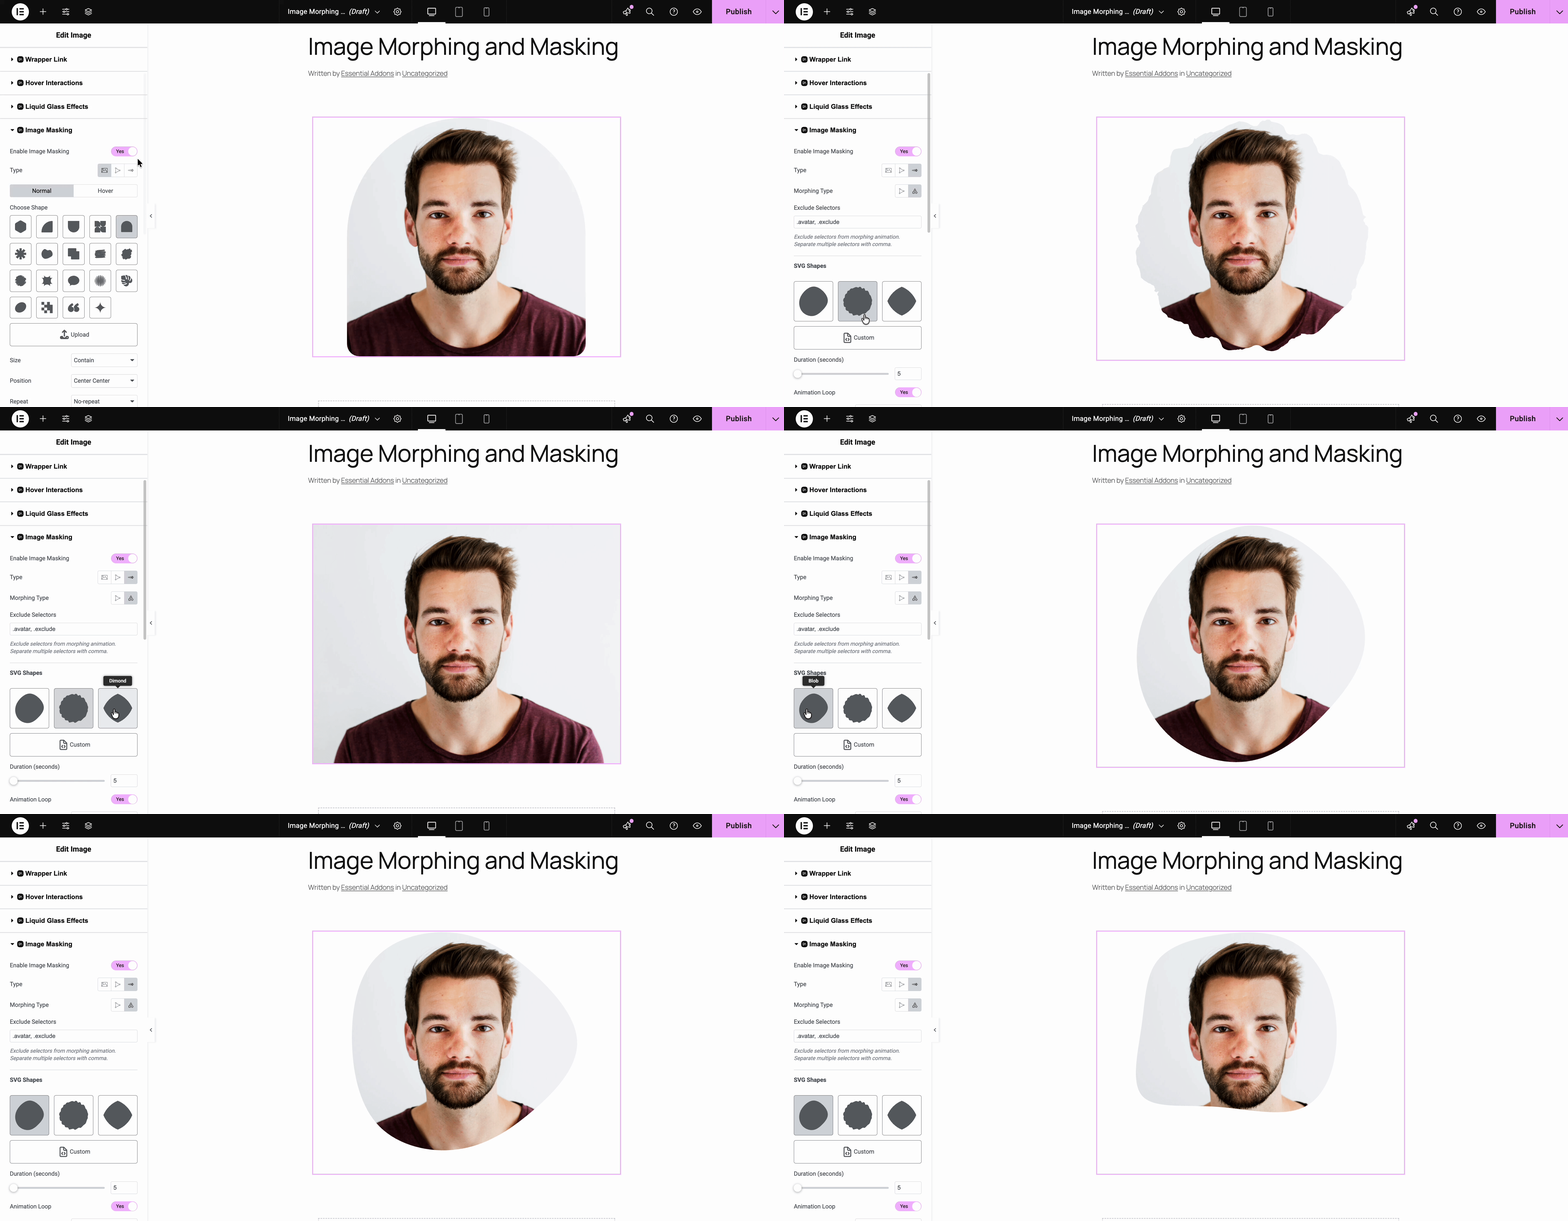
Finally, you can see the masking and morphing effects on your website. You can add different images and add effects to them, too.
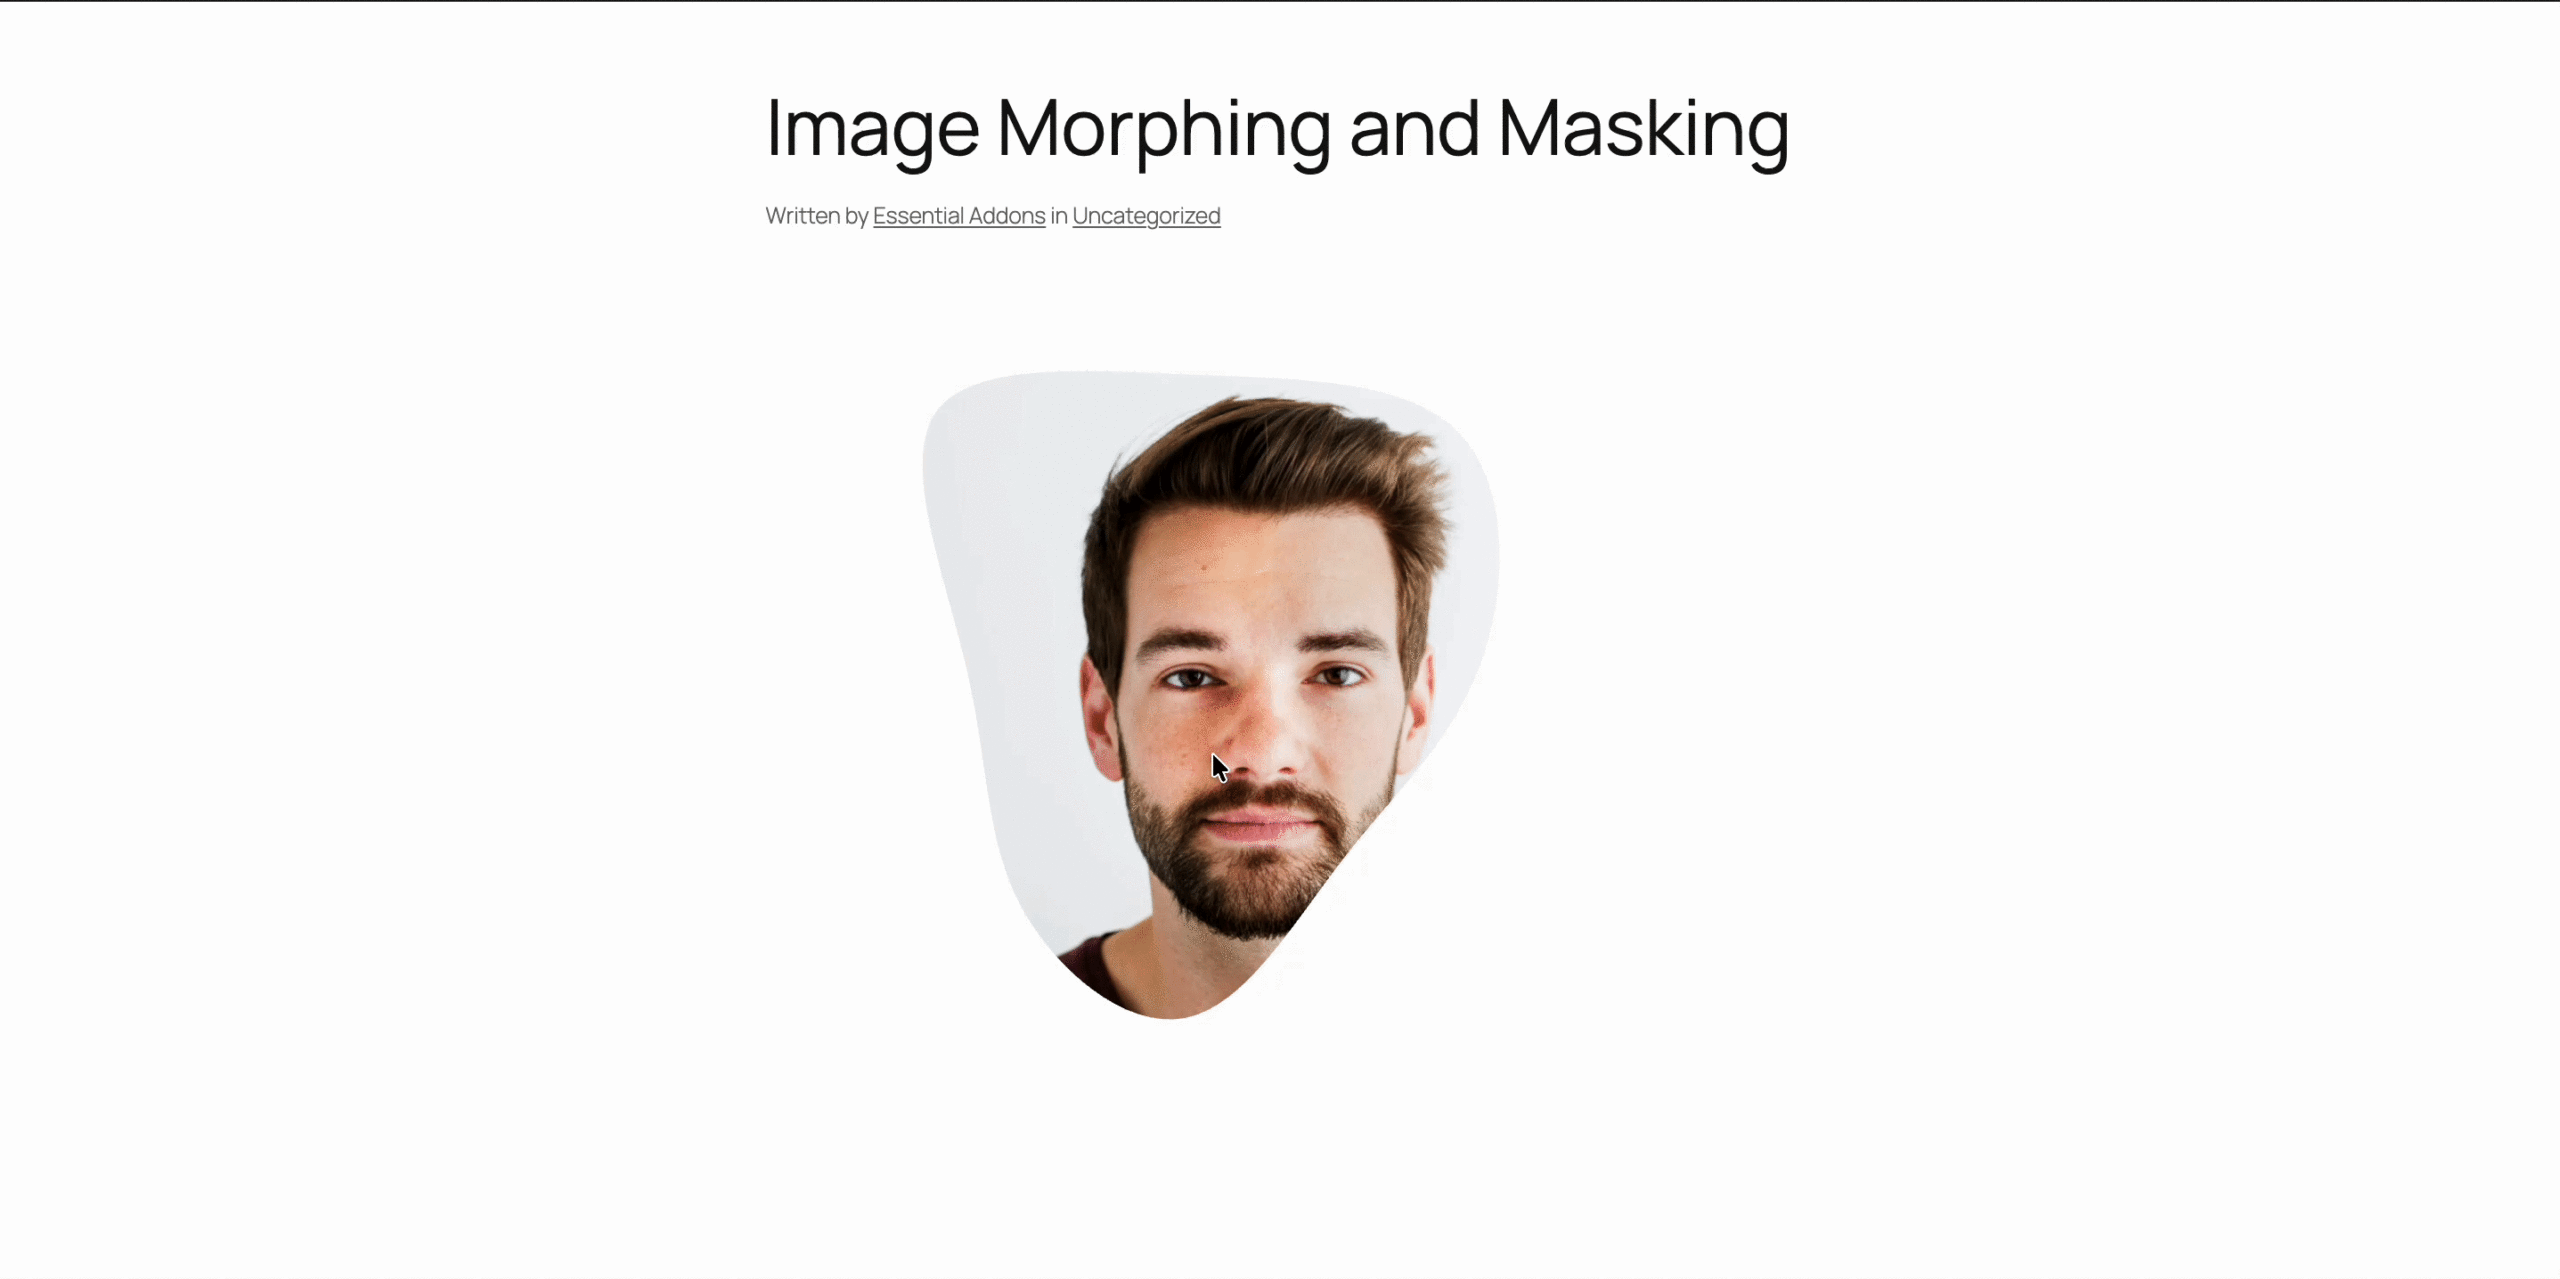
This is how the image will look after applying the EA Image Masking and Morphing effects. To know more details about customizing this extension, check the documentation.
Get Started with Amazing Image Effects on Your Elementor Website
A modern website is all about how it can stand apart from your competitors. Using unique and exclusive effects, anybody nowadays can make a website engaging and interactive. Essential Addons’ Image Masking and Morphing effect can enhance your web building experience better than ever. So get started with the effect on your Elementor website today.
We hope you have found this blog useful. Do not forget to subscribe to our blogs for the latest updates. And join our Facebook community so that you do not miss any important updates.


