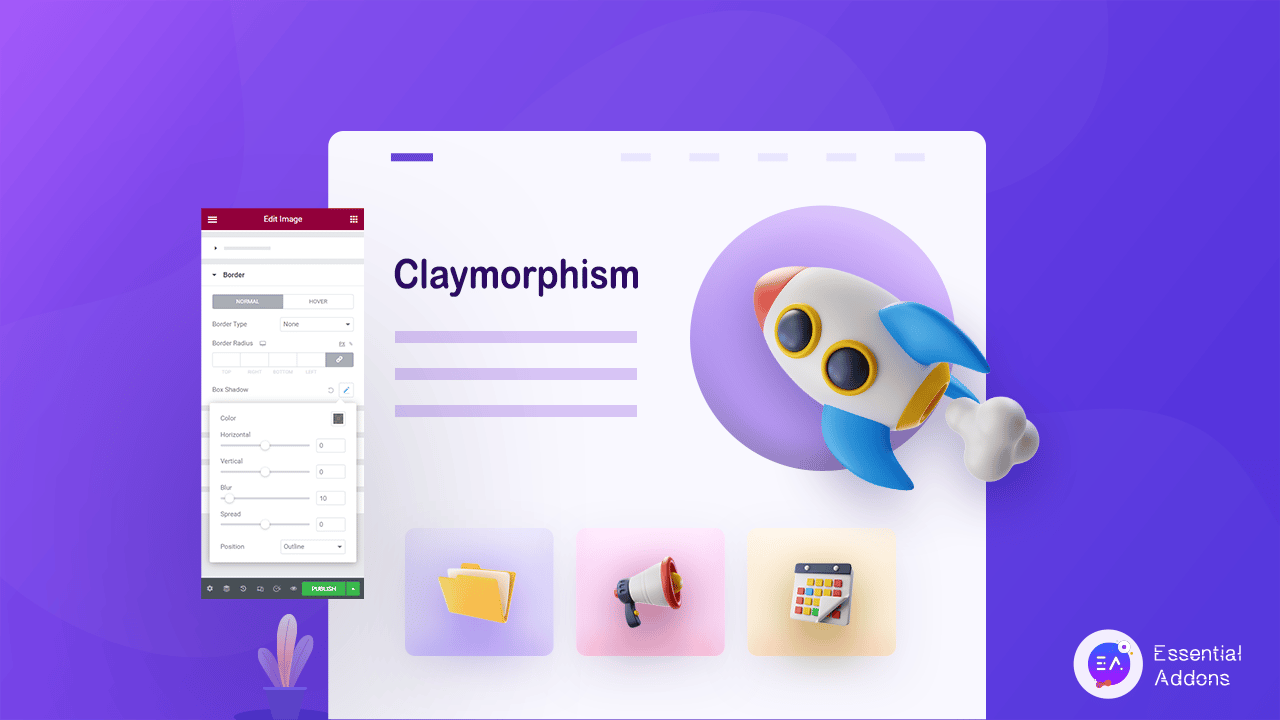
Do you want to create an appealing interface on your website by creating the illusion of 3D effects? Well, by applying the claymorphism effects in Elementor, you can easily make your website more engaging to visitors without any code. In this blog, we will share step-by-step guidelines to create the claymorphism effect in Elementor for you. So, without further ado, let’s get started.

🔍 A Quick Introduction To Claymorphism Effect
The claymorphism effect mimics 3D on your 2D elements which makes web pages more interactive for the visitors. However, it’s not entirely similar to 3D effects, on the contrary, you can apply this effect to 3D elements as well.
It can be achieved by combining two shadows that create depth on the website elements and makes them eye-catchy. Using the claymorphism effect, you can easily turn your web page more engaging and provide the best user experience for your visitors. As this effect appears like clay, it’s been called as claymorphism effect on the tech-World.
📋 Where Can You Apply Claymorphism Effect In Your Websites?
The claymorphism design can help you to make your website more appealing to visitors. However, before applying this effect, you need to learn how you can apply this effect to provide the best user experience for your visitors.
1. 2D Shapes & Patterns

The shapes and patterns are the best places to apply the clay morphism effect. On these elements, this effect will give a 3D and realistic vibe that will be engaging for the visitors. Using this effect on shapes & patterns you can instantly make your web page dynamic which will enhance your user experience.
2. Call To Action Buttons

The CTA buttons are extremely important for any website. You need to create eye catchy call to action buttons to increase your conversion rate. Using the claymorphism illustration on these buttons you can easily make high converting call-to-action buttons and enhance your conversion without any hassle.
3. Charts And Graphs

The charts and graphs could be one of the ideal elements for applying the clay morphism effect. Using this effect on charts and graphs you can make them more visually appealing to the visitors. Besides, your visitor could easily understand what your charts and graphs are replicating with just a glimpse.
4. Cards And Containers

Applying this effect to cards and containers on your website can help you to create engaging content for your visitors. You can easily make the cards and containers eye-catchy simply by applying clay morphism effects on them. Also, once you apply this effect on cards and containers it will be highlighted properly and your users will instantly notice them after visiting your website.
5. Clickable And Toggling Elements

If you have clickable and toggling elements on your website, applying the claymorphism illustration can make them noticeable to the visitors. This effect will highlight your clickable and toggling elements and increase the user experience. Besides, this effect will also increase the chance of getting more conversion rates.
💡 Guide: How To Create Claymorphism Effect In Elementor
Elementor is perfectly capable of creating a claymorphism design without any coding. All you need to do is install and activate Elementor on your WordPress website. By adding border shadow on 2D elements we will create a clay morphism effect in Elementor at ease. Once you have activated Elementor on your website, let’s start illustrating clay morphism on your web page.
Step 1: Open Your Web Page In Elementor
First of all, you need to open the page where you want to insert the clay morphism effect on your website. You can open an existing page where you want to add this effect or create a new page Elementor to apply it. So, go to visit the page while logged into your website and click on the ‘Edit with Elementor‘ option. Instantly, the page will load on the Elemnetor website builder.

Step 2: Apply Claymorphism Effect On Your Web Page
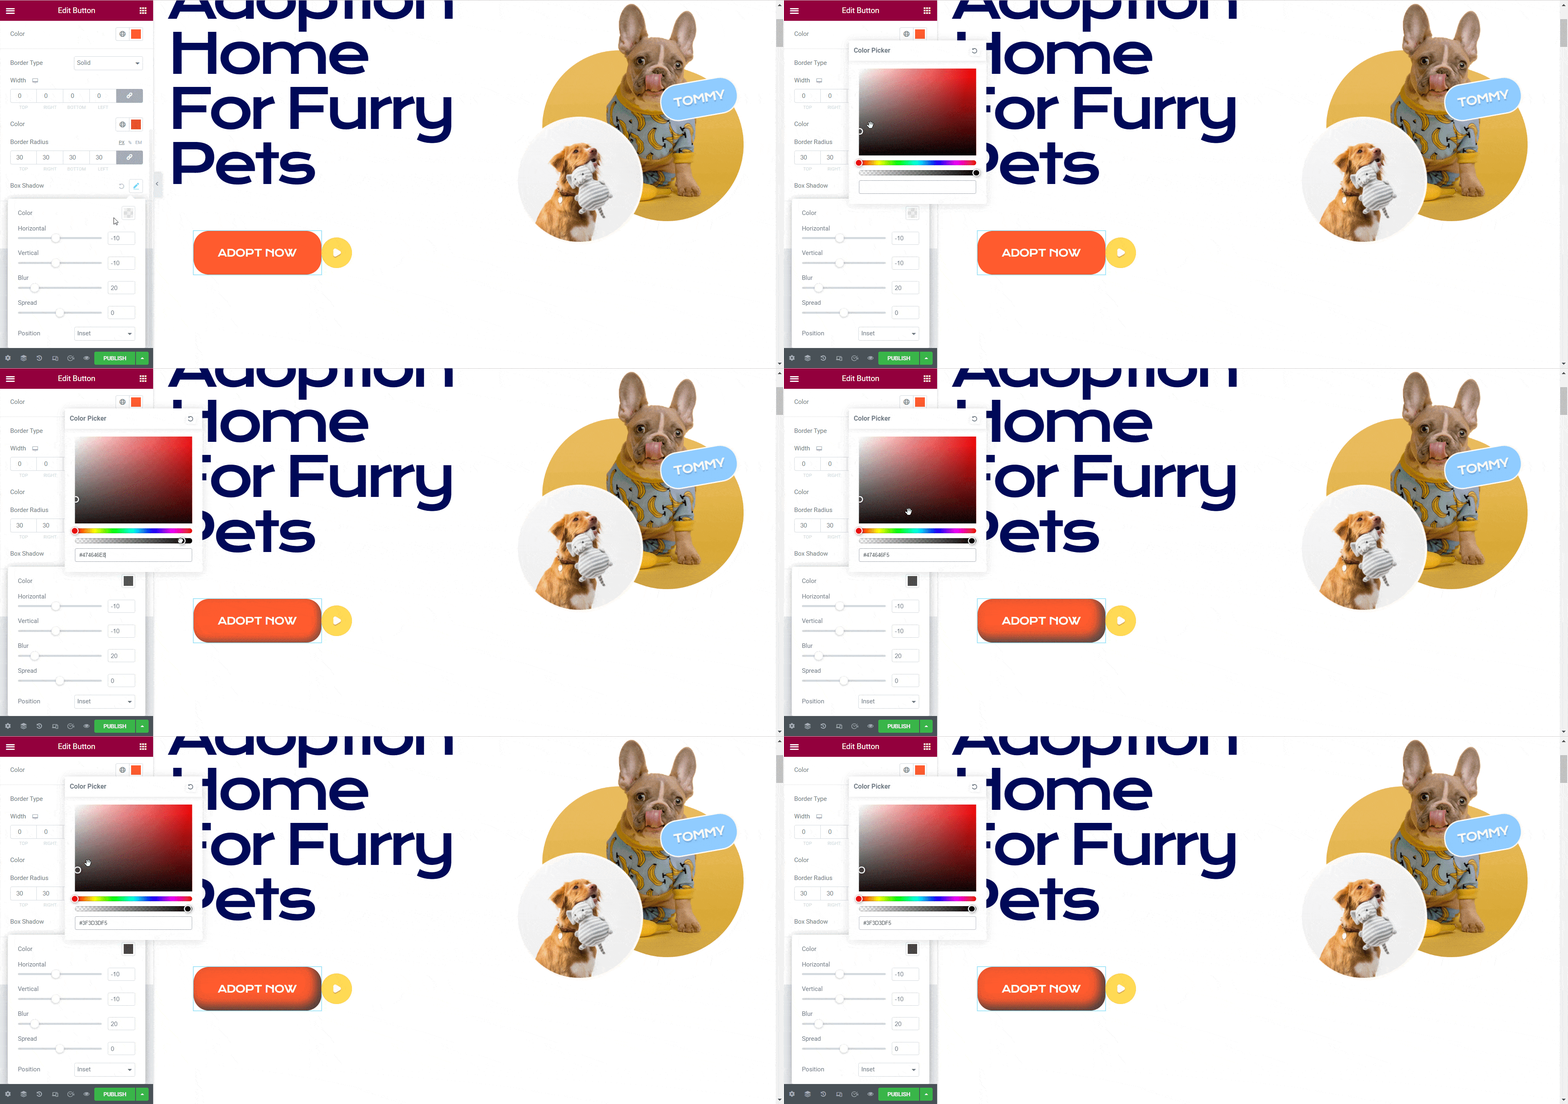
Once you have opened the page on Elementor, now click on the element where you want to apply this effect. For the tutorial purpose, we will apply this effect on a call-to-action button. So, navigate to the ‘Style’ tab and find the ‘Border’ option. From there, click on the ‘Box Shadow’ then you have to reduce the horizontal and vertical distance by 10px and make the blur value 20 from there. Now, change the position to ‘Inset’ to apply this effect on the element.

Then, you need to add a little darker shade to the shadow to make a ceramic 3D effect on your 2D element. Click on the ‘Color’ option and make the changes to achieve the clay morphism effect on your web page.

Step 3: Time To Publish Your Web Page
Similarly, apply this effect anywhere you want to make your web page more interactive for your visitors. Once you are finished, click on the ‘Publish’ button to make it live for your visitors. That’s it. This is how easily you can create the clay morphism effect in Elementor without any code. See how appealing the call to action button looks after applying this effect:

🎁 Bonus: Enhance Your Elementor Experience WIth Essential Addons
Essential Addons for Elementor is an outstanding widget library for Elementor which can take your web building experience to the next level. You can easily create stunning web pages using the fantastic web bundling widgets and build a complete website without any codings.

This excellent Elementor library comes with 85+ widgets and extensions to add fuel to your web building experience. With more than 1 million active users, Essential Addons is the most popular widget library for Elementor that you can try today. Read the journey of Essential Addons for Elementor here to learn more about this plugin.
✨ Create Realistic Web Pages With Claymorphism Effect
The Claymorphism effect can help you to make your 2D elements more attractive to visitors. This effect can easily make a static website interactive and provide a better user experience for the visitors. Now, it’s time to try this effect on your own and create an amazing lively website today.
Would you like to get more guides, tutorials, and updates similar to this blog? If you do, then please subscribe to our blog, and join our Facebook community to share your thoughts.


