Constantly checking for malicious attacks should be on the checklist for anyone concerned about their WordPress website maintenance. In today’s tutorial, we will show you how to identify and remove malware from WordPress websites as well as share our top best malware removal plugins.
Malware, Spam, & Other Things You Need To Protect Your WordPress Website From
With WordPress being the largest and most popular CMS platform powering up the vast majority of all websites on the internet, it’s no wonder that WordPress websites are also the biggest target of hackers and cybercriminals. In fact, Wordfence Security reported that there are almost 90,000 malicious attacks on WordPress websites per minute.
Thankfully, there are also many different ways you can protect your WordPress website from malware, spam comments and security threats. And it’s imperative that you take the necessary measures to protect your WordPress websites; not only do you need to take steps to prevent any leak of sensitive information, but Google also blacklists nearly 70,000 websites each week due to security issues.
The last thing you want is for your WordPress website to get blacklisted by search engines and lose your efforts. So, make sure to take all the necessary steps to remove malware from WordPress websites, by following our guide here.
How To Remove Malware From WordPress In 5 Easy Steps
If you want to remove malware from WordPress websites, there are two methods you can follow. You can manually check your WordPress website for malware and remove them, or you can use WordPress malware removal plugins.
Follow the step-by-step guide below to remove malware from WordPress websites in 5 easy steps, or scroll below to check out the best malware removal plugins for WordPress here.
Step 1: Backup Your WordPress Website
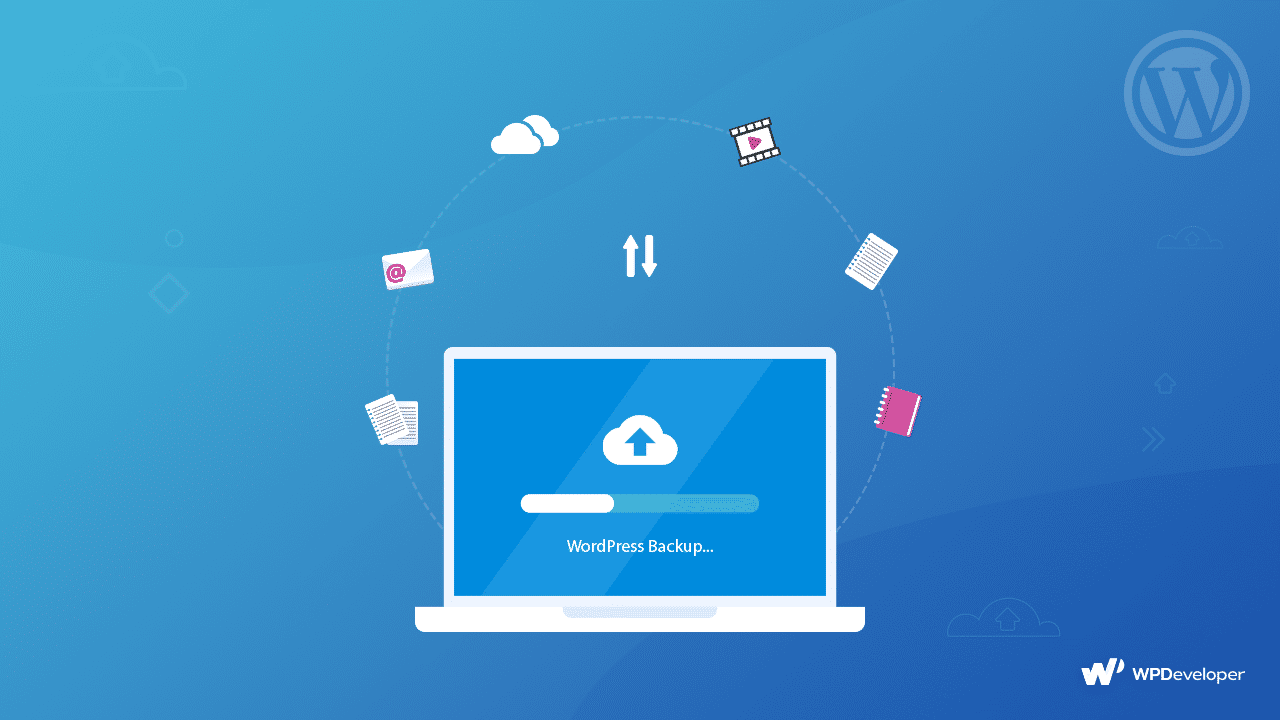
Before doing anything, the first step you should take is to backup your WordPress website. There are tons of popular, secured WordPress backup plugins available such as BlogVault, and at the same time, you can manually backup your website as well.
For more details, check out our guide here on how to backup your WordPress website, and also explore some of our top handpicked WordPress backup plugins too.
Step 2: Download & Check WordPress Files
Once you are done backing up your WordPress website, make sure to download the backed up WordPress files on a secured, local storage. Double-click to open the zip file, and you will be able to check the following WordPress files:
- WordPress core files: while you may not necessarily need these files for checking for malware, we strongly recommend looking into them. You can download WordPress core files from WordPress.org and match them with the ones you have downloaded from your own site to check for any discrepancies.
- wp-config.php file: this is one of the most important WordPress files. It contains the name, username, and password to your WordPress database, and you will need them when restoring your website in Step 4.
- .htacess file: these files are invisible, so the only way to know is if you have backed up your files and viewed them with FTP programs like FileZilla.
- wp-content folder: this folder, you will see at least three folders: themes, uploads, and plugins. If all the files in these folders are present, then your backup has been done without any issues.
- Database files: after backing up your website, you should be having an exported SQL file of your WordPress database. While we are not gonna delete the database, you should always have a backup just in case.
Step 3: Delete All Files In The public_html Folder
After making sure that all the necessary files of your WordPress website backup are in a secured place, use your web host’s file manager to delete all the files in the public_html folder except the cgi-bin folder & server-related folders. Alternatively, you can also delete the files via FTP. This way, you will be able to clean your WordPress website.

If you have any other websites on that same server or host, it might be a good idea to repeat the process for those websites too, as cross-infection is quite common during a malicious cyber-attack.
Step 4: Reinstall WordPress, Plugins & Themes
Once you have thoroughly cleaned your WordPress websites, it’s time to restore your website again. You can use your web host’s control panel to reinstall your WordPress website. Make sure to edit the wp-config. php file on the new WordPress installation, referencing the backup of your site and using the database credentials of your previous site. This will connect the new WordPress website you are installing to the old database.
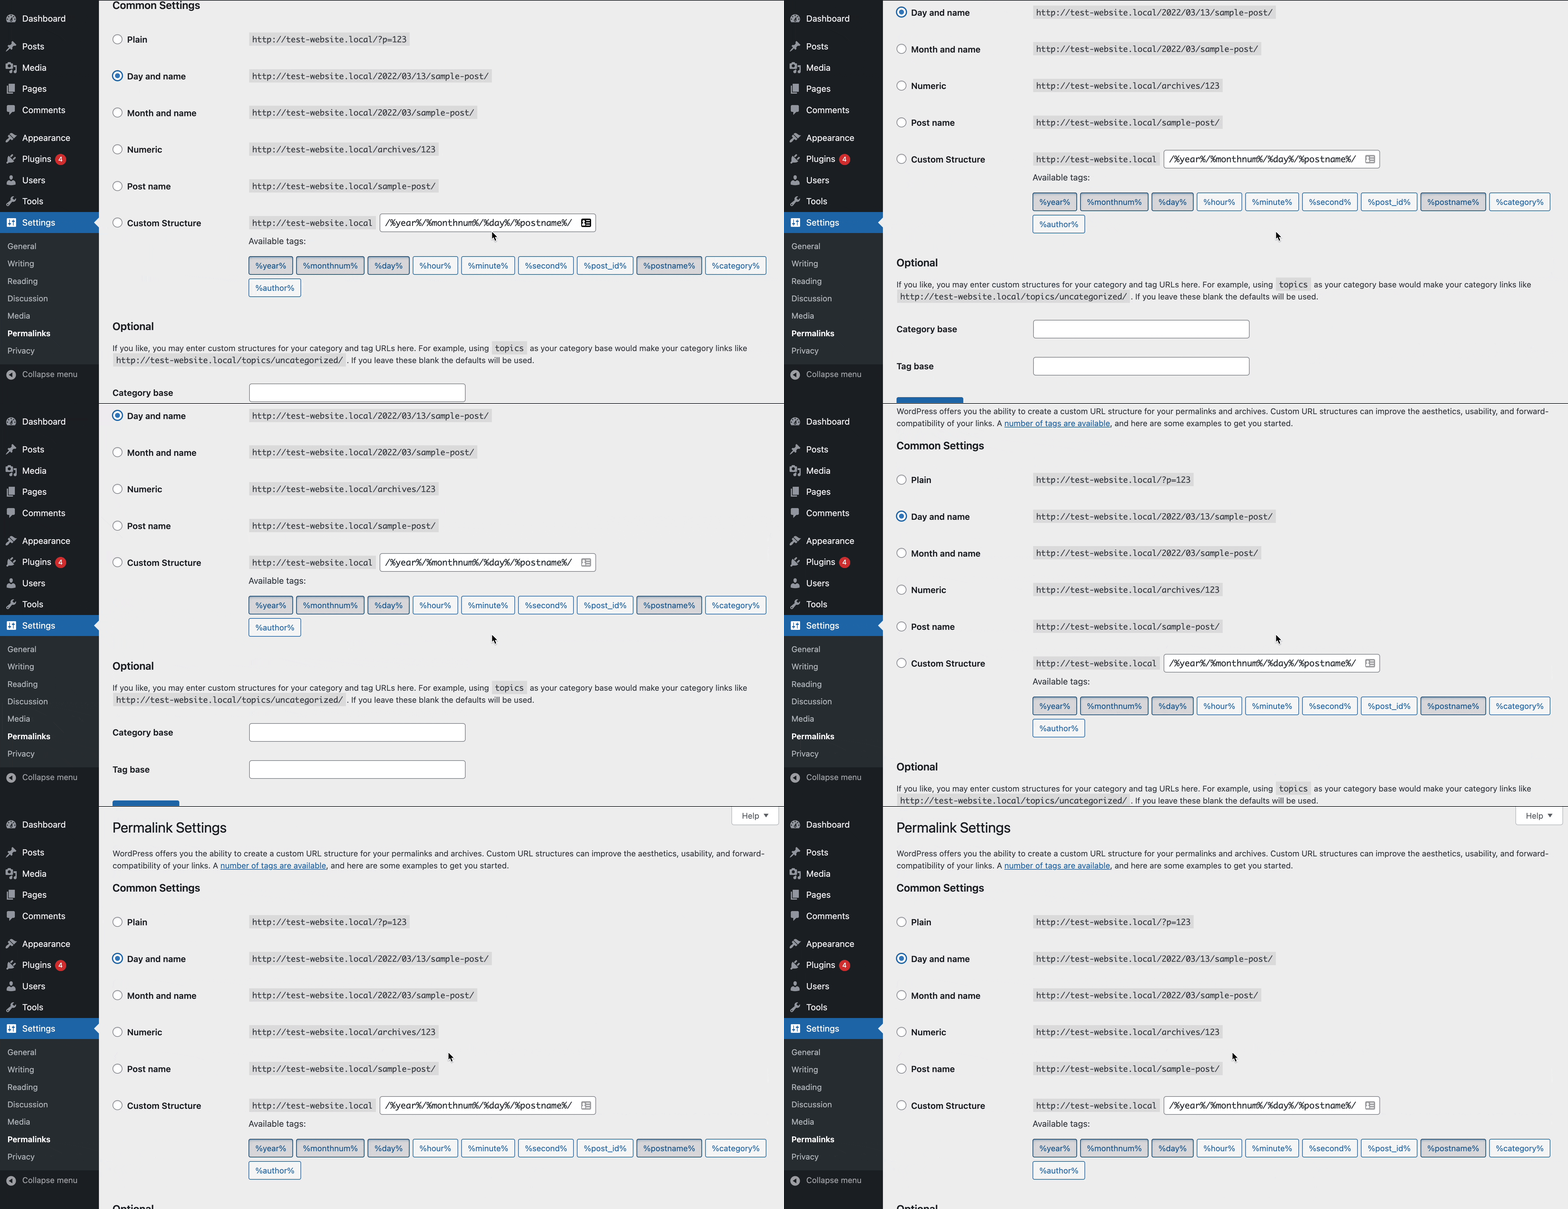
After reinstalling WordPress, you will need to reset your passwords and permalinks by going to Settings→ Permalinks and then hit the ‘Save Changes’ button. This way you can restore your .htaccess file so that your website URLs are working fine again. Also, make sure that you reset all FTP and hosting account passwords too.
Next, reinstall all your WordPress plugins and themes. Make sure to do a fresh download and install by going to the WordPress repository and getting the latest stable versions of the plugins and themes.
After this comes the tricky part, which is uploading your image files from your backup. Go into the wp-content→ uploads folder on the server, and make sure there are no PHP files or JavaScript files in every year/month folders of your backup. This can take time, but you need to do it carefully and make sure to only upload the image files to the server using FTP.
Step 5: Install & Run Security Plugins On Your Site
Finally, it’s time to install and run WordPress security plugins on your website. We strongly recommend doing this after you have manually cleaned your WordPress website so that you can regularly check and remove malware or any kind of potential threats much more easily.
There are tons of great malware removal plugins and WordPress security plugins you can check out. Below, we have listed some of the most popular ones.
Best Malware Removal Plugins For WordPress Websites
In this section, you will find some of the most popular, renowned and effective malware removal plugins to protect your WordPress website.
1. Wordfence Security: Popular Malware Cleaner

One of the most well-known malware cleaner plugins for WordPress, Wordfence Security comes with several features to help keep your website safe. It includes a scanner, firewall protection and repair features along with several security tools. Currently, the plugin has more than 4 million active installations and is known for protecting your website from malware, spam, hack attempts and more.
2. Malcare: WordPress Malware Removal Plugin

Malcare is one of the most trusted WordPress malware removal and security plugins out there, with amazing features such as emergency cleanups, one-click auto cleanups, scheduled automatic scans and firewall, backups and much more.
3. Sucuri Security: WordPress Malware Removal & Scanner
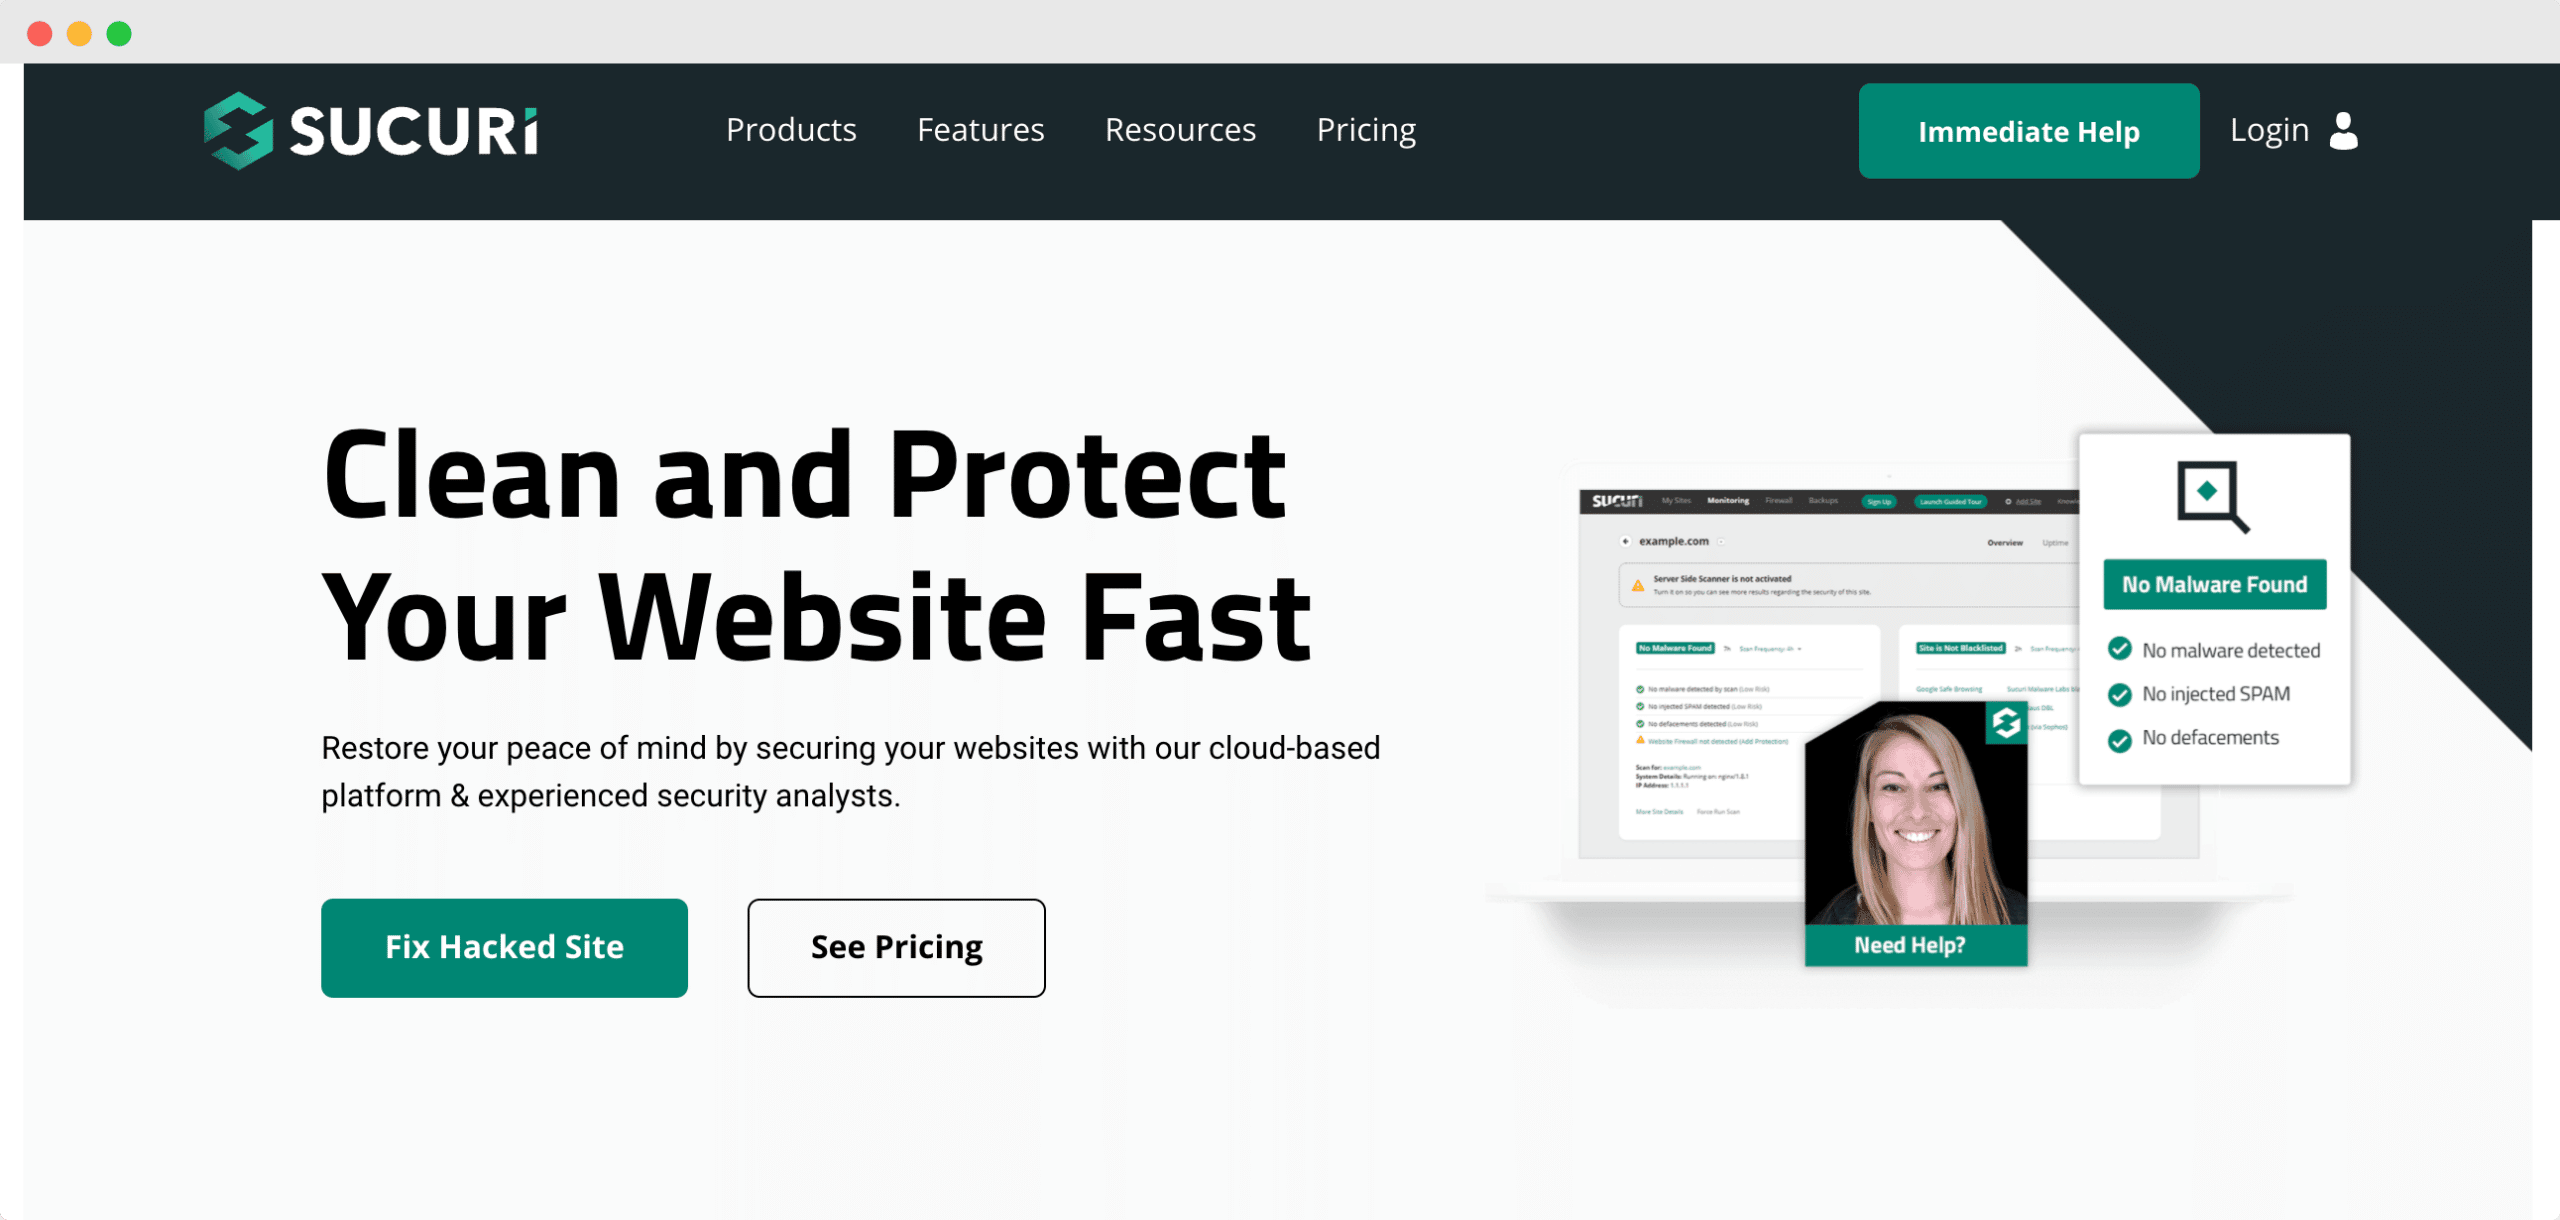
Next up on our list of best malware removal plugins is Sucuri Security. While the plugin itself does not offer malware removal as a feature, it does provide it as an additional service to premium users. Easy to install and set up, Sucuri Security provides you with manual cleanups, server-side scanner, firewall protection, vulnerability detection and more.
Run Your Website Smoothly With Top Resources For WordPress Support & Maintenance

As you can see, keeping your WordPress website protected from malware and cyberattacks can be done easily with the help of these plugins. However, if you encounter complex issues, or your website has already been hacked, you can check out these top resources for WordPress support and maintenance to find solutions to your problems.
For more tutorials like these, make sure to subscribe to our blog or join our friendly Facebook community.


