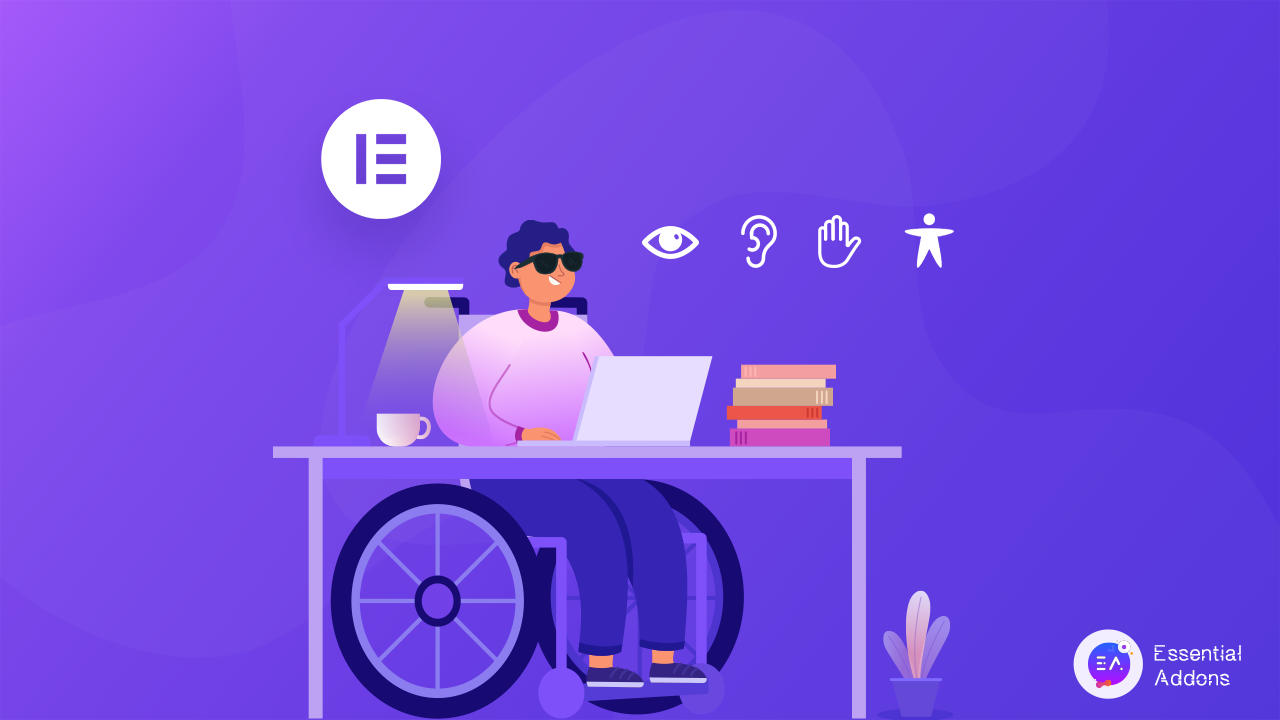
In an era when everyone is concerned about website accessibility, what does Elementor accessibility provide? It’s a major concern when you plan to expand your website’s niche audience or reach ADA-compliant countries. With over 5 million active users, Elementor is currently the most popular website builder. And they are more concerned about improving accessibility in 2023. Let’s check out what Elementor is offering its users in terms of accessibility.

4 Key Principles Of Web Accessibility To Consider
One of the buzzing tech terms is “ensuring accessibility for websites,” so that all users feel included. Before getting into guidelines to maintain accessibility for websites, let’s get a briefing on what website accessibility means. Making websites usable for all users, including those with disabilities, impairments, and limits is known as web accessibility. Following certain inclusive design guidelines for web accessibility ensures that users with disabilities or other restrictions enjoy an experience that is at least comparable to that of non-disabled users. Website accessibility is a crucial objective since it ensures that all users have equal access to your material.
Here are 4 key principles of web accessibility:
1. Your Content Must Be Visible
There is a wealth of information on the internet that must be understood in some way. One may read the text, understand the layout of the page, and comprehend the meanings of words and colors in various circumstances by employing their sense of sight.
In this regard, assistive technology can be quite useful. Screen readers, for instance, can handle turning your text into audio. You must first check to see that your website is accessible before moving forward. Only then will you be able to fully utilize the added capabilities that these assistive gadgets provide.
2. You Should Have A Functional User Interface (UI)
You’ll want to cater to as many needs as you can, regardless of whether customers can connect with your site via physical devices like a keyboard or mouse or prefer alternative methods. Making sure that your users can efficiently explore and interact with the content of your website is a wise move.
Site search, site maps, and “skip navigation” links are important tools you can offer in this area. By using plenty of semantic elements and spacing, you’ll also want to make sure that your content structure is clear to the reader.
3. Ensure That Your Content Is Clear
The most effective technique to guarantee that your content is understandable is by employing the proper font sizes and color contrasts. Humans primarily communicate through spoken or written language. Additionally, users should receive clear feedback so they can avoid and fix errors. Your navigation should also be unambiguous, reliable, and predictable.
Therefore, be sure to utilize straightforward language and include any background information needed for someone to fully understand a piece of content. Also think about providing text supplements like audio files, movies, pictures, and more. It’s also a good idea to provide summaries of lengthy content.
4. Your Website Or Web Application Needs To Be Sturdy
Using contemporary tools and construction methods when creating your website or application is one way to ensure robustness. This necessitates precision during the development stage and clear planning. For instance, you should use the proper markup for content and give components the proper names, roles, and values.
Consider establishing minimum prerequisites for using your site so that you can serve as many users as possible. For instance, you can decide to only support a limited number of outdated browser versions. Additionally, you should think about evaluating your website against technical standards, such as the W3C markup validator or the CSS equivalent, because code that complies with these standards is more likely to function properly across browsers and with a variety of assistive technologies.
How to Enable Elementor Accessibility Improvements?
It could be necessary to make some Elementor widgets more accessible. For instance, in the experiment added to version 3.1.0, you will find enhanced keyboard navigation, options for chosen tab state, and removing empty a> tags from the Tabs widget to make it more accessible. These adjustments benefit user sites’ rankings and usability.
How To Use This Elementor Experiments
- Go to Elementor → Settings → Experiments tab.
- Select ‘Active’ from the ‘Accessibility Improvements’ dropdown.
- Click the ‘Save Changes’ button.
How To Make Your Website Inclusive For All Users Accessible With Elementor?
As you already know, Elementor itself has an accessibility improvement feature that will make sure a website is accessible to all kinds of users. Apart from these, there are already built-in features that provide a lot of accessibility options. Let’s check out those core features and how to customize them to provide the utmost accessibility and flexibility.
🌟 Elementor Font Size & Font Family
Let’s start by concentrating on the font family and font size. Of course, using the settings provided by your theme via the WordPress customizer is a fantastic starting point. You won’t have as much to worry about once you start building your pages if you set your default font family and sizes for body text, HX tags, etc. there. However, it is very simple to alter the font on any page created using Elementor.
Since most browsers utilize a default size of 16 px, we have changed our default font size in the customizer to this size as well. The font size for the TRAVEL tag is 12 px, which may be challenging for certain people to read.
💡Why Choose REMs For Font Size Rather Than pixels?
The main factor, in this case, is accessibility. The majority of browsers utilize 16 px as the default text size, as we’ve already explained, but users can modify this setting to something else if they’d prefer, and they frequently do. All text should scale up if the default size is set to 20 pixels by the user. When we create websites with pixels, we remove the user’s control over the text size, making our websites less accessible.
Set your heading to 2REM rather than 32 px, which is the default. The header will therefore be twice as large as the base font size (16px normally, or, in the case of our user who changed her default size to 20px, our heading would now be the equivalent of 40px). The user has the right to see our material at a size that she can read, despite the fact that we may prefer for it to be exactly the size we desire. Let’s not rob her of that option.
🌟 Ensure Proper Color Contrast
It’s time to increase the color contrast between the backdrop and the foreground. Due to a lack of color contrast between the text and backdrop image colors, it is currently quite difficult to understand the text in our hero’s description.
This is mostly due to the fact that our text was not fully opaque. The contrast level is brought to a PASS grade in compliance with the AA specifications by simply changing the opacity to 1 from 0.49. By slightly darkening the backdrop filter, we can also pass the AAA specifications. This way, you can ensure Elementor accessibility.
🌟 Use Contact Forms That Are Usable
Similar care must be used with our subscription form as with our Hero block. All of the text has been modified to have readable fonts in REM sizes with appropriate color contrast.
Forms must properly handle TAB Order. Fortunately, the Form Widget in Elementor Pro handles this by default. The TAB key automatically advances us to the following field with each push, and the Submit button is reached last. SHIFT-TAB through the fields also functions as intended in reverse.
🌟 Maintain Image ALT Attributes
To ensure that screen readers can appropriately describe the image to our readers who are blind or visually impaired, we must make sure it has an image ALT property. The ALT attribute was not initially set in the media library for our image. Simply click the image in the Style tab of the section to fix it, then add an ALT attribute in the image’s media window.
🌟 Semantic HTML5 Elements
In addition, Elementor makes it very simple to replace div tags with HTML5 semantic elements like header>, footer>, article>, aside>, nav>, main>, and section>. Simply search for the HTML Tag option under Section > Layout or Column > Layout, and select the one you require.
🌟 Add ARIA-Labels On Website
There is a Read More button in our hero section. By adding an ARIA label to the link, let’s give our visually impaired users the chance to have some context added to that button. This is simple to perform with the Custom Attributes function of Elementor Pro.
You’ll see that we input our data utilizing the key|value format. In this case, the key is “aria-label,” and its value is “Read more about the 17 travel innovations we need now.” The outcome is code like this that is inserted into the HTML.
🌟 Accessibility In All Other Things In Elementor
We’ve obviously only displayed a small fraction of one website. There are numerous other factors to take into account while making a website accessible. Since every website is unique, multiple approaches to making them accessible may be used. But if you follow a well-planned procedure, use your theme’s choices wisely, and take advantage of Elementor’s fine-grained control over page elements, you’ll go a long way toward making your site accessible to all users.
Bonus: Tool To Check If Your Elementor Website Is ADA Compliant
People who have differing abilities and needs are protected by the Americans with Disabilities Act (ADA). To avoid discrimination, it is necessary for employers and business owners to make reasonable adjustments for people with disabilities. Giving everyone the same rights and opportunities is the goal of the law. Equal opportunity is also ensured for people with disabilities in employment, transportation, and telecommunications services provided by the federal and state governments.
After making all the changes outlined above, you must check whether your Elementor site to fully accessible or not. To test it, you can use accessibility-checking tools. Here is a popular tool you can use.
📌 Accessibility Checker
It is one of the most popular free tools for checking your Elementor accessibility. From this tool, all you have to do is provide your Website URL. The tool will show you results based on critical issues, passed elements, required audits, etc., and show an overall score.
Apart from this accessibility tool, other popular tools are Dynomapper, WAVE, LERA, etc.
Make Your Elementor Website Accessible For All Users
It’s everyone’s right to access any website they want, and it’s our responsibility to ensure it for all. If you have chosen Elementor as your website, then you are already ahead, and the next step is to make it accessible. And above tips and tricks will help you to ensure the Elementor accessibility of your website. This will also help you expand your niche customer base.
Enjoyed this blog? Then don’t forget to share it with others. Also, subscribe to our blog to get more Elementor tips and tricks.


