EA Advanced Menu lets you display the navigation menu of your site at any place of your site instantly. It makes navigation very much user-friendly & gives you the freedom to place it at any certain section of your website. As a result, this element can massively improve the user experience for your website.
First of all, make sure that you had already created a Menu to use it on EA Advanced Menu. To create a menu, simply go to your WordPress Dashboard. Then navigate to wp-admin -> Appearance -> Menus.
You can simply use its drag & drop facility to create a Menu & save it.
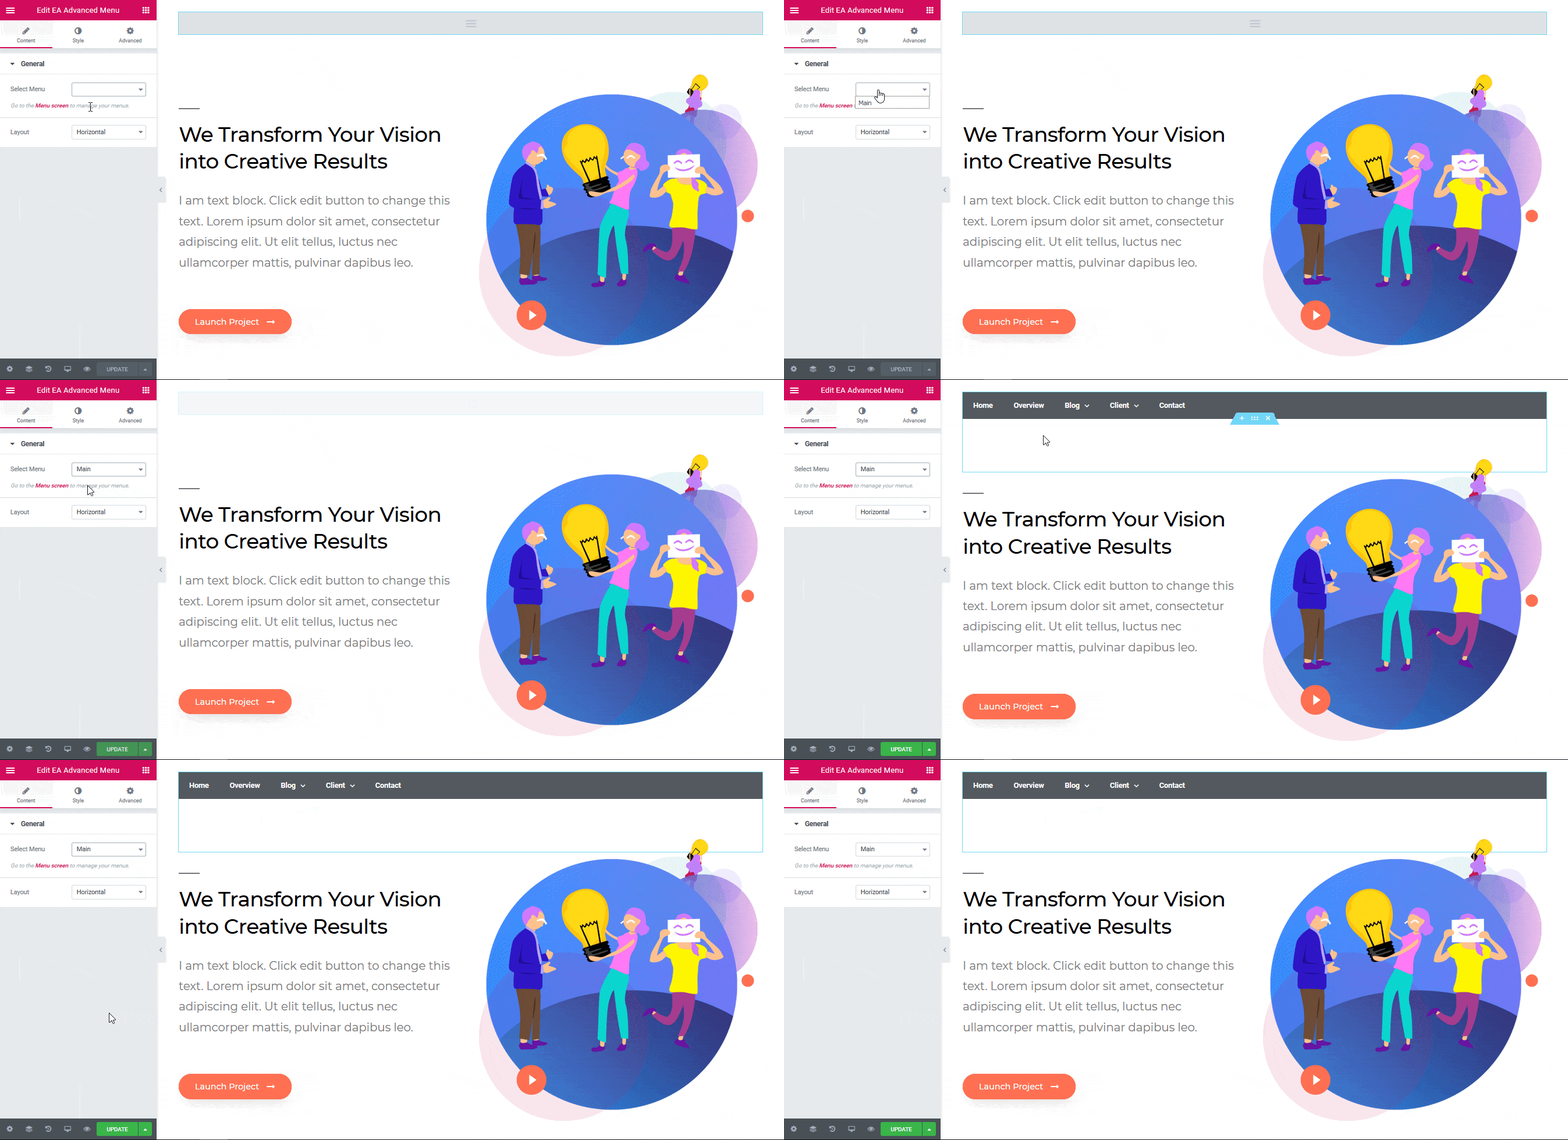
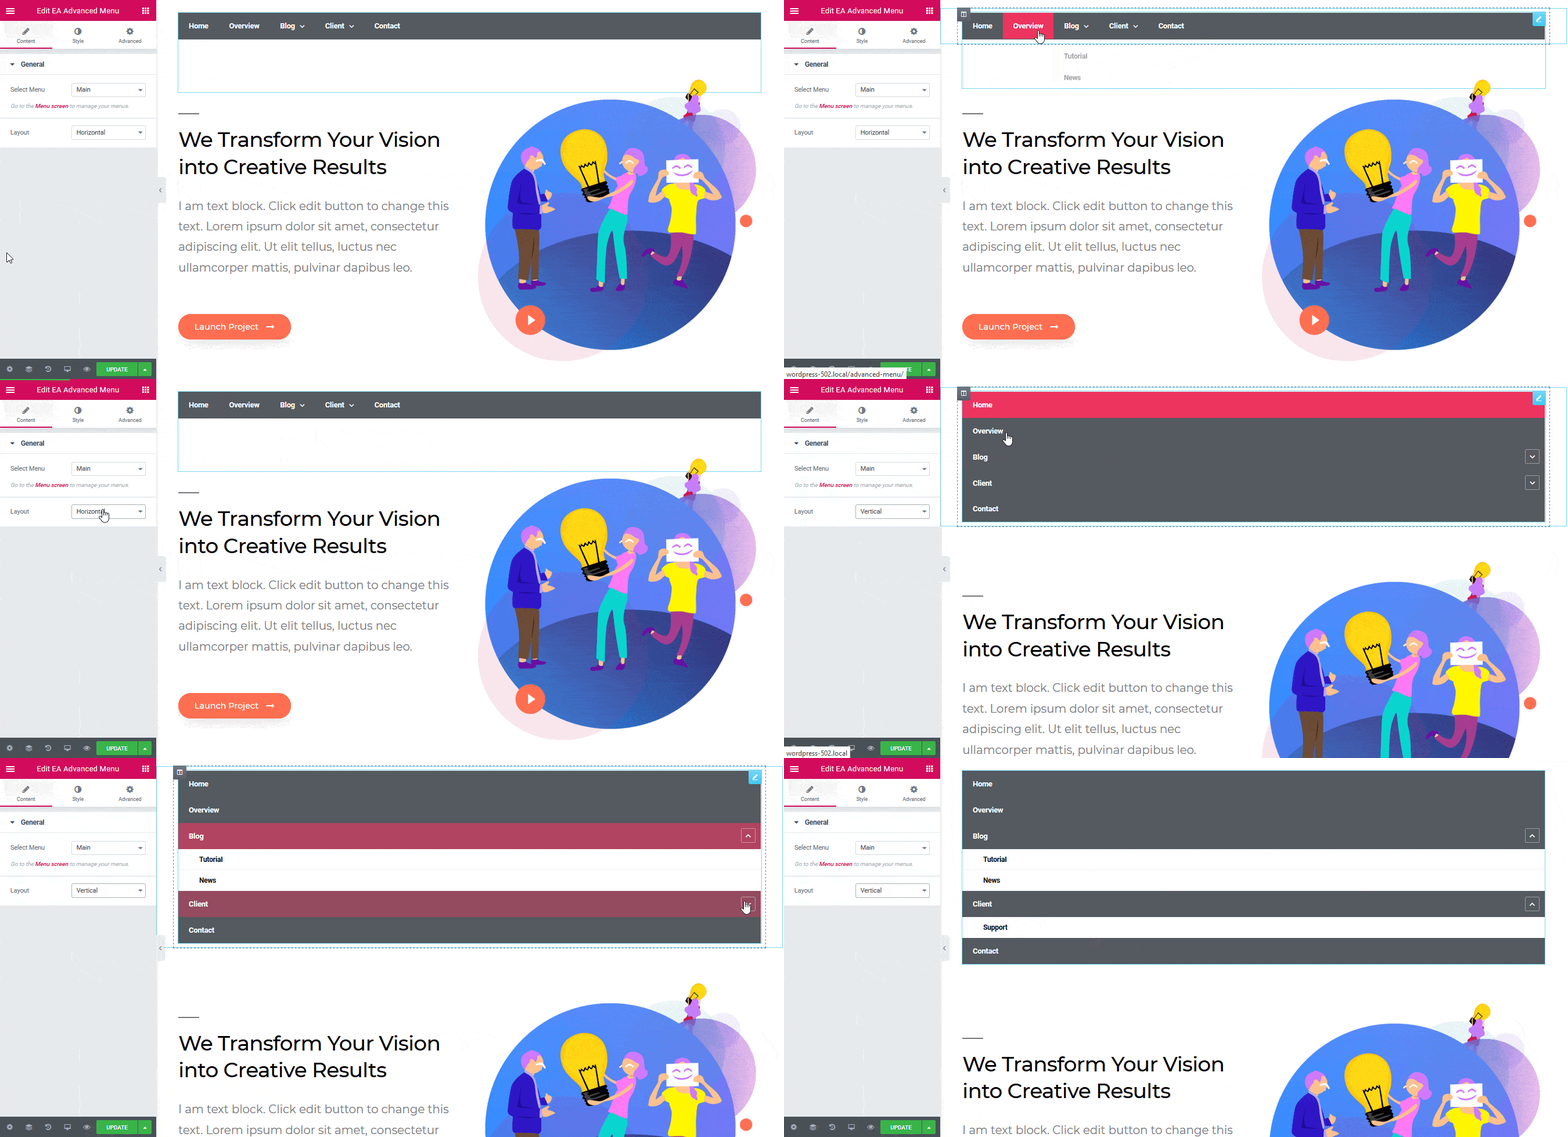
From this section, you can choose a ‘Menu’ out of which you have created on your website. Besides, you can use the drop-down menu to choose your preferred Layout as well. By default, it is set to ‘Vertical’ layout.
From the ‘Main Menu’ section, you can change the color of the Background & Item Divider of your menu. Besides, you can change the ‘Hover’ background color as well. You also have the flexibility to modify the alignment & padding of the menu.
For ‘Vertical’ layout, you can also use the toggle to enable or disable ‘The Dropdown Indicator’- the arrow signs. Moreover, you can add styling to the Box Shadow & Border as well.
Others
From the ‘Typography’ section, you can modify the texts for both the Main Menu & Dropdown Menu texts. You can change the Font Color, Family, Size & many more.
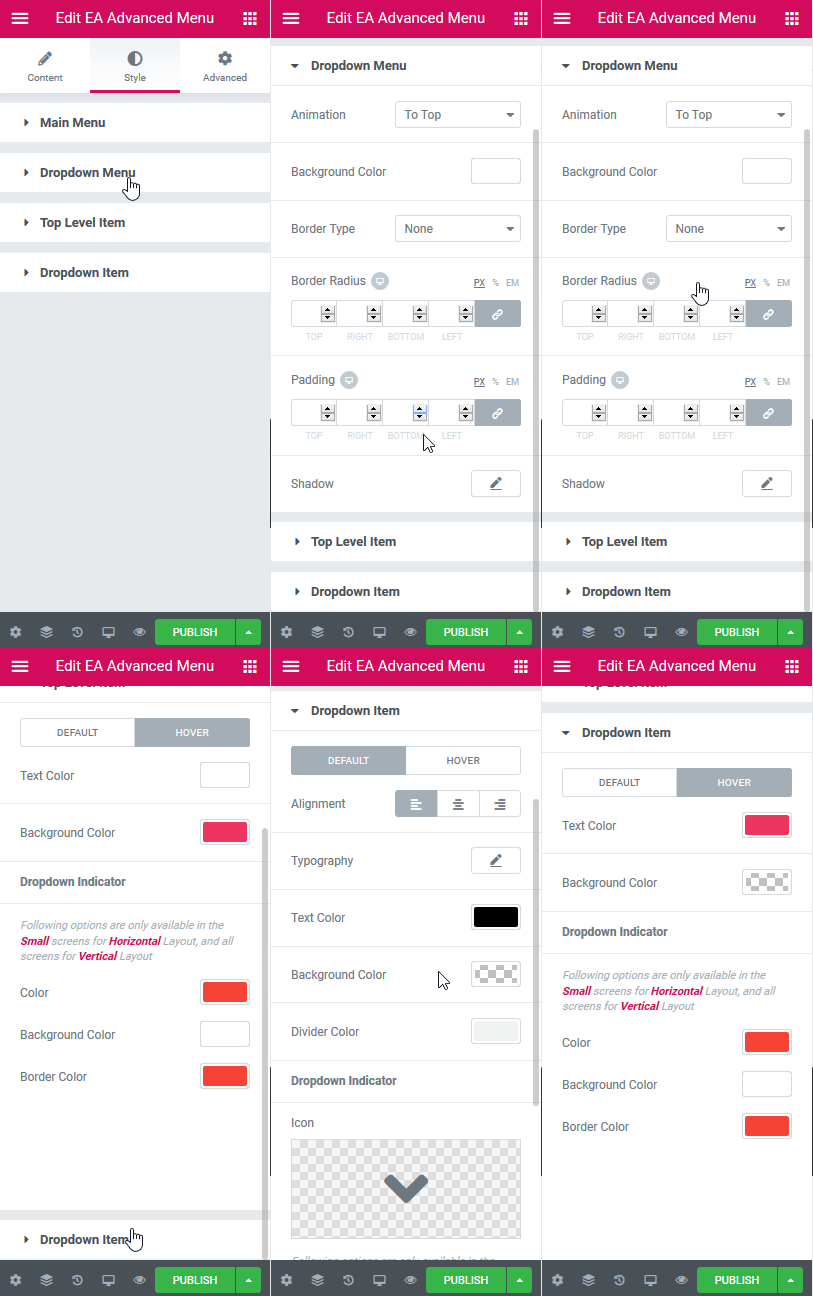
You can also add styling & change the colors of Dropdown Menu & Indicator Items from the ‘Style’ tab.
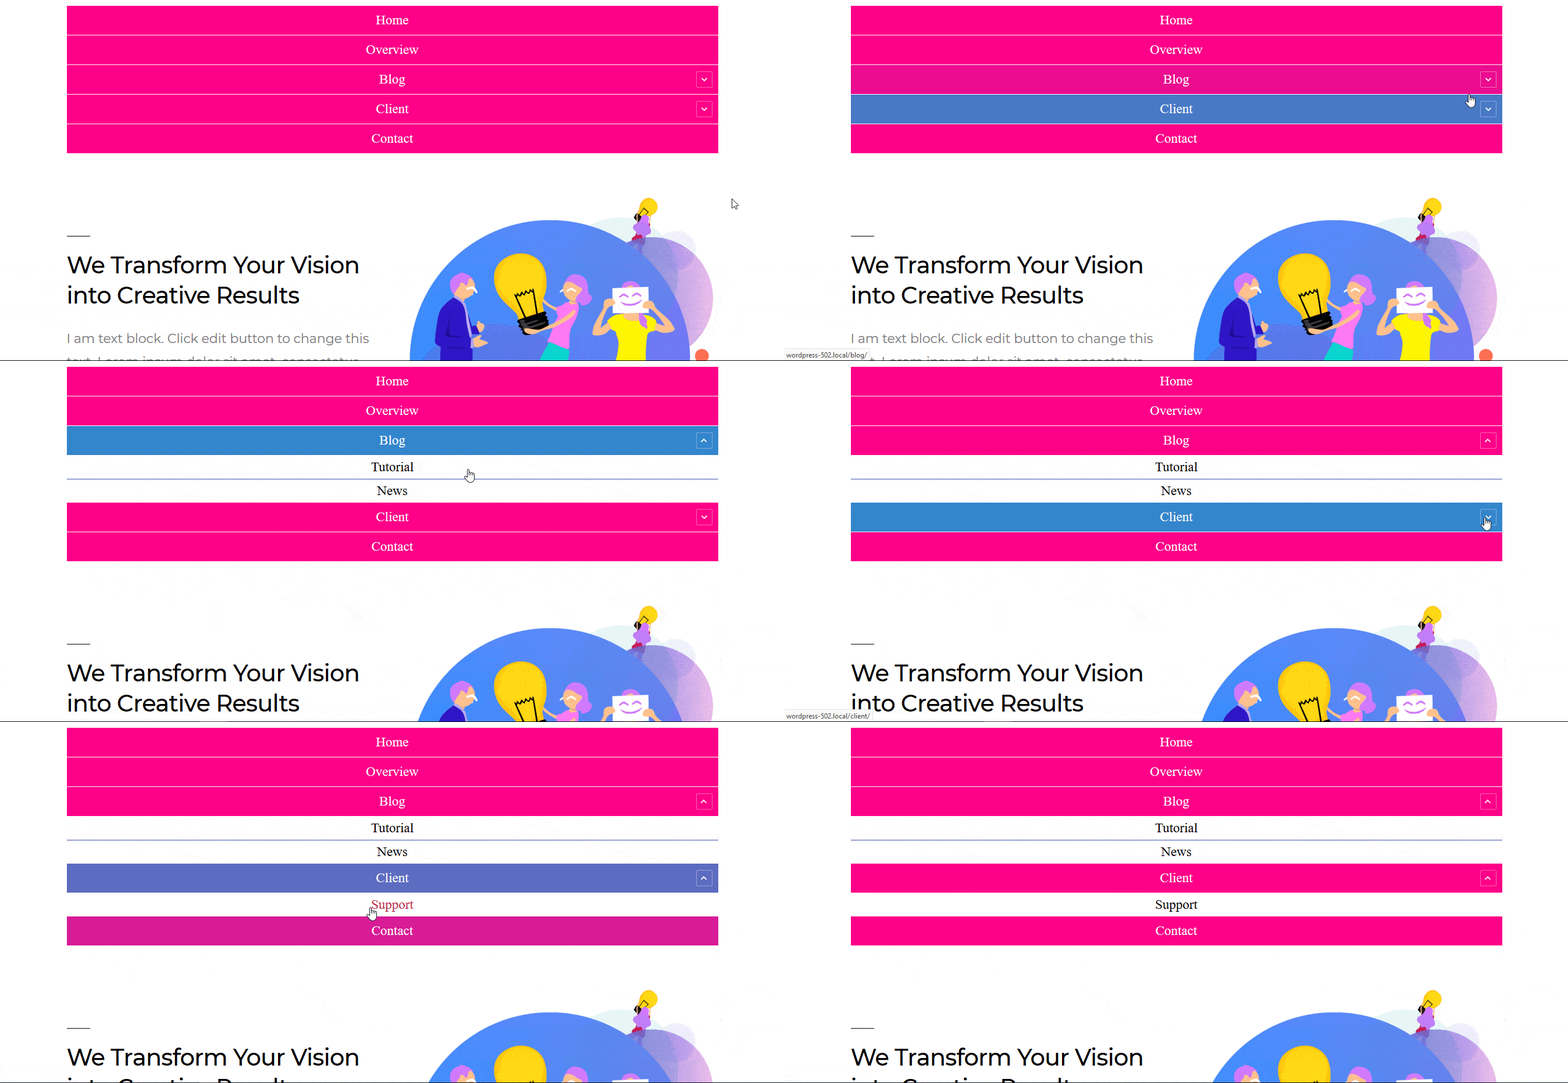
By following the basic steps and a bit more modifying, you can style your Advanced Menu as per your preference. Simply just click on the ‘Indicator’ and you will be able to view the dropdown menus as well.
This is how you can easily display amazing navigation Menu on any place of your website using EA Advanced Menu.