With the EA Login | Register Form element, you can now create amazing and attractive login or registration forms in Elementor without needing to touch a line of code. With this amazing element, you can influence your site visitors to register as a member on your website and make it easier for old members to quickly log in as well.
In addition, you can integrate Mailchimp with EA Login | Register Form widget and create new Mailchimp audience contact on each user registration.
How To Activate EA Login | Register Form #
To use this Essential Addons element, create a new post or page from your WordPress dashboard and click on ‘Edit With Elementor’. Afterward, search for the ‘ EA Login Register Form’ element in the search bar under the ‘ELEMENTS’ tab in Elementor Editor. Simply drag and drop the element anywhere on your page.
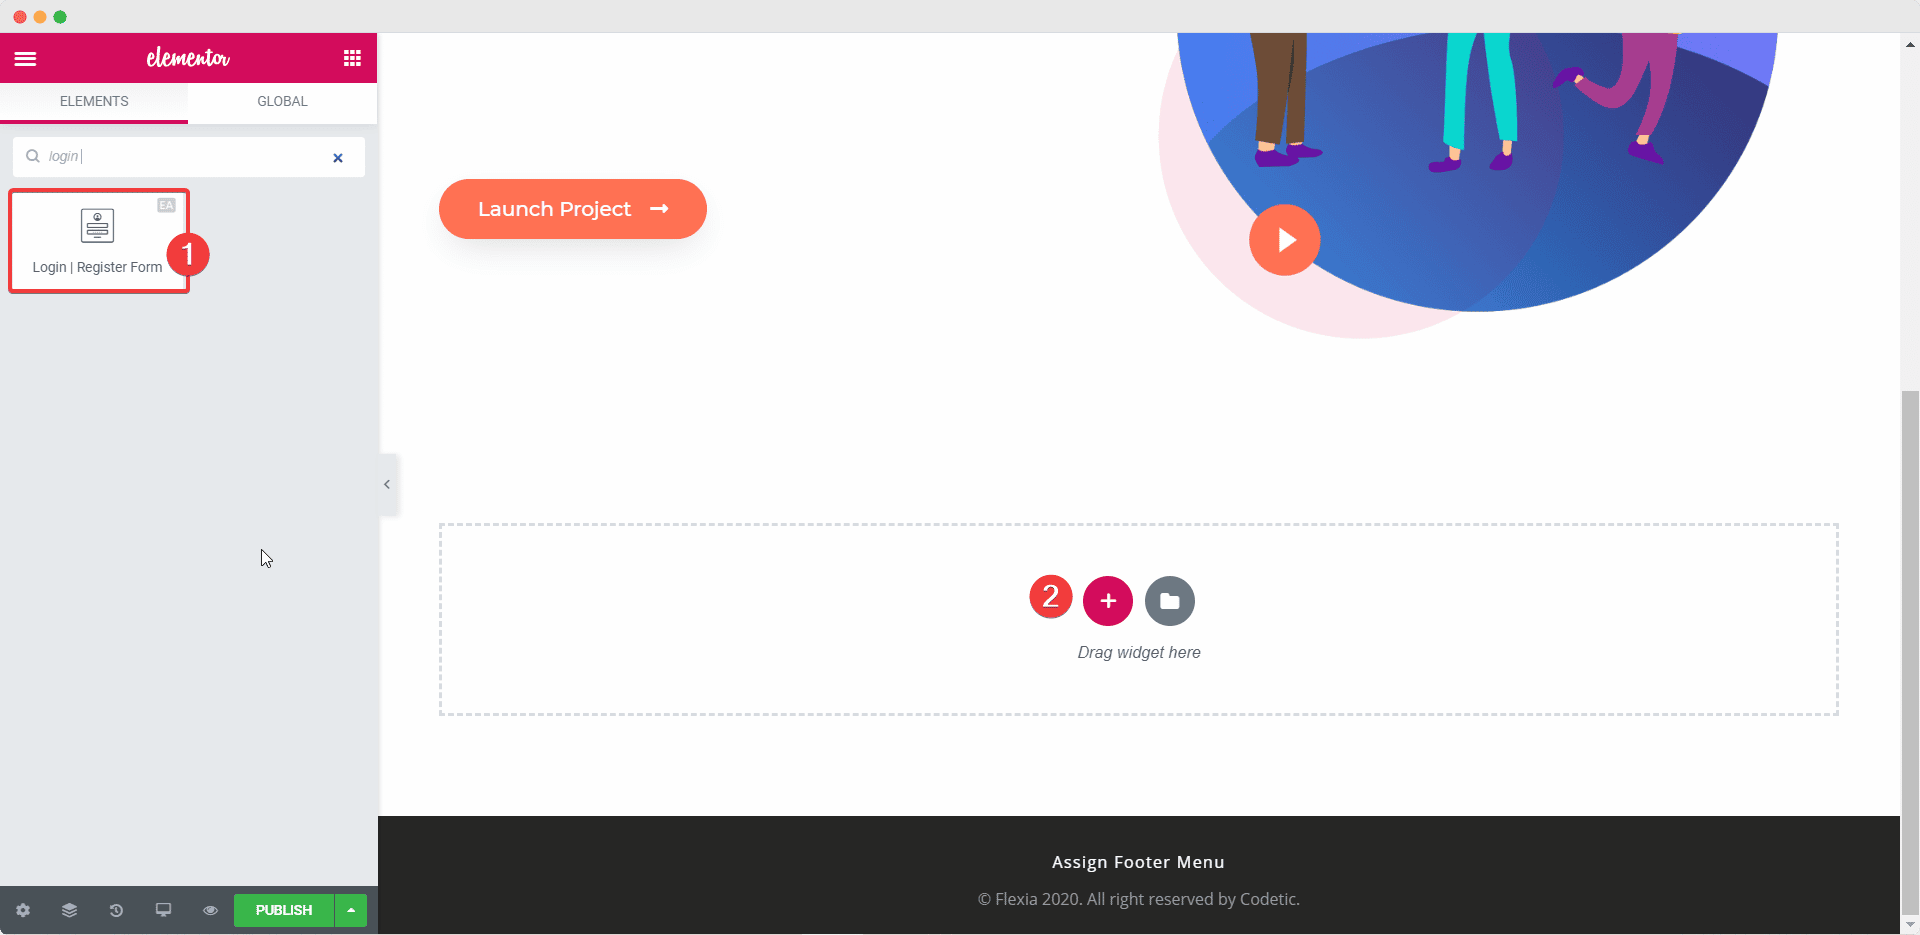
After successfully completing this step, you should be able to see the EA Login | Register Form element in your page like this by default.

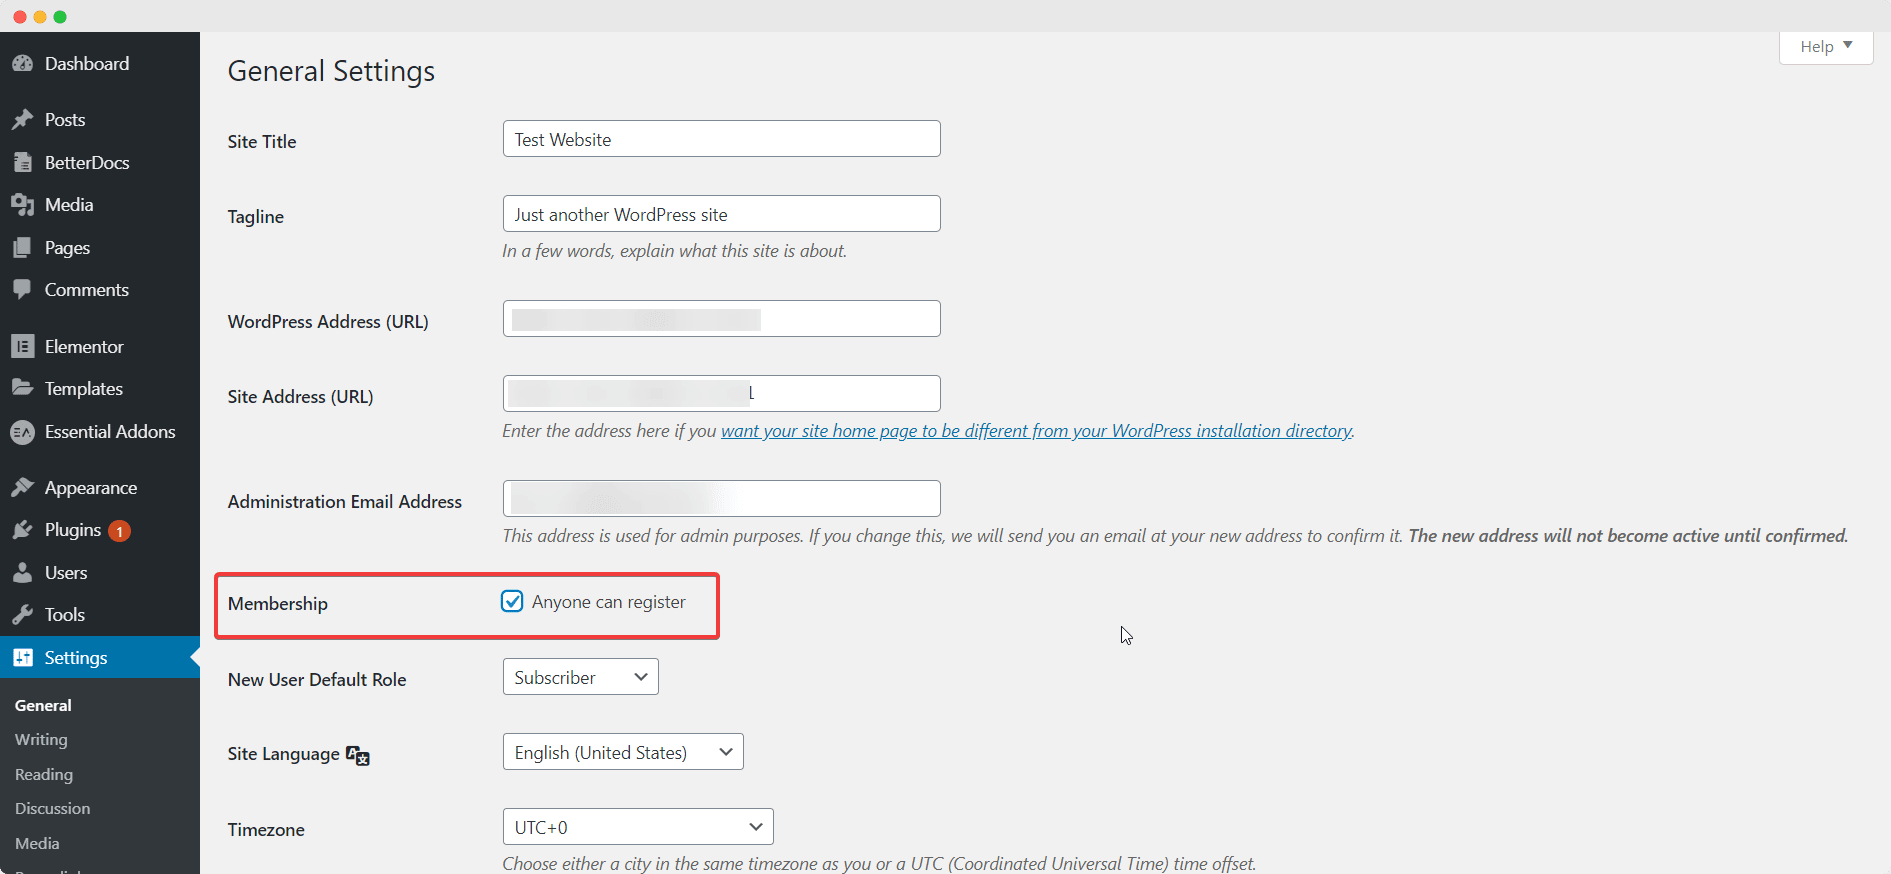
N.B: To use the Register form, first make sure that you have membership enabled on your WordPress website. You can do this by heading over to your WordPress dashboard and navigating to Settings→ General. Scroll down the page and enable the ‘Anyone can register’ option.
How To Configure The Content Settings #
To configure the content of your EA Login | Register Form element, switch to the ‘Content’ tab, and change the options there.
General #
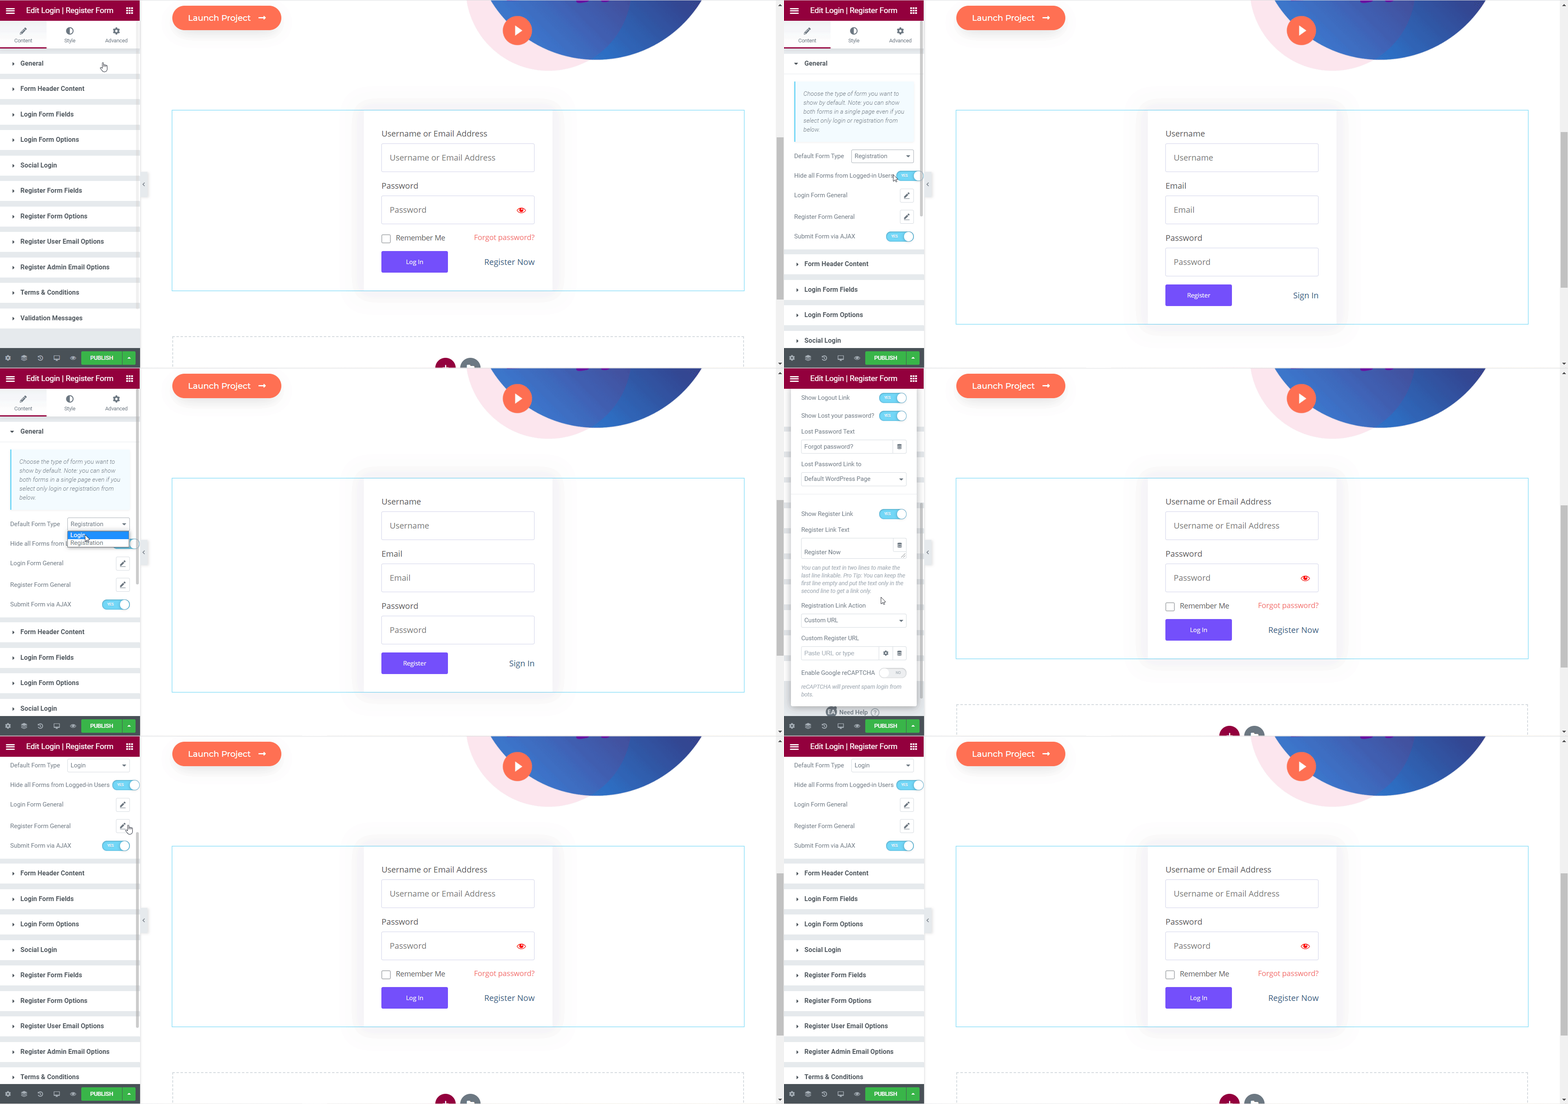
Under the ‘General’ section you can choose to set your default form type to either the ‘Login’ form or the ‘Registration’ form. You can also toggle to hide the form from all logged in users, show or hide registration link, login link, lost password link, submit form via AJAX, and much more.
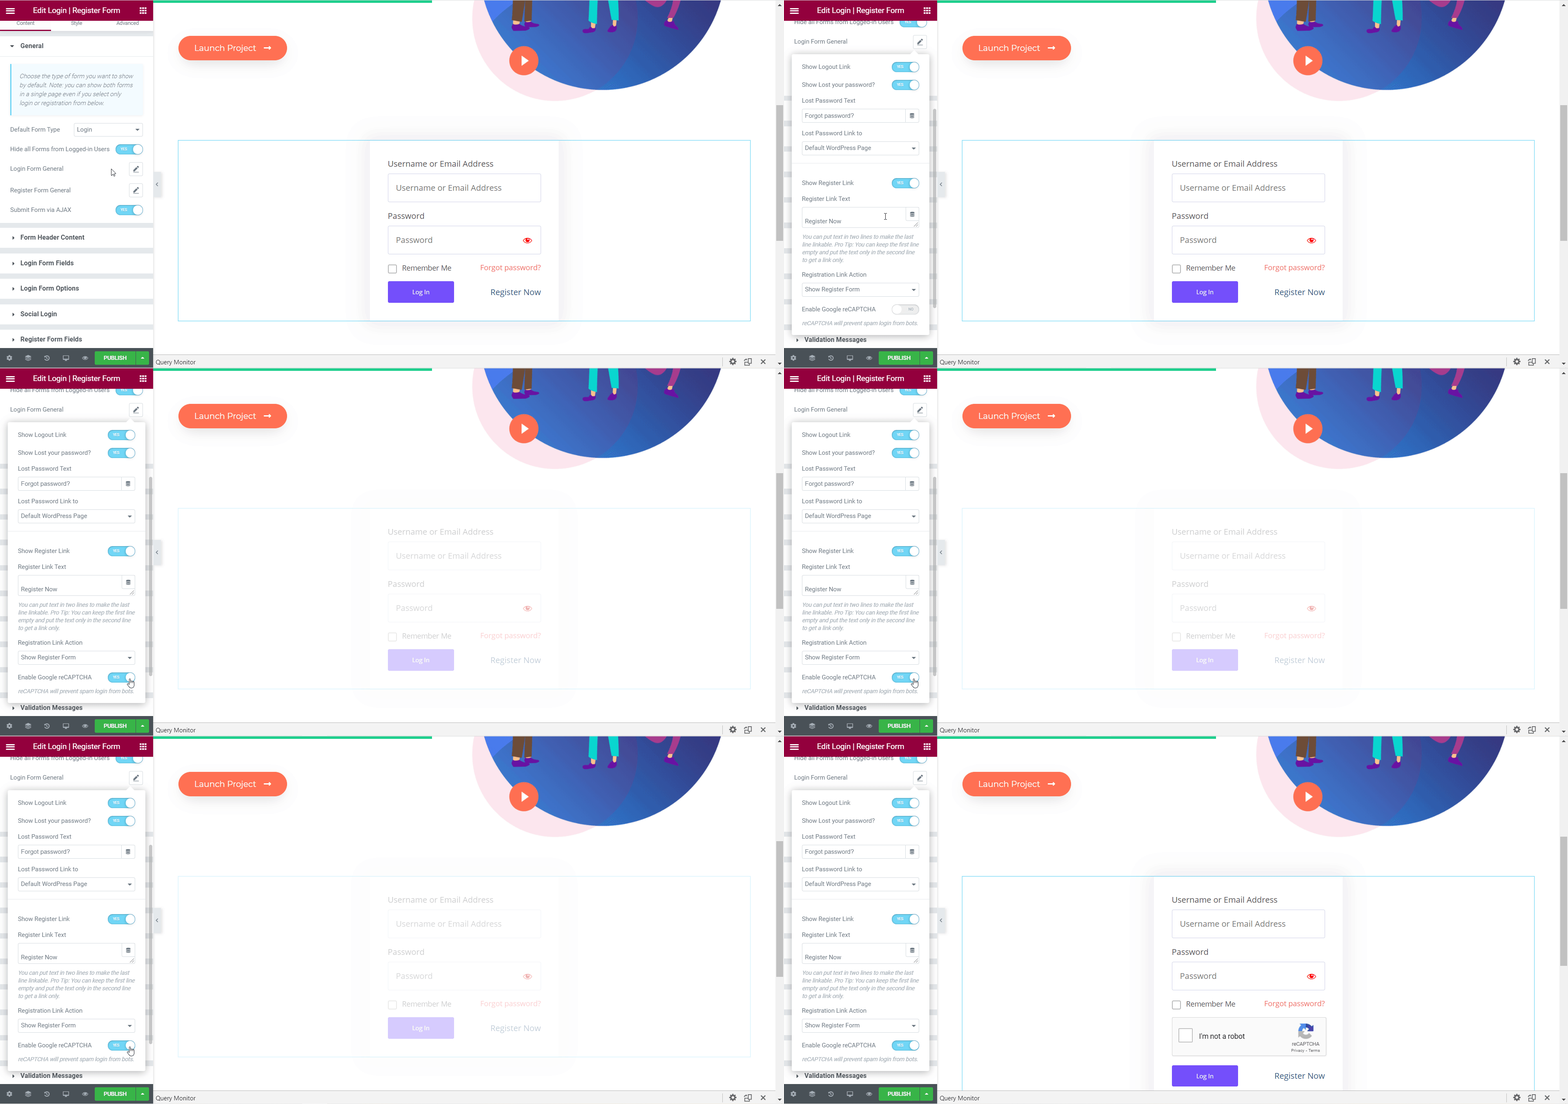
If you want, you can also enable Google reCAPTCHA for your login registration form. EA Login/Register Form comes with reCaptcha v3 support. All you have to do is click on the Login Form General option or the Register Form General option. To do this, you will need to have the site key and secret key. You can learn more how to do this in this guide.
Form Header Content #
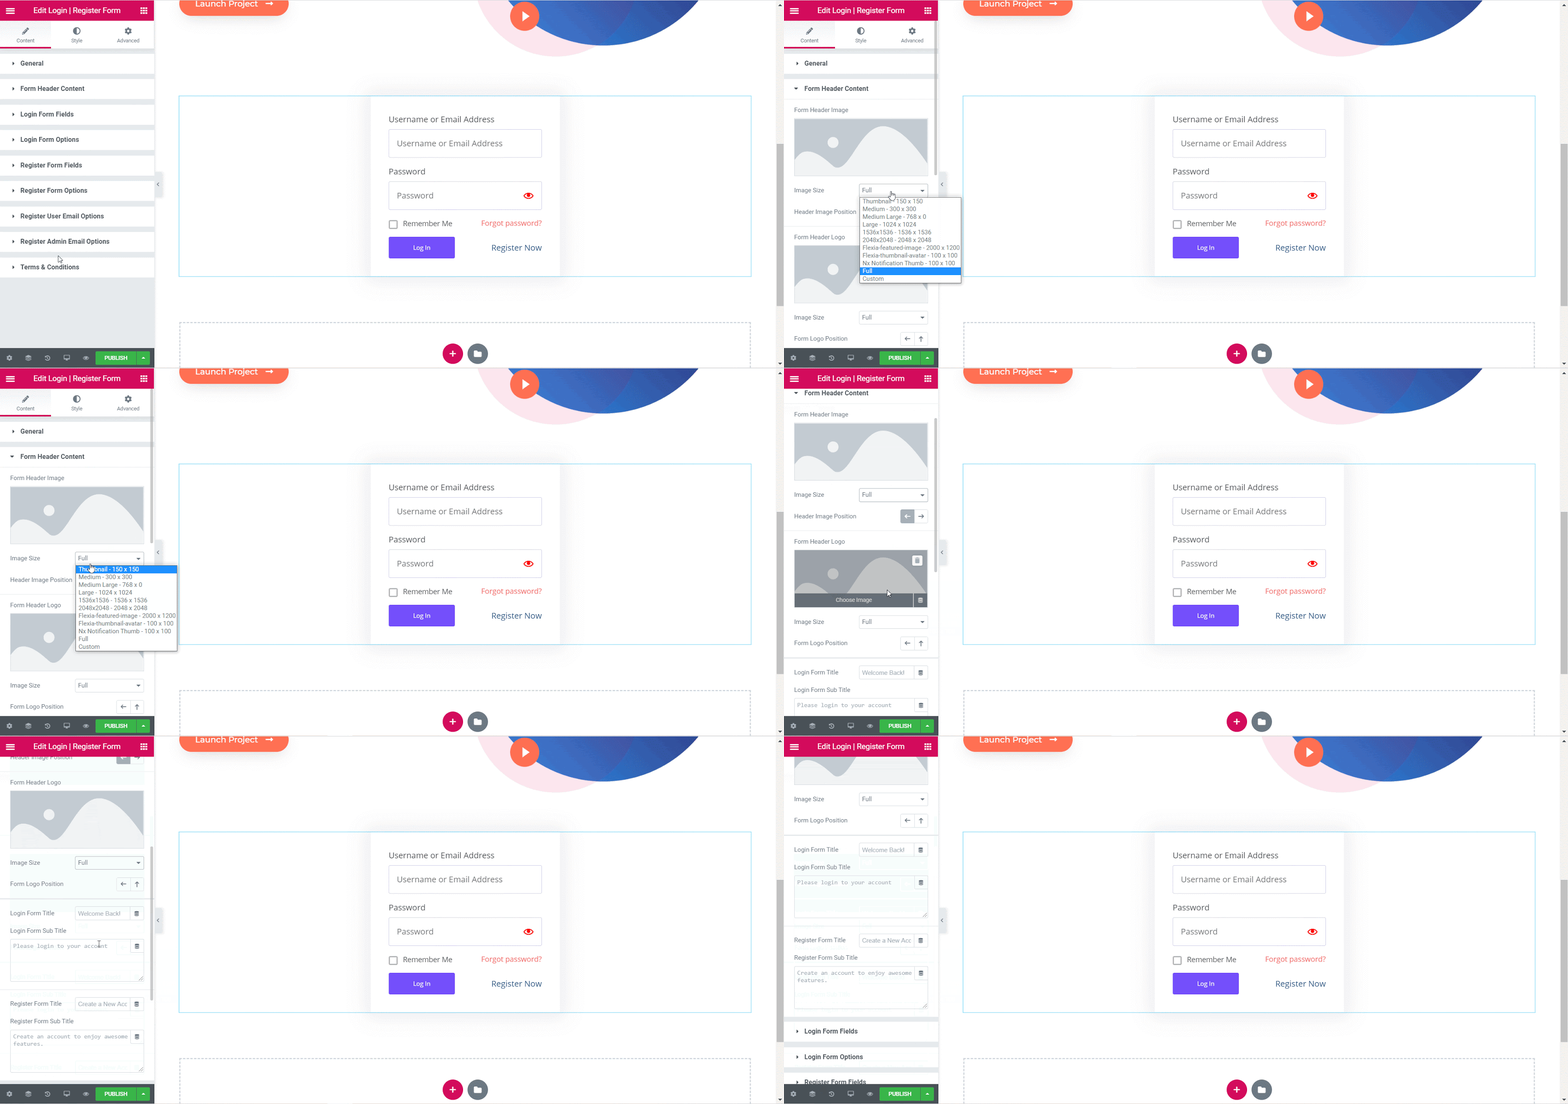
From the ‘Form Header Content’ section, you can set images for your Form Header and Form Logo. You can also adjust the size of the images and their position too. Besides, you can also add titles and subtitles for your login registration form.
Login Form Fields & Options #
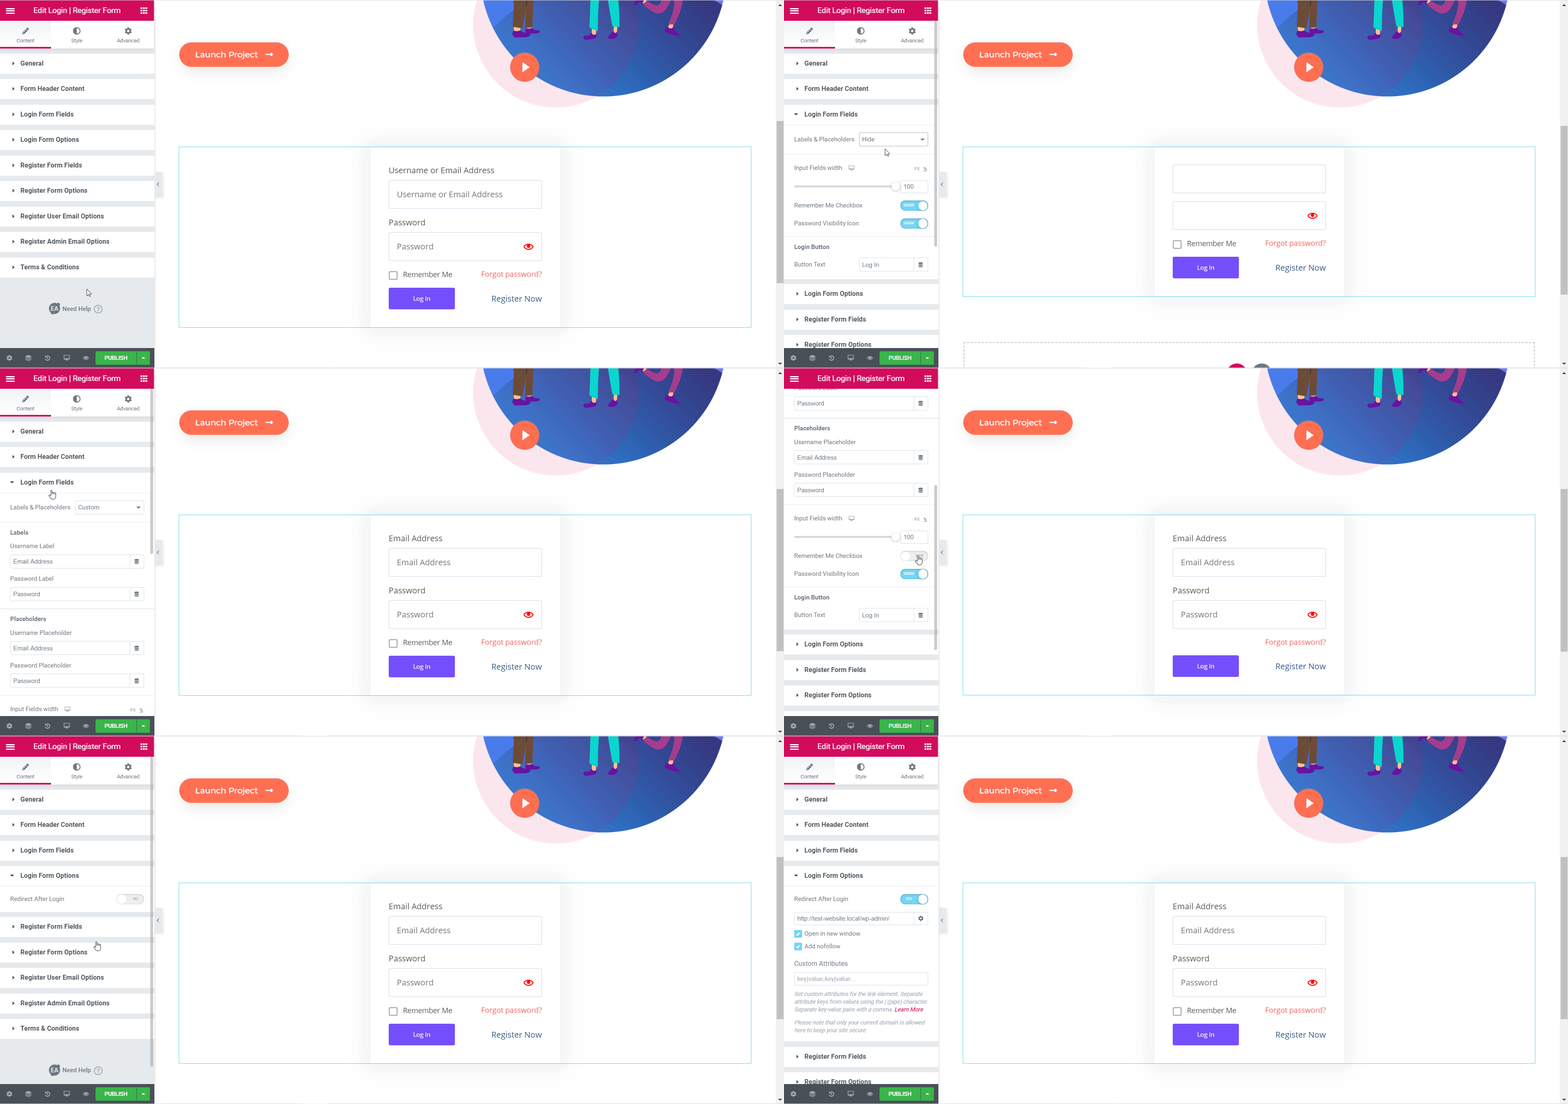
From the ‘Login Form Fields & Options’ section, you can choose to use either the default labels & placeholders, add your own custom labels & placeholders or completely hide them all. You can also use the toggle to show or hide the ‘Remember Me’ checkbox and ‘Password Visibility’ icon too.
Besides, you can change the button text, toggle to allow redirection after login, and adjust the options so the link opens in a new tab.
Social Login #
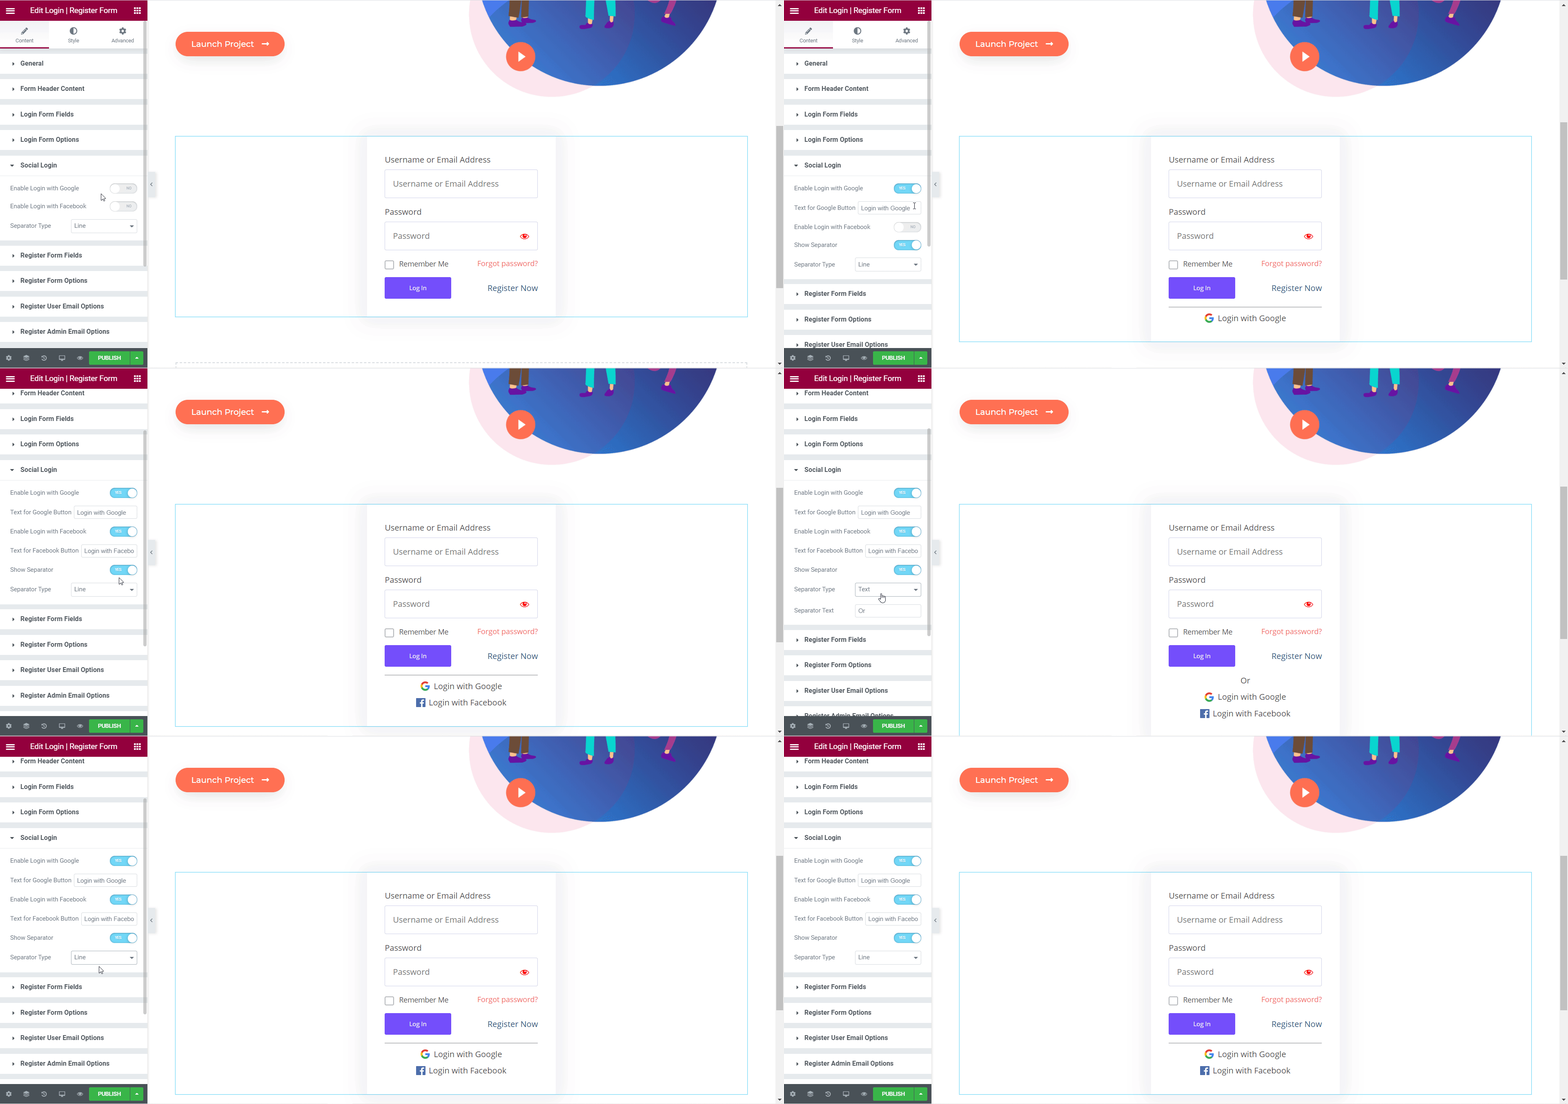
From under the ‘Social Login’ section you have the option to enable both Facebook login and Google login. You can toggle these options to allow site visitors to sign in with their Facebook or Google accounts.
If you want, you can display both social login options and separate them with a line or a text by toggling the ‘Show Separator’ option.
Register Form Fields & Options #
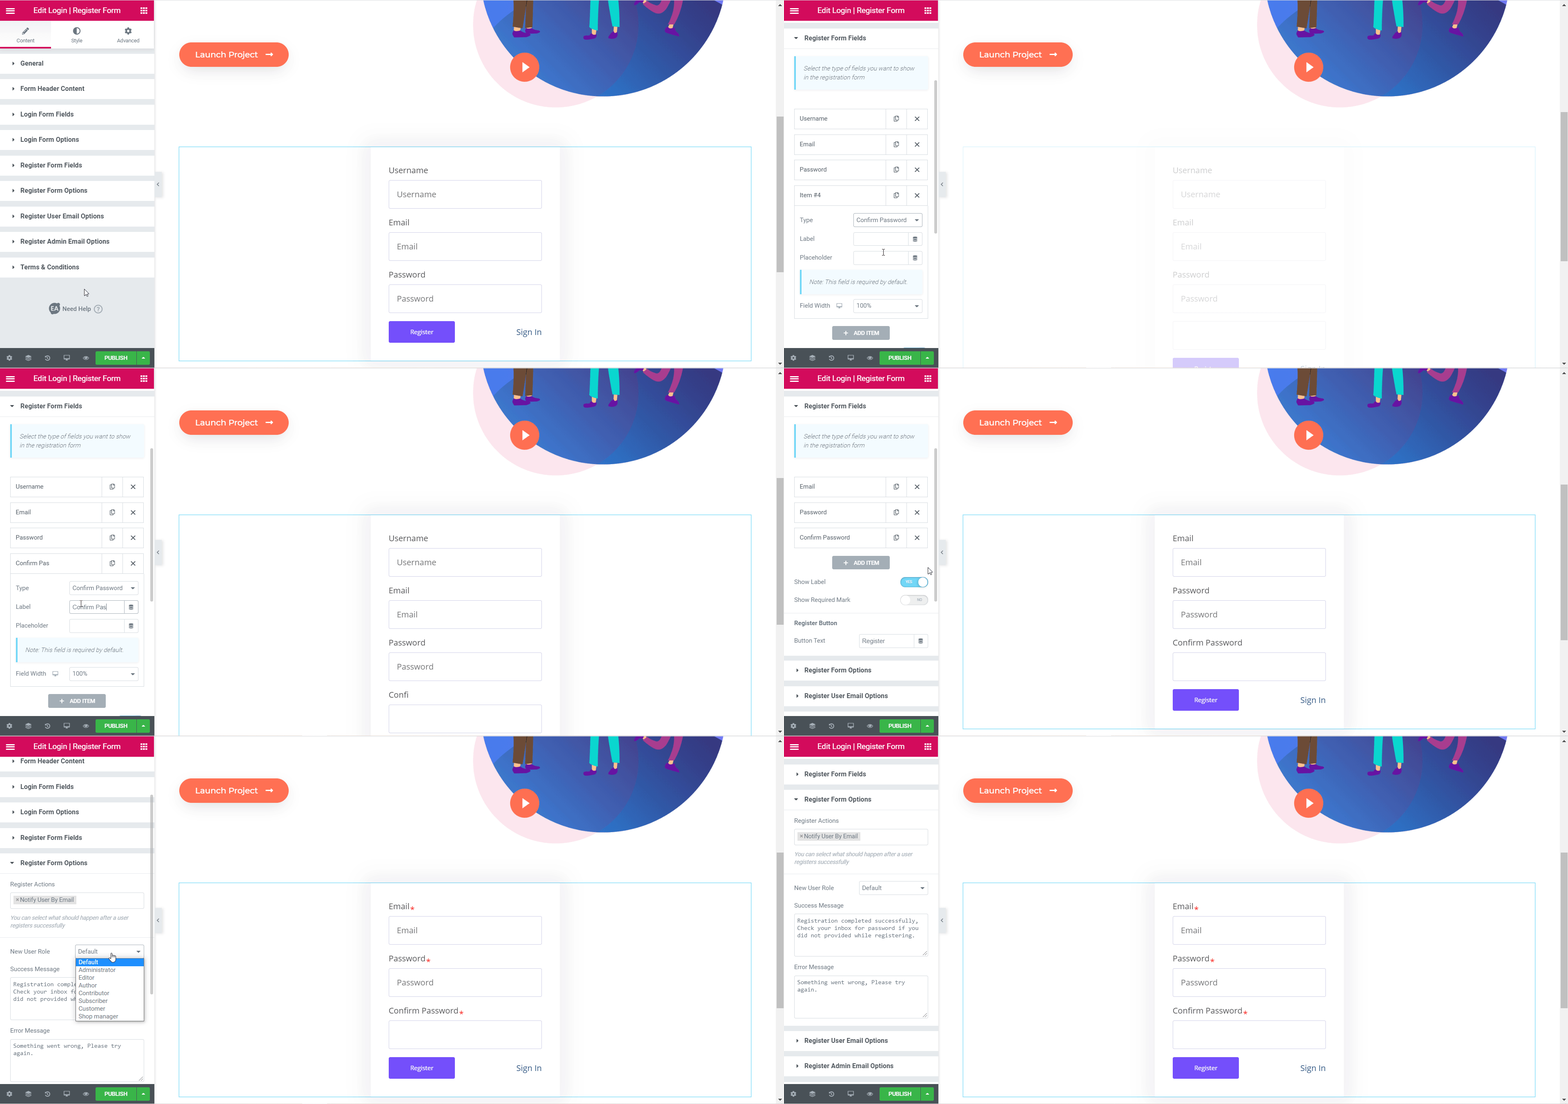
From the ‘Register Form Fields & Options’ section, you can choose to add and remove labels and placeholders. You can also toggle to show or hide labels and required marks, and change the button text for your registration form.
Moreover, you can select the new user role, compose your own custom success or error messages, and add register actions too.
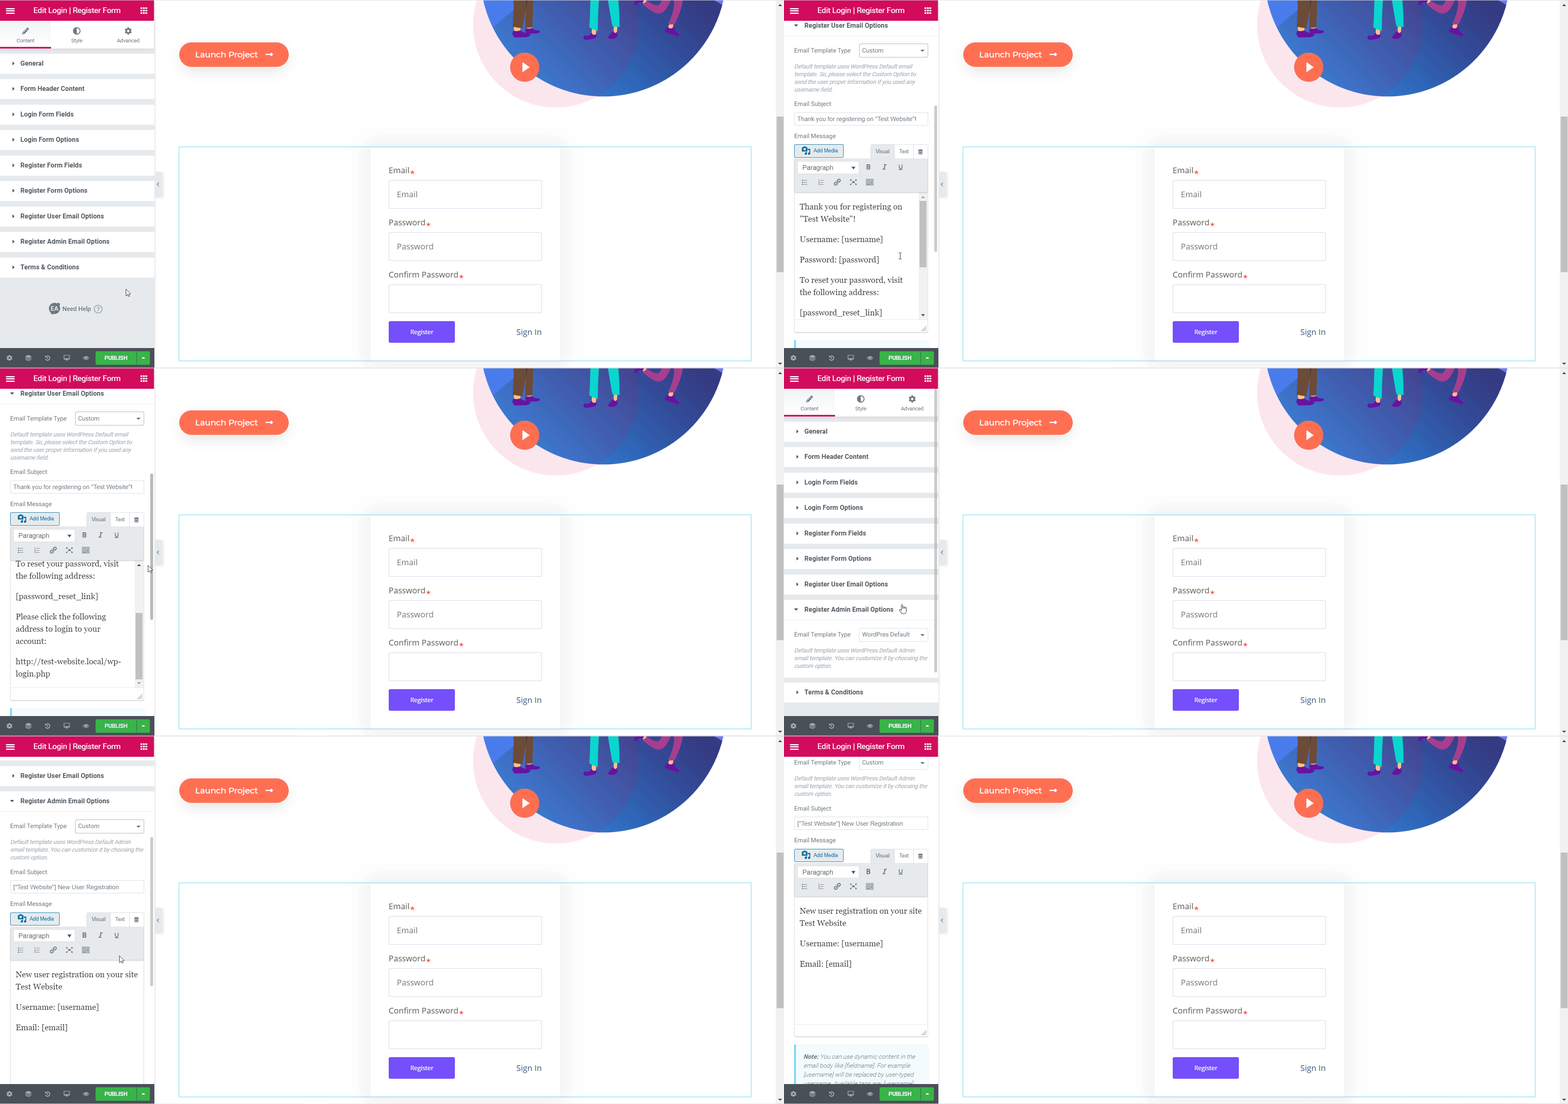
Register User & Admin Email Options #
From the ‘Register User & Admin Email Options’ section, you can choose your Email template type, add custom Email subject, and even change the Email content type.
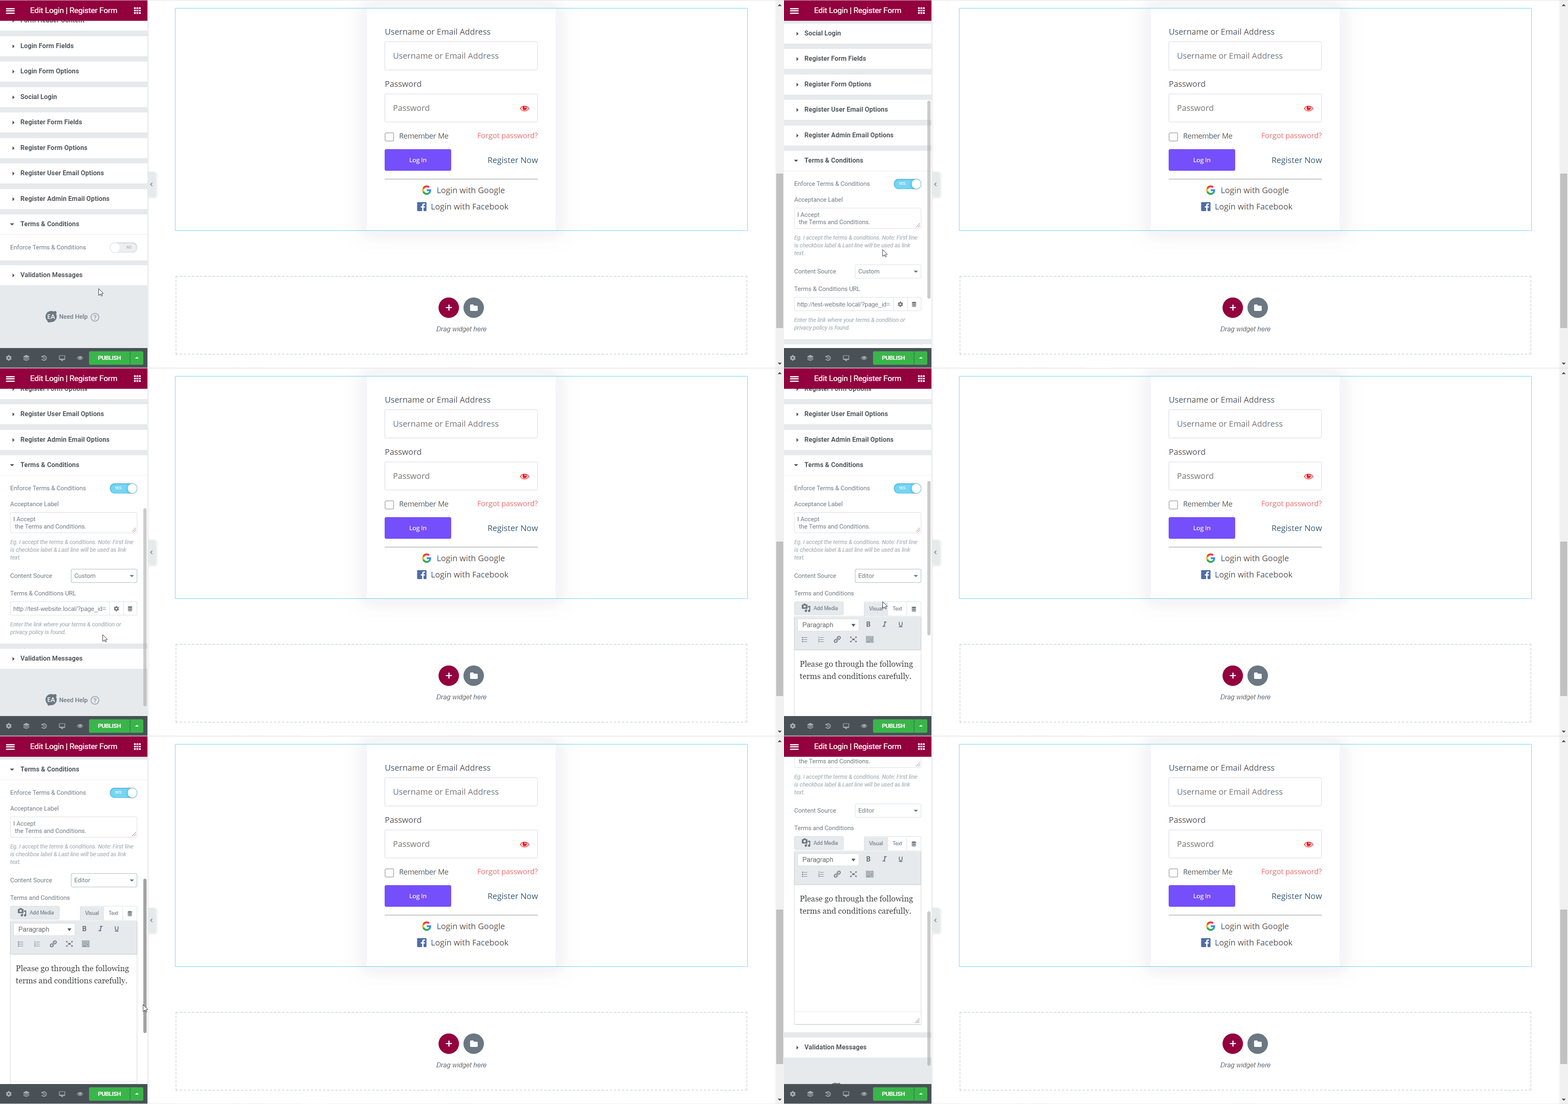
Terms & Conditions #
From the ‘Terms & Conditions’ section, you can choose to enforce terms and conditions whenever your site visitors want to register themselves. You can add a custom content source or write the content yourself using the Editor.
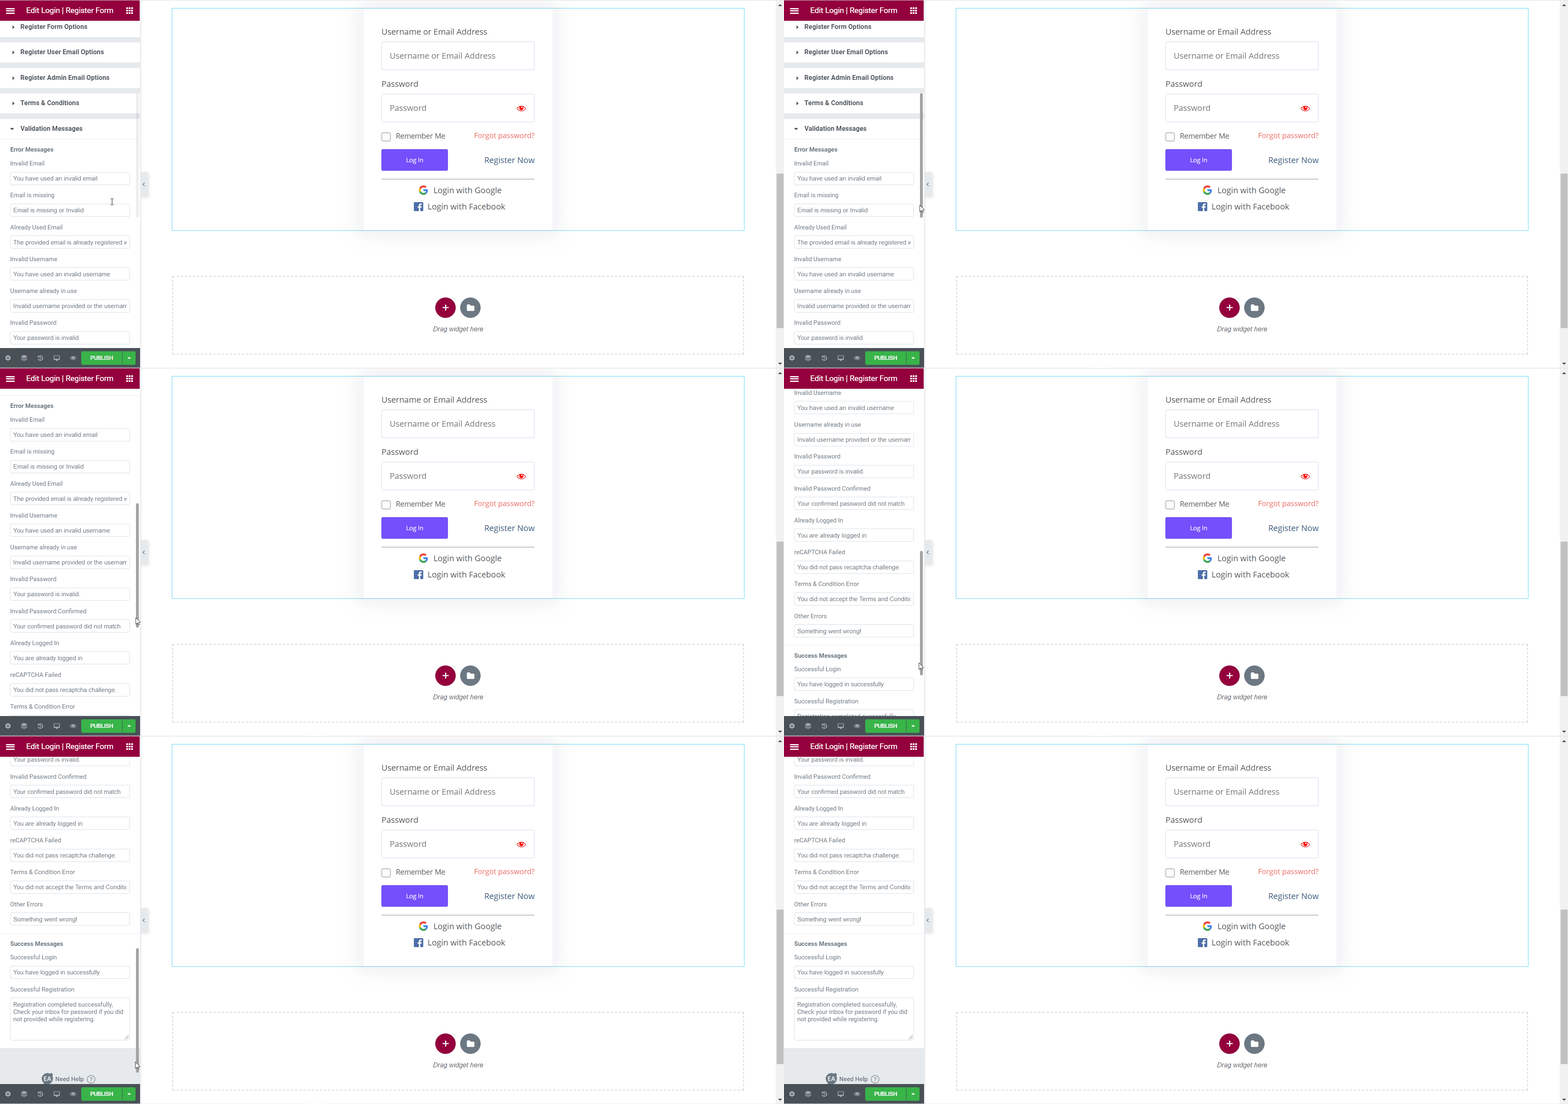
Validation Messages #
From the ‘Validation Messages’ section you have the option to display custom messages for different occasions such as error messages for when reCAPTCHA fails or for invalid emails, or success messages when a user logs in successfully.
How To Style EA Login | Register Form #
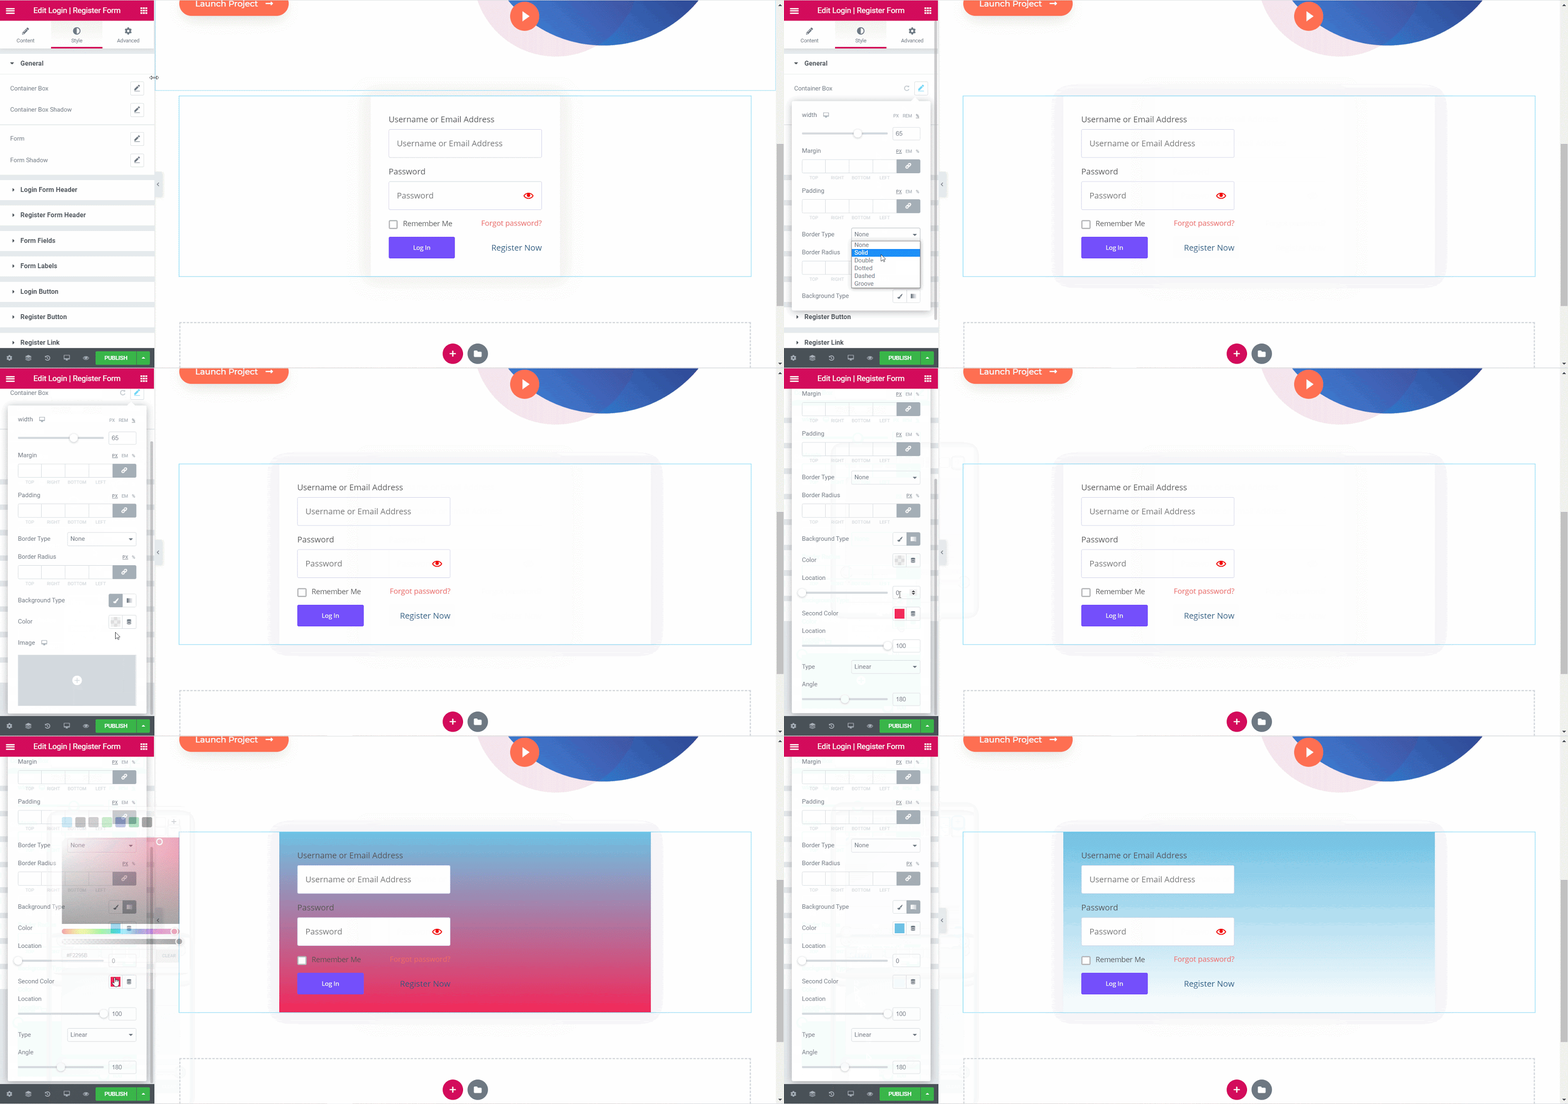
To style your EA Login | Register Form element, switch to the ‘Style’ tab and change the options there.
General #
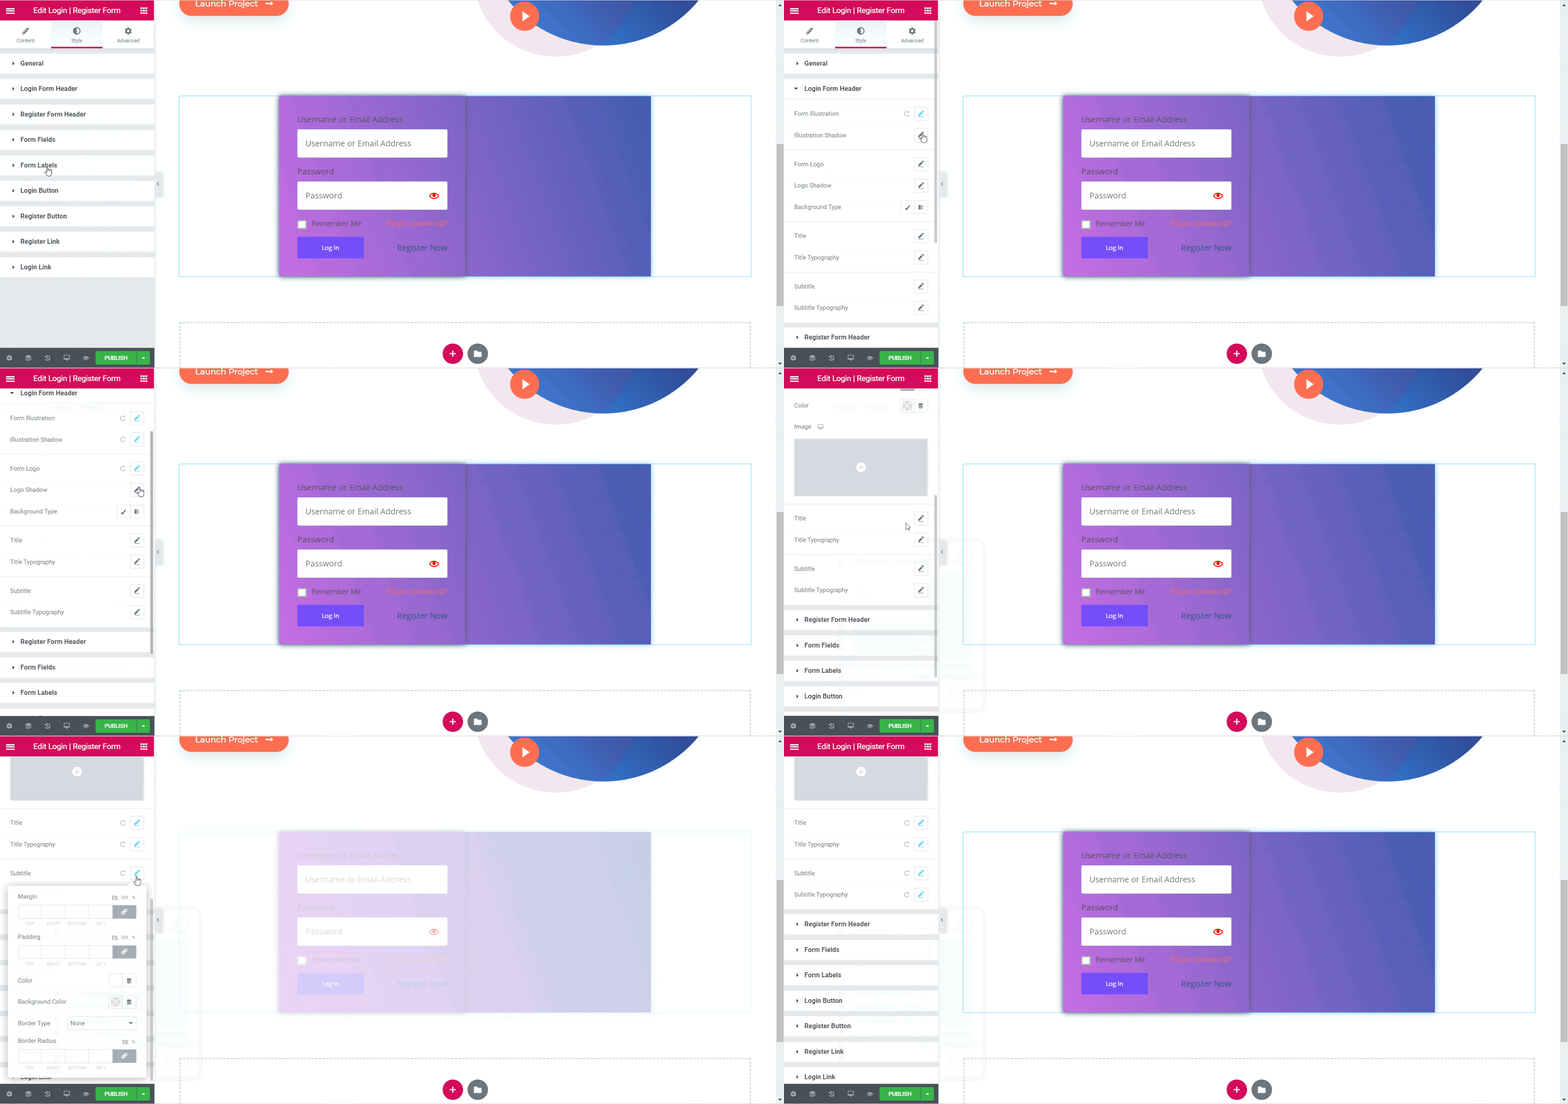
Under the ‘General’ section you can change the width for your container box, change margin and padding, add borders, and box-shadow. You can also set the background color, or use an image as your background or even go for a gradient background.
Login Form #
Under the ‘Login Form’ section, you can add images for your login form, change the background color and image. You can also change the title, subtitle, and typography for your login form.
Social Login Style #
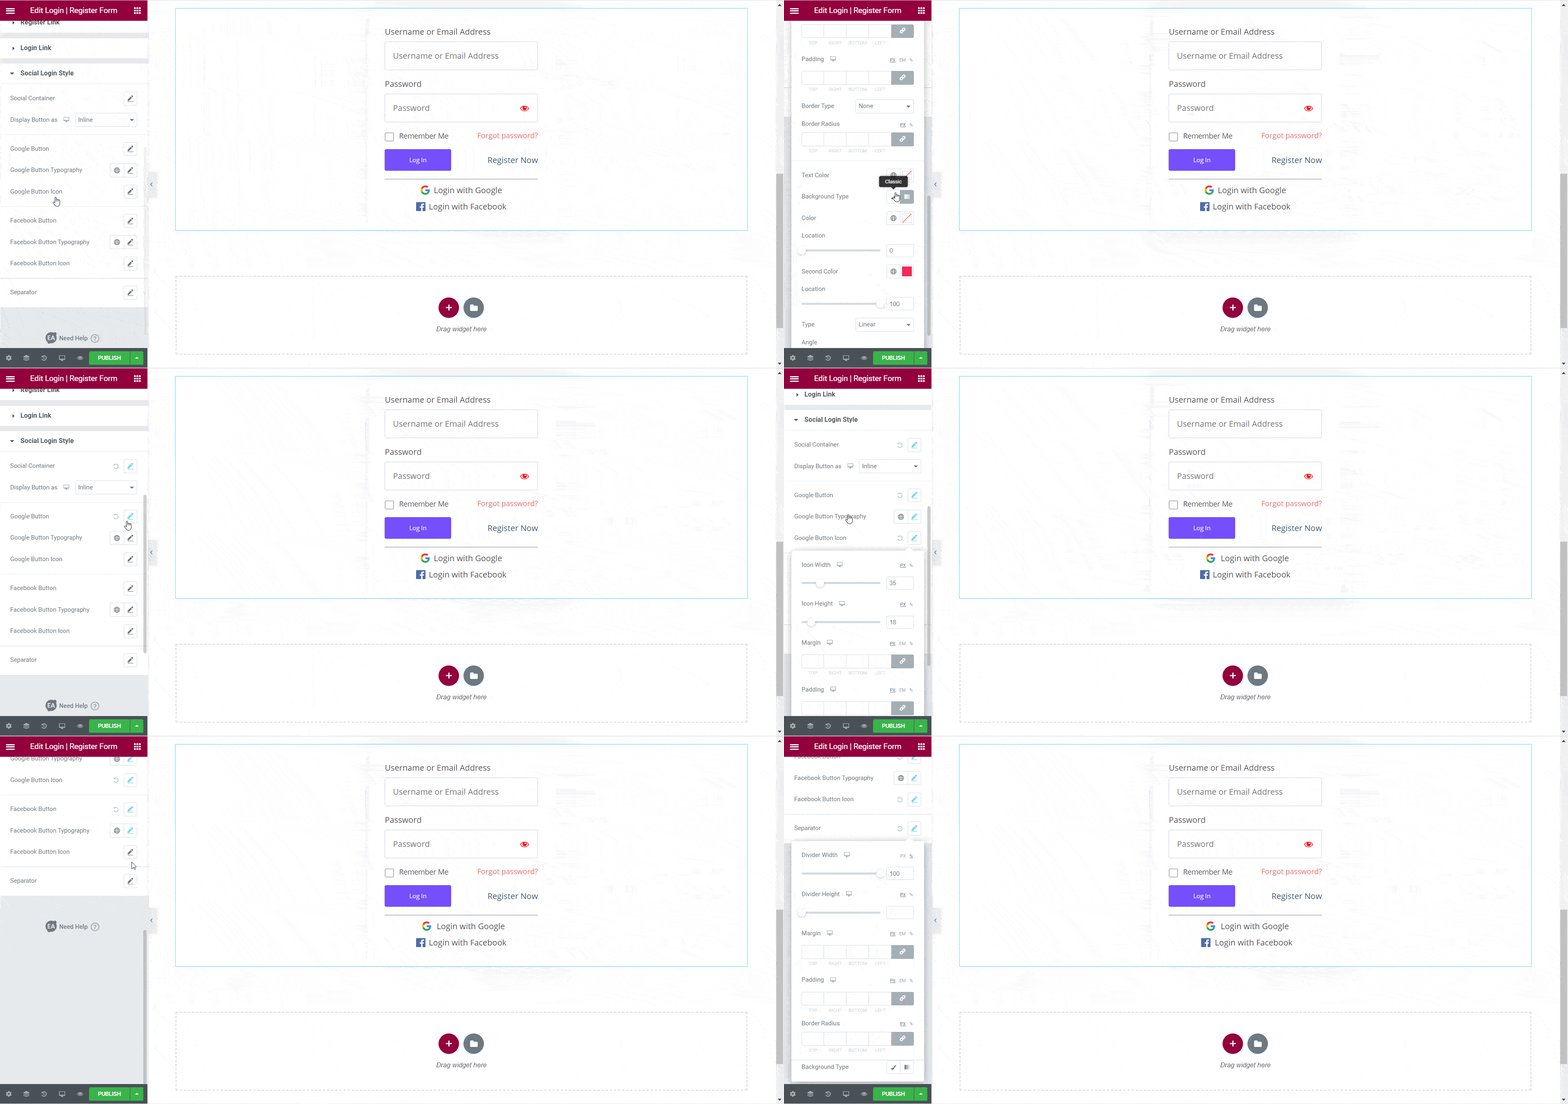
From the ‘Social Login Style’ section you can change the Social Container by adjusting the width and height, and changing the text and background colors. You can also style your Google Login and Facebook Login options by changing the typography, icon width and height, background colors and much more. If you want, you can also adjust the separator by changing the divider width and height.
Login Form reCAPTCHA #
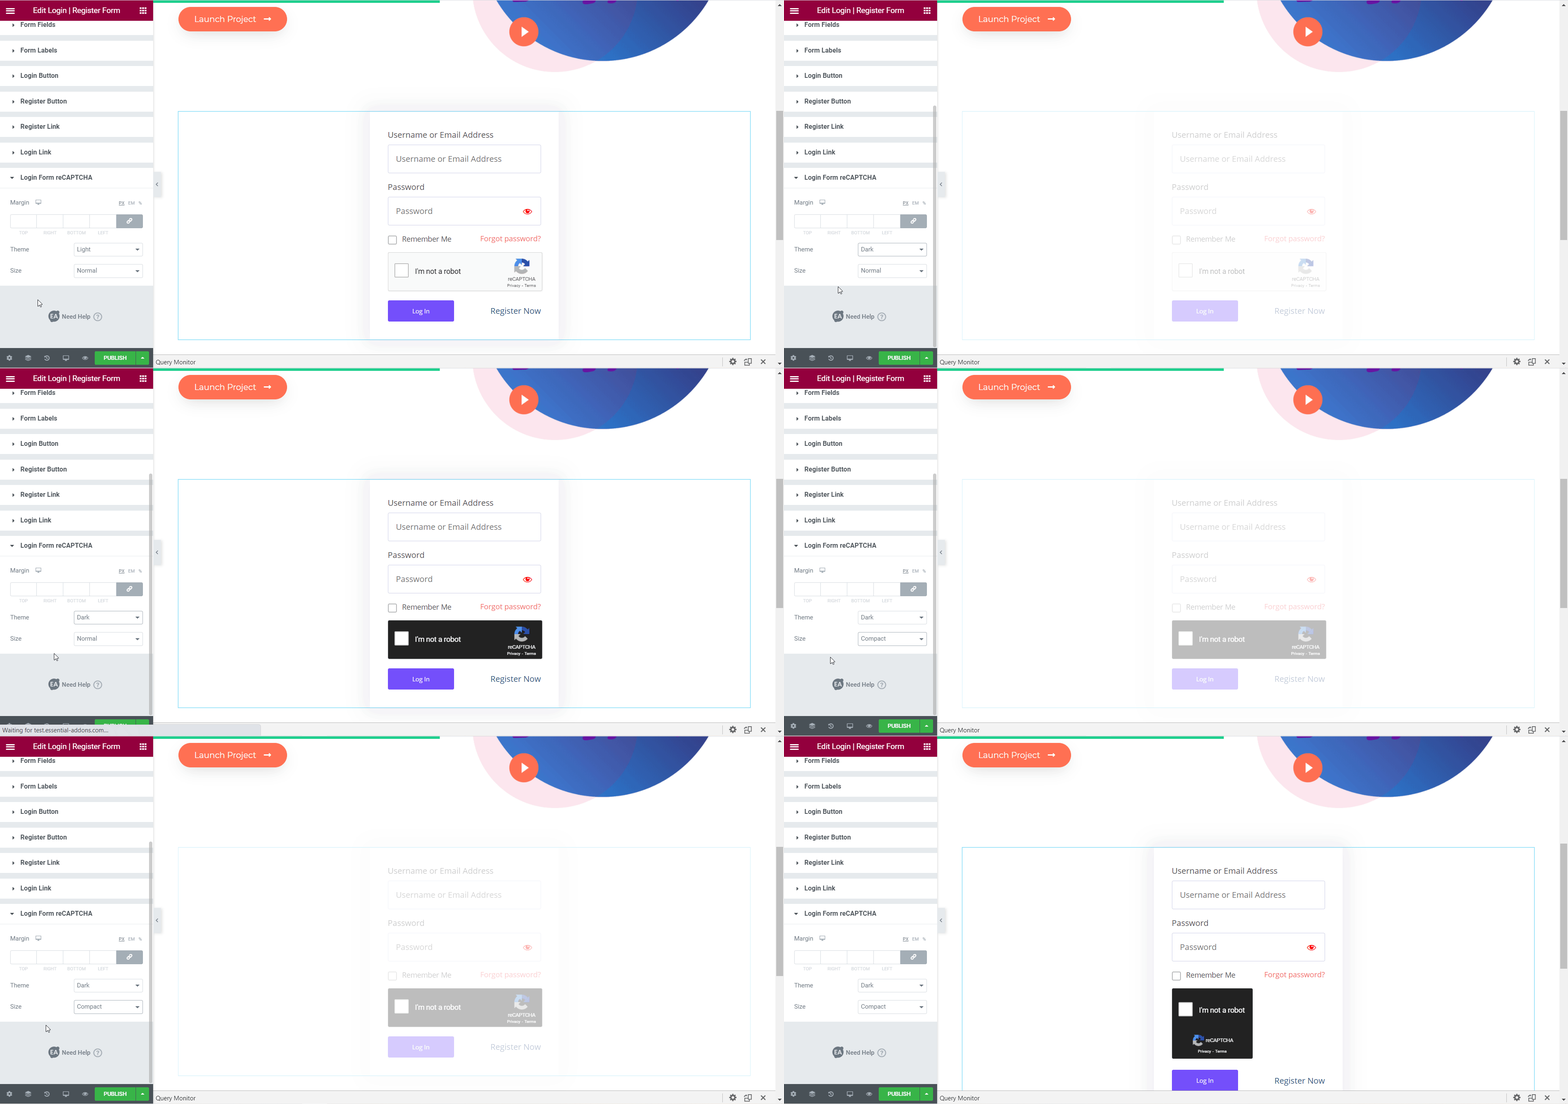
Under the ‘Login Form reCAPTCHA’ option you can change the margins for your reCAPTCHA, choose between a light or dark theme and change the size to compact.
Others #
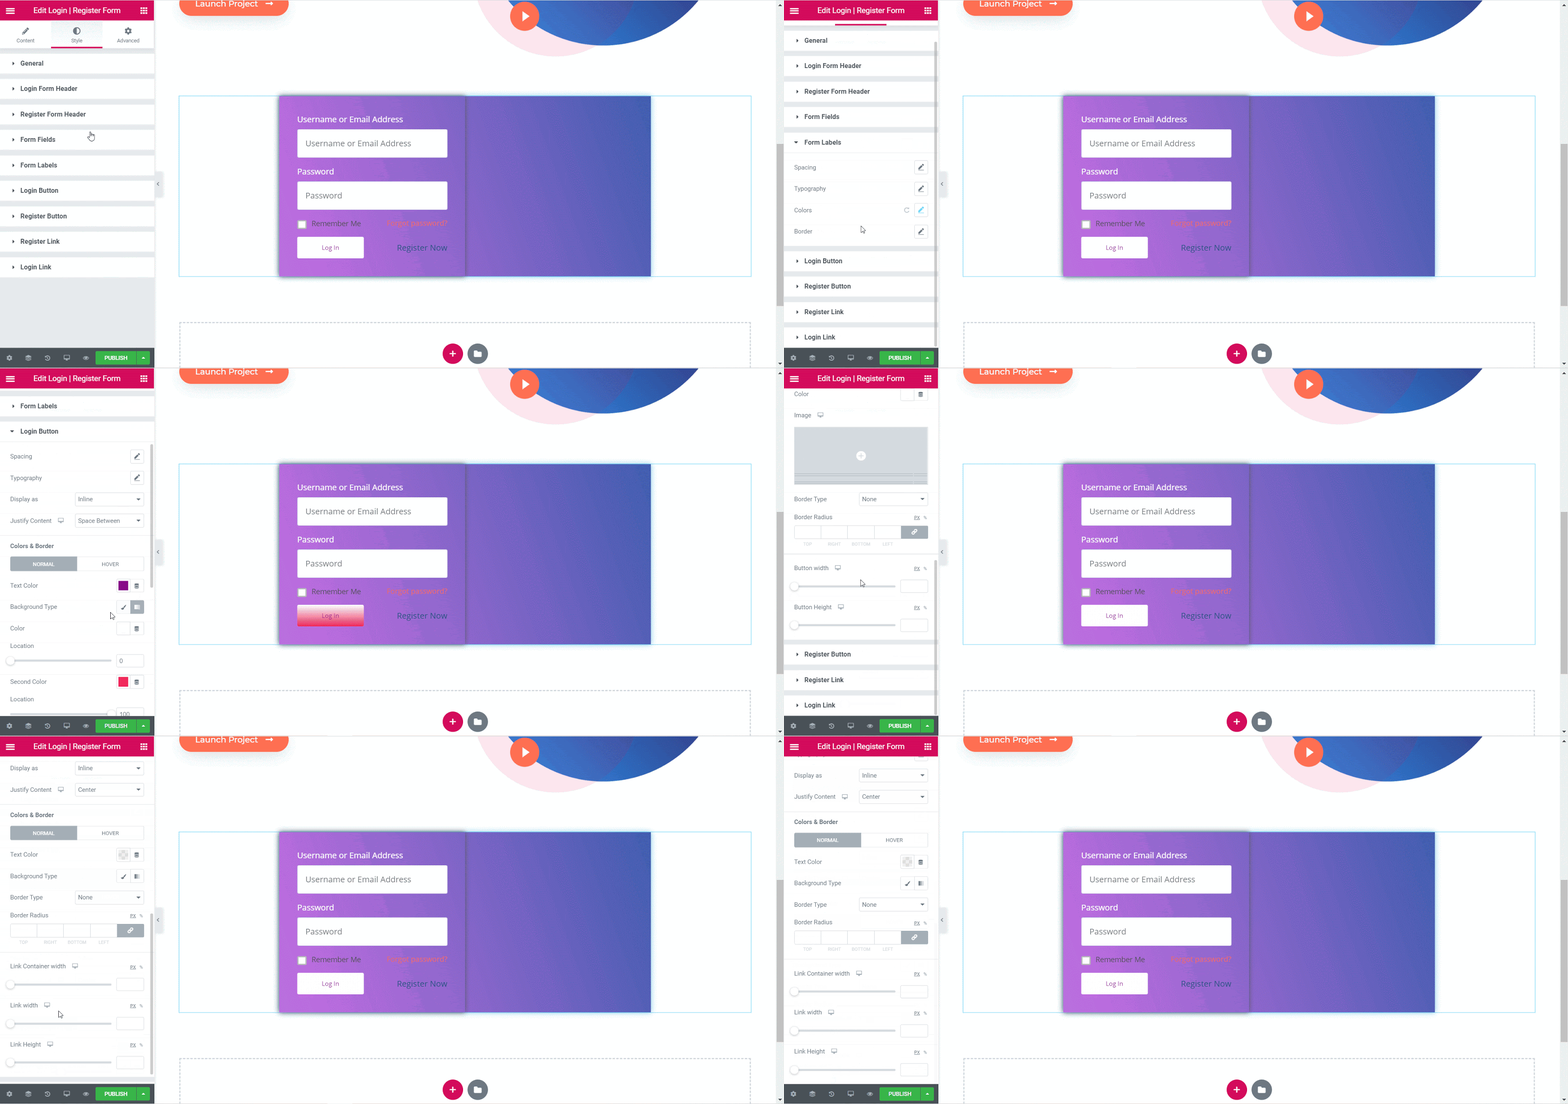
Besides this, you can also add register form illustration, add shadow for your illustrations, add form logo, background color for your registration form, change the title and background color of your button, and registration link.
Moreover, you can change the margin and padding, the typography, and the colors for each and every section in your login register form.
How To Integrate Mailchimp With EA Login | Register Form #
Follow the guideline below to create a new Mailchimp audience contact for each user registration using EA Login | Register Form widget.
First of all, you must have a Mailchimp account and collect your Mailchimp API key for integrating Mailchimp with EA Login | Register Form widget. Follow this documentation to learn how to create a Mailchimp account & collect the API key.
Once you have collected your Mailchimp API key now go to your WordPress dashboard and navigate to →’Essential Addons’→ ‘Elements’ → ‘EA Login | Register Form’. Then simply insert your API key in the ‘MailChimp API Key’ option and click on ‘Save Settings’.
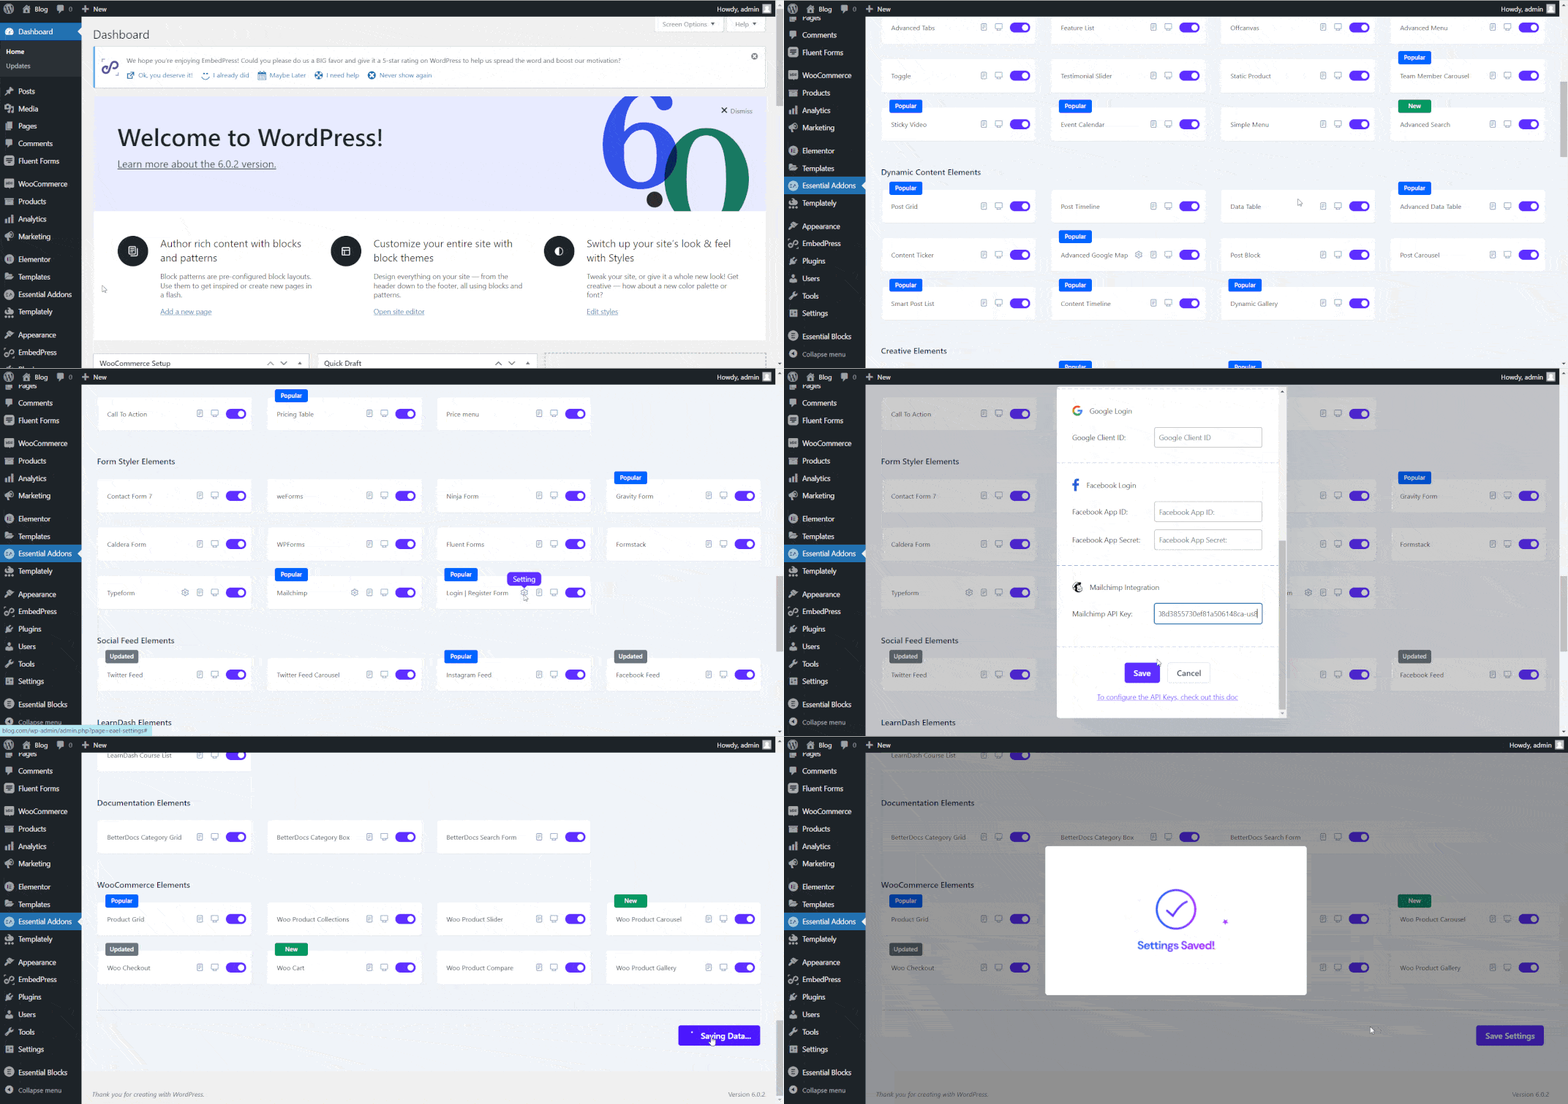
Now, open your page in Elementor and insert EA Login | Register Form element on your web page. Select the ‘EA Login | Register Form’ as ‘Registration’ then navigate to ‘Register Form General’ option. From there, toggle on the ‘Enable Mailchimp Integration’ option then select your audience contact list from the drop-down menu of the ‘Mailchimp List’ option.
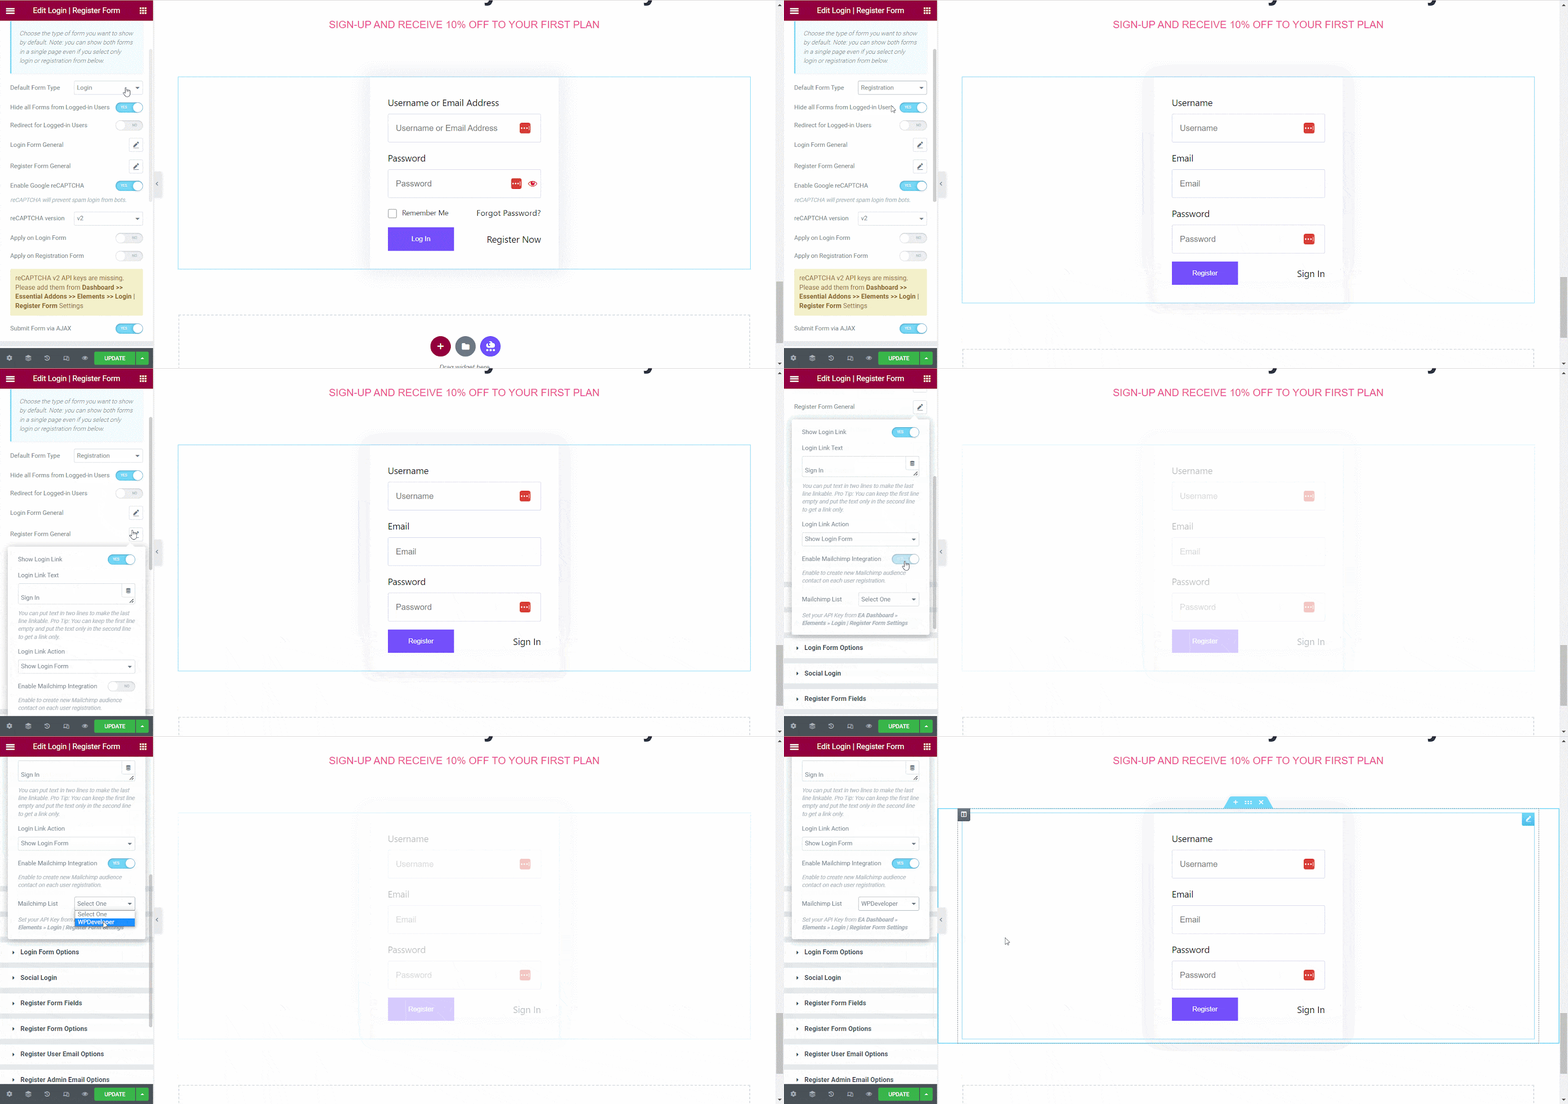
From now on, a new Mailchimp audience contact for each user registration will be created instatnly which you can check out from your Mailchimp account.
Final Outcome #
By following these basic steps you can create an attractive login register form with the help of Essential Addons.
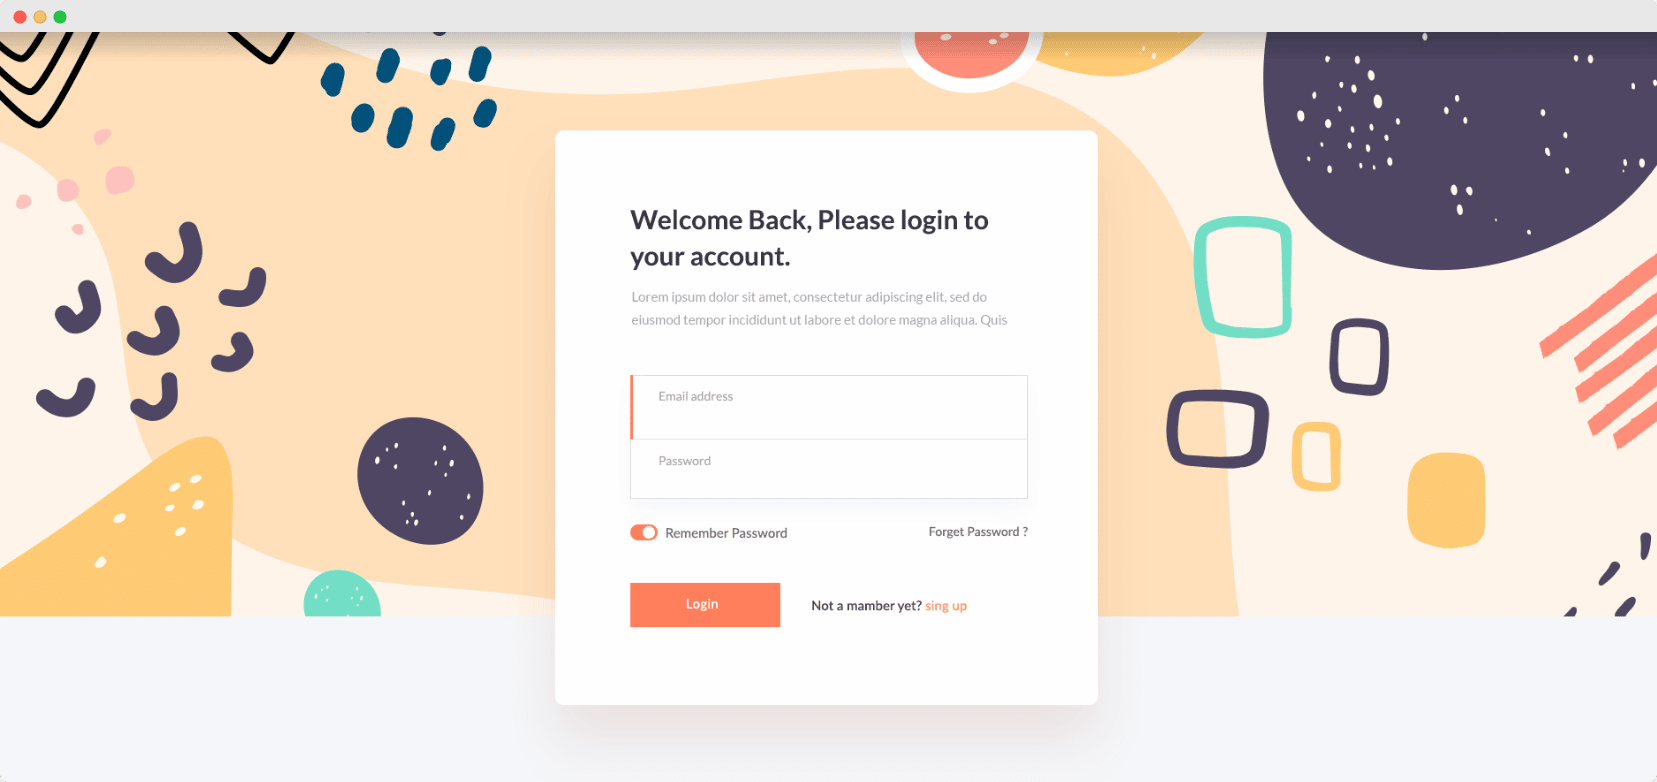
N.B: In order to preview your form, you have to copy the preview link of your page and open it in a new incognito window where you are not logged in to your website.
With these simple steps, you can design an eye-catching Login | Register Form in Elementor within a matter of minutes.
Getting Stuck? Feel free to contact our support team for further assistance.


