How to Configure & Style EA Content Protection #
EA Content Protection gives you the opportunity to restrict any Elementor content from certain people. It allows you to put privacy on your premium content based on User Roles or password. You can lock the important part of your page with Password protection as well.
Unlike EA Protected Content, this new Essential Addons extension called EA Content Protection gives you the freedom to put a restriction on any Elementor content you want.
How to Activate EA Content Protection #
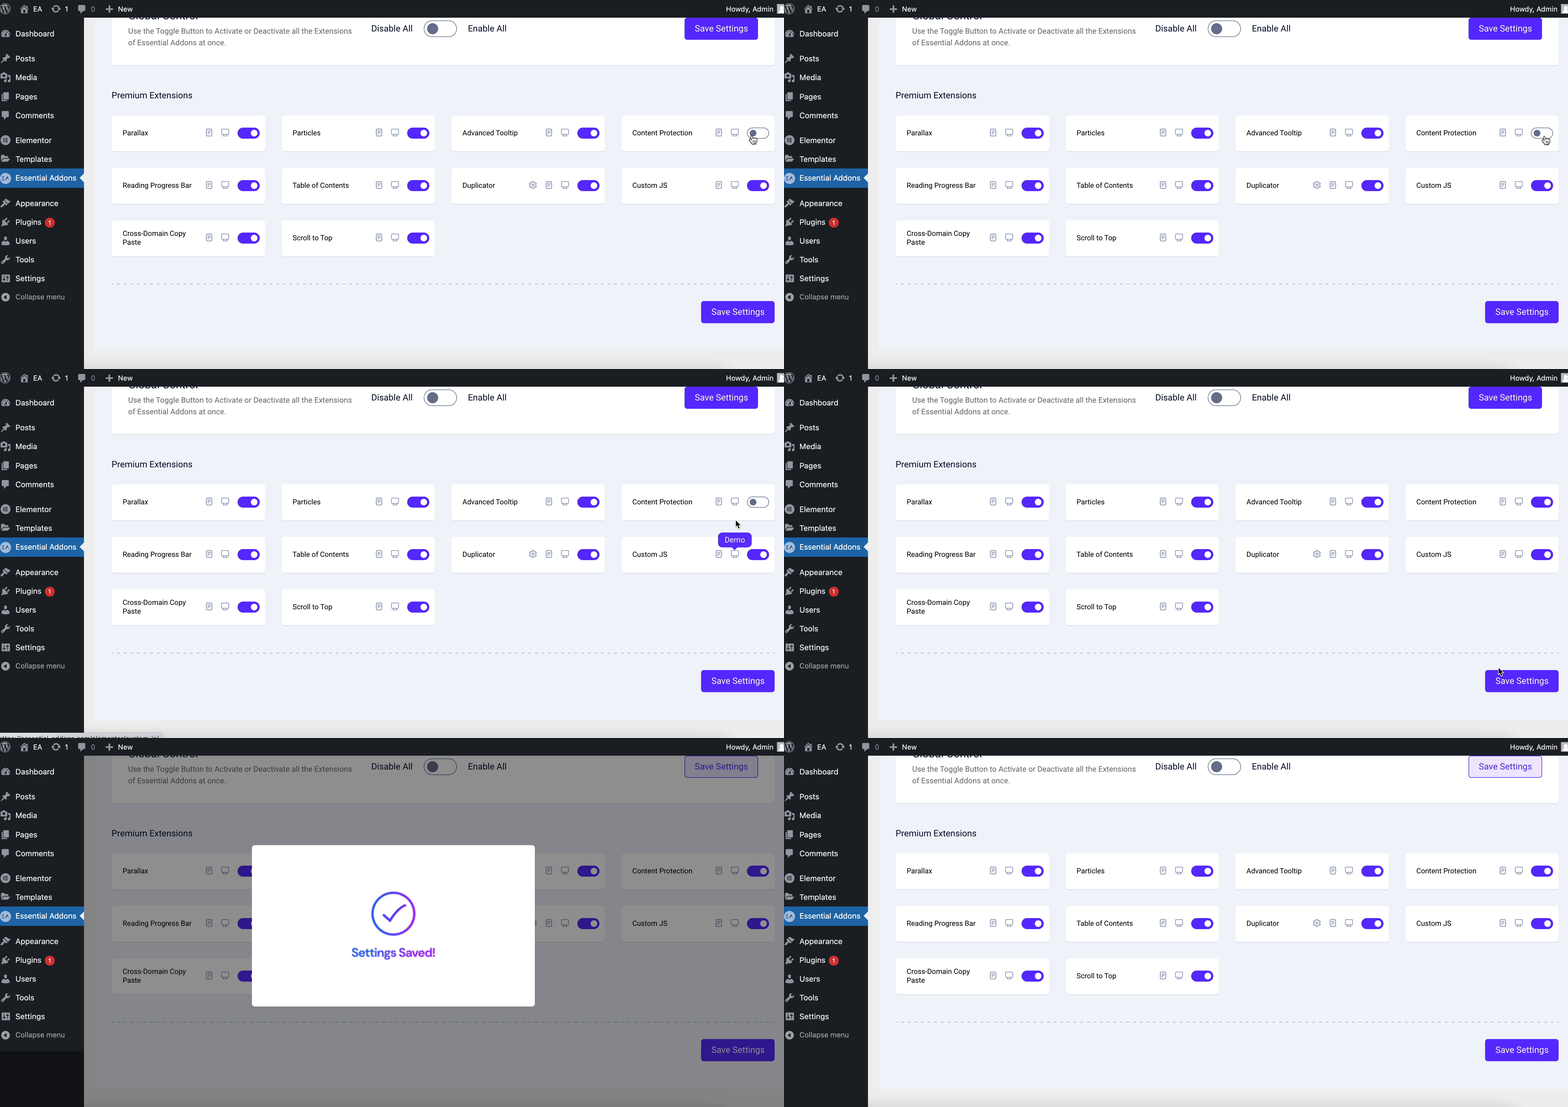
Before you begin, make sure that you have EA Content Protection Activated. To do so, go to your WordPress Dashboard and navigate to wp-admin -> Essential Addons -> Extensions. Simply just activate it and click on ‘Save Settings’.
How to Configure the EA Content Protection Settings #
EA Content Protection allows you to restrict any Elementor widget you want for certain users. First of all, you need to edit the widget which you want to lock down. After doing so, you will find the ‘EA Content Protection’ settings by switching to the ‘Advanced’ tab of that particular element. Use the toggle to turn it on.

User Role Based Protection #
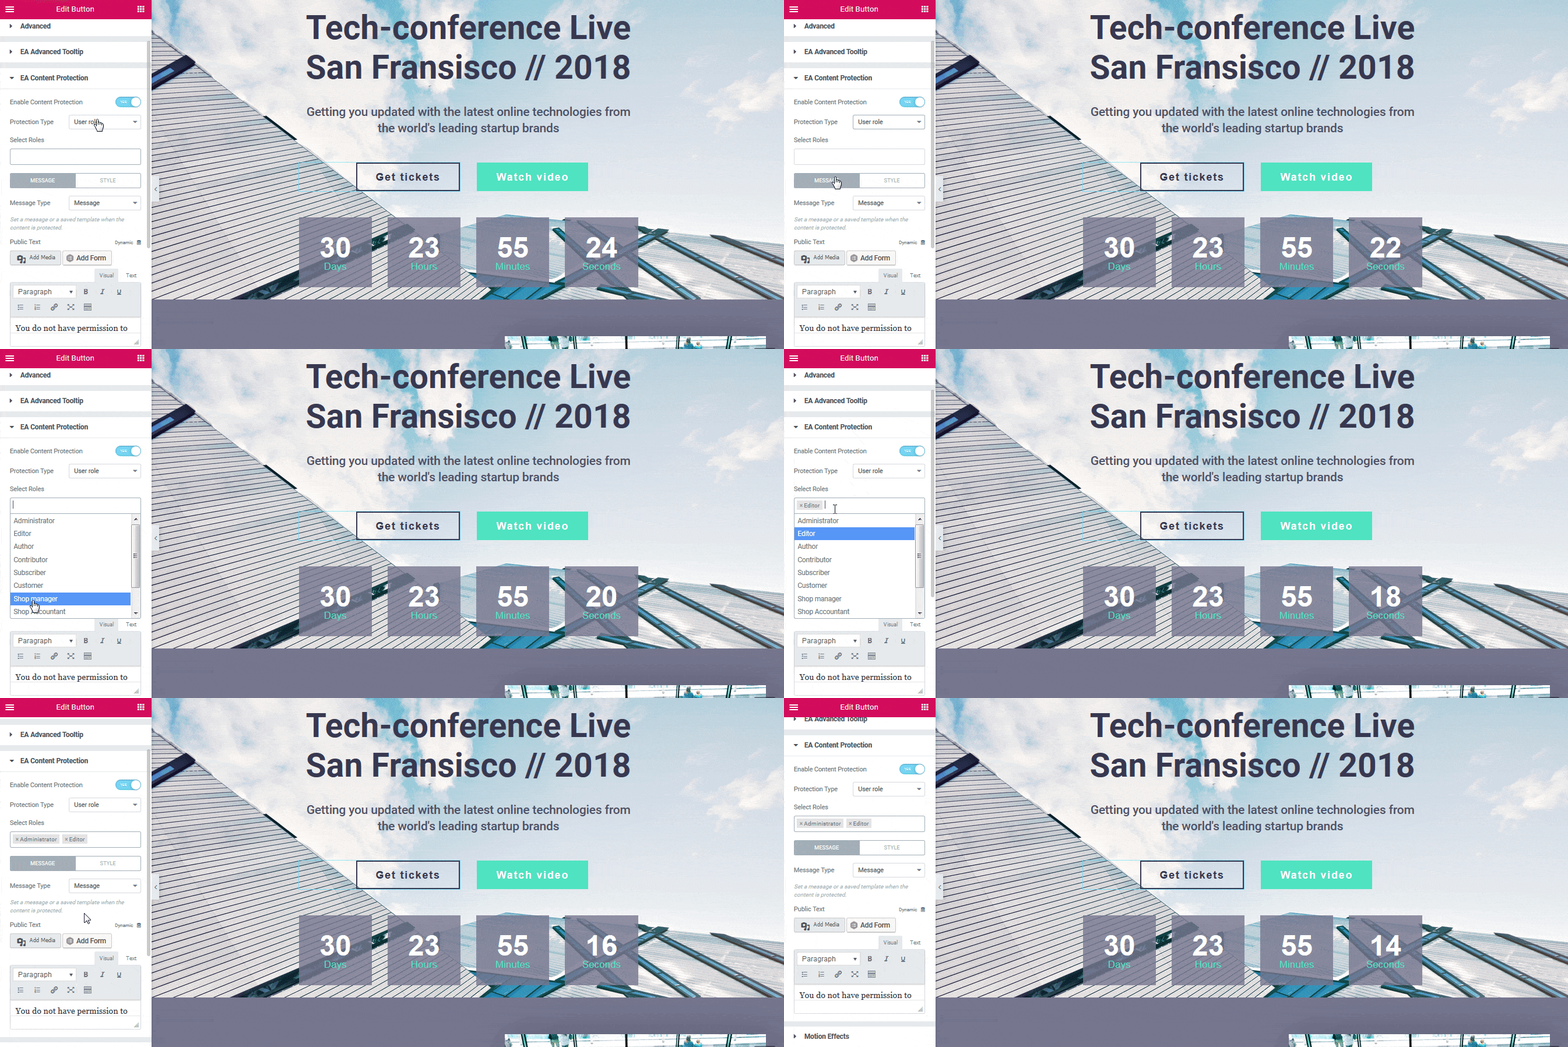
EA Protected Content offers two types Protection: User Role & Password Protected. You can use the drop-down menu to choose your preferred ‘Protection Type’. For ‘User Role’ based Protection, you can define the user roles for whom you want the content to be displayed.
Password Based Protection #
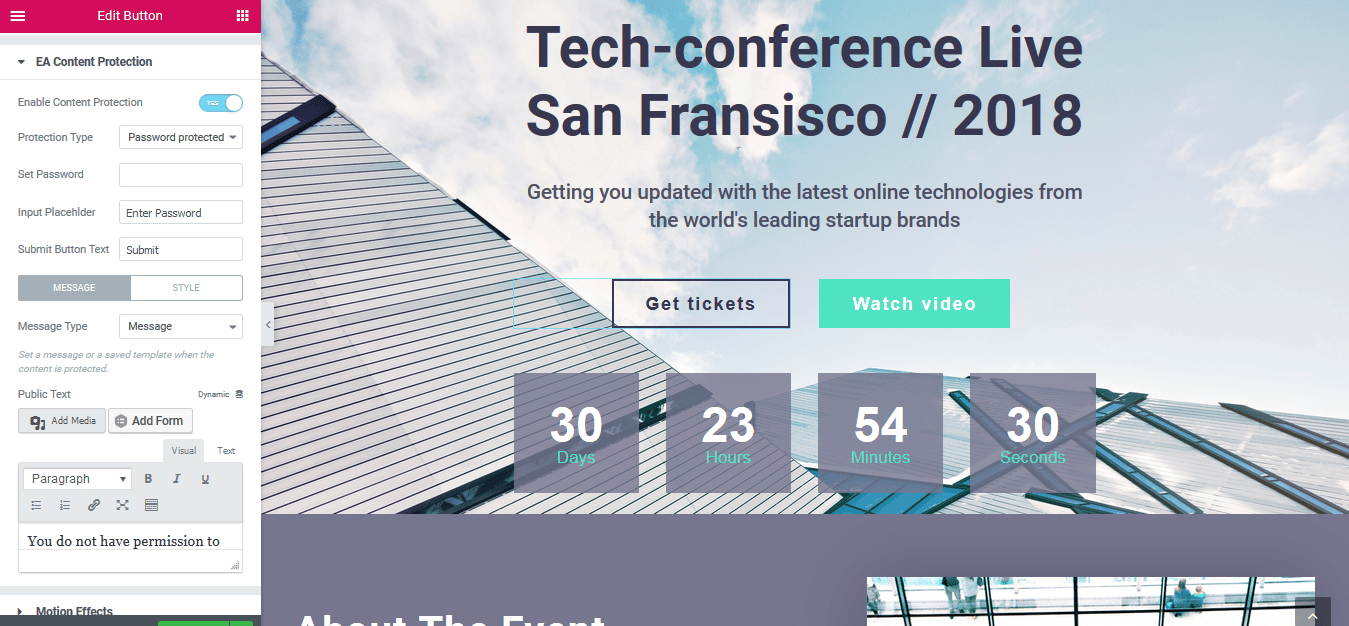
For ‘Password Protected’ type, you will have to set a password which will be required to insert to view the content. Besides, you can even change the ‘Input Placeholder’ & ‘Submit Button Text’ texts as well.
How to Set Up a Message #
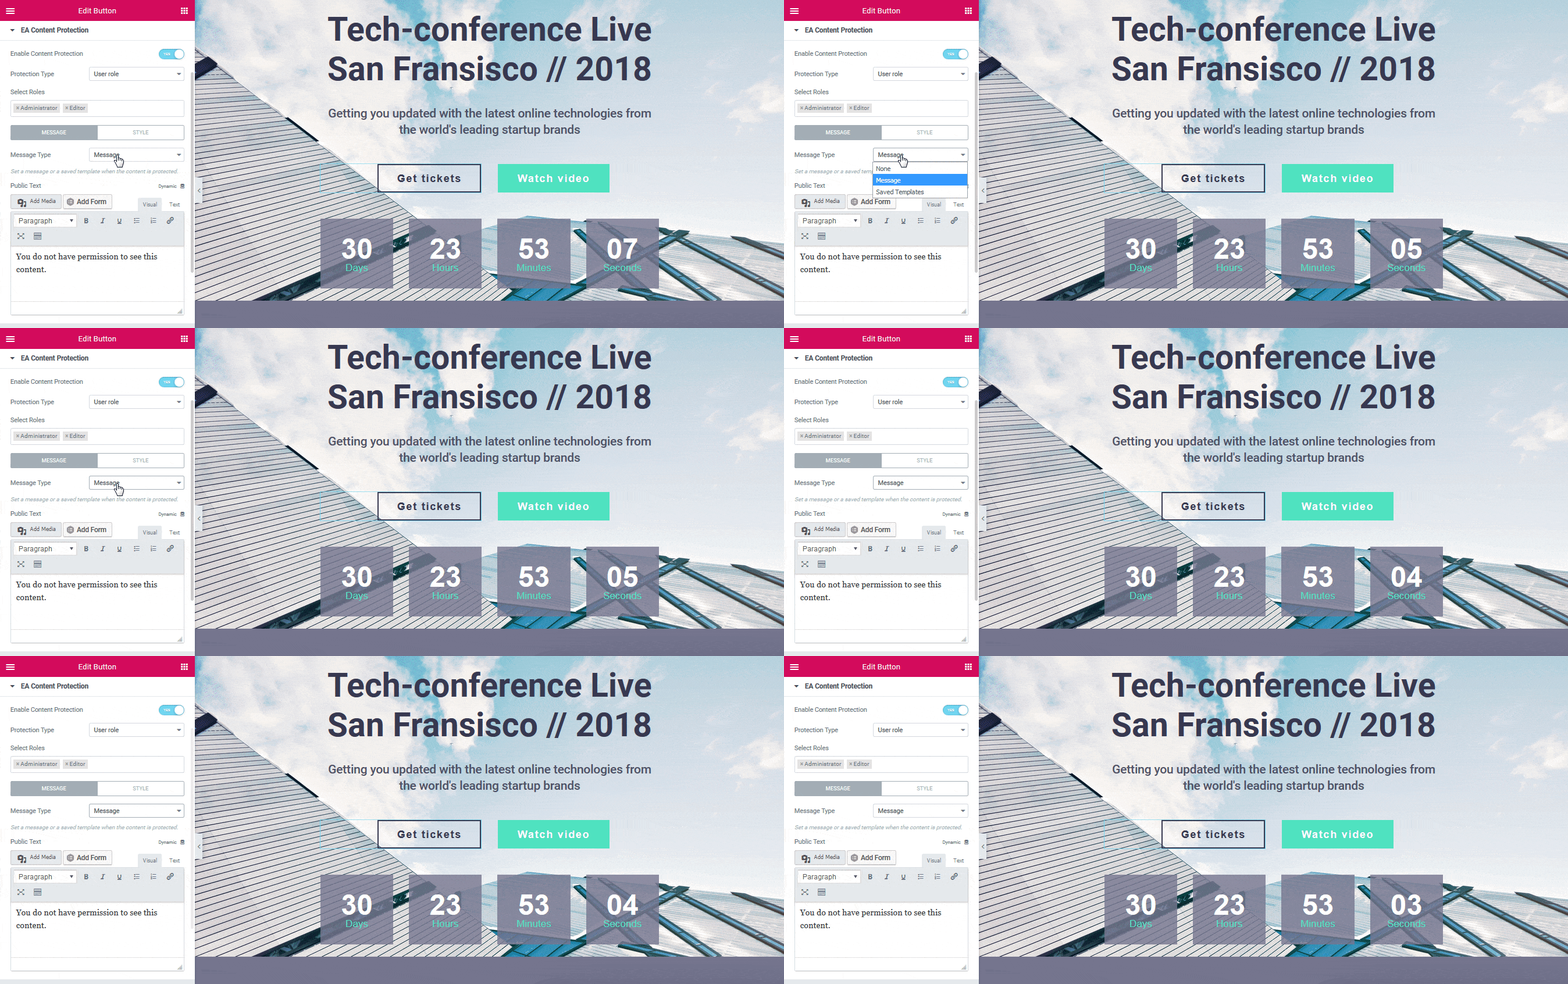
You can set the ‘Message Type’ to any of these three: None, Message and Saved Templates. You can go ahead and modify the content of the Message your as per your preference.
How to Style EA Content Protection #
EA Content Protection gives you the freedom to style all its features as per your wish. The ‘Styling’ options can vary depending on the ‘Protected Type’ you have chosen. For ‘User Role’ based protection, you will have the flexibility to customize the text color, alignment & typography of your Message.
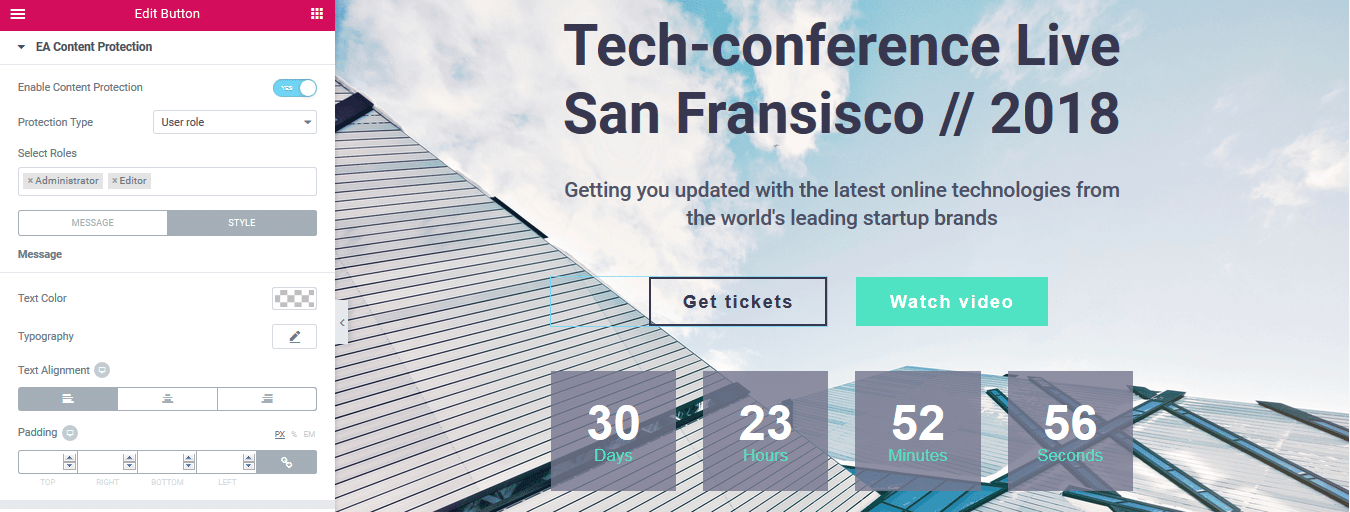
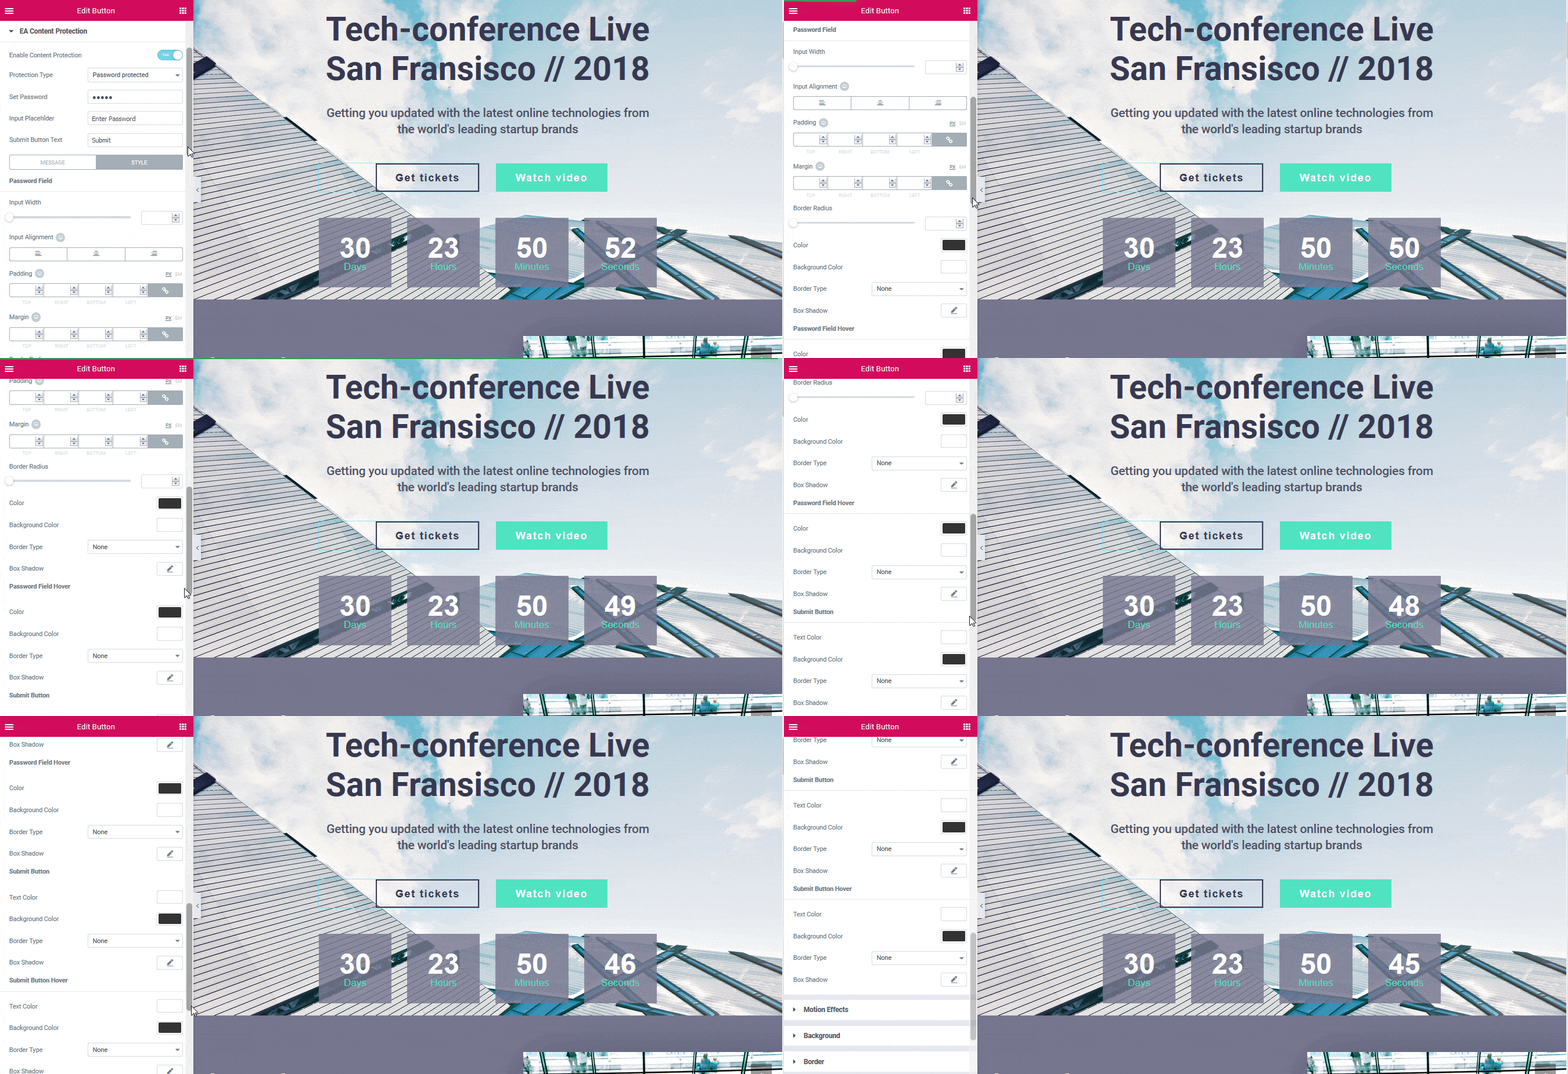
On the other hand, for ‘Password Protected’ type, you can style the ‘Password Field’ and ‘Submit Button’ as you want. You will also have the complete control over how you want these to be displayed when in ‘Normal’ and ‘Hover’ view. For instance, you can change the background & text color and its typography. You can even go ahead and play around with the Input width as well.
Final Outcome #
By following the basic steps and a bit more modifying, you can style EA Content Protection in however you want.

By using EA Content Protection, this is how you can easily restrict any Elementor content of yours without needing any prior coding knowledge whatsoever.
Getting stuck? Feel to Contact Our Support for further assistance.


