With the EA Hover Interaction extension, you can create fascinating visual experiences for your website users by applying effects on mouse hover over any content. You can add multiple interactive effects to various content, such as buttons, photos, and text, and add more dynamics to your content display and enhance the aesthetics of your web pages.
Follow this step-by-step guide to learn how to activate and configure Hover Interaction for Elementor on your website.
Step 1: Activate EA Hover Interaction #
Before you begin, make sure that you have activated the Hover Interaction. To do so, navigate to ‘Essential Addons → Extensions’ from your WordPress Dashboard. Then, activate ‘Hover Interaction’ and hit ‘Save Settings’.

Now, open a page or post in Elementor, and select the widget where you want to add hover interaction effects. Now navigate to ‘Advanced → Hover Interaction’ and enable the extension. You can also enable ‘Show Preview in Editor’ to see a live preview of the effects you choose between normal and hover effects.

Step 2: Configure Hover Interactions for Widgets #
EA Hover Interaction has 4 options to apply different hover interactions on the content of your web page display. They are Opacity, Filter, Offset, and Transform. Plus, it comes with the options to control the delay and duration of hover effects and adjust easing.
Opacity Effects #
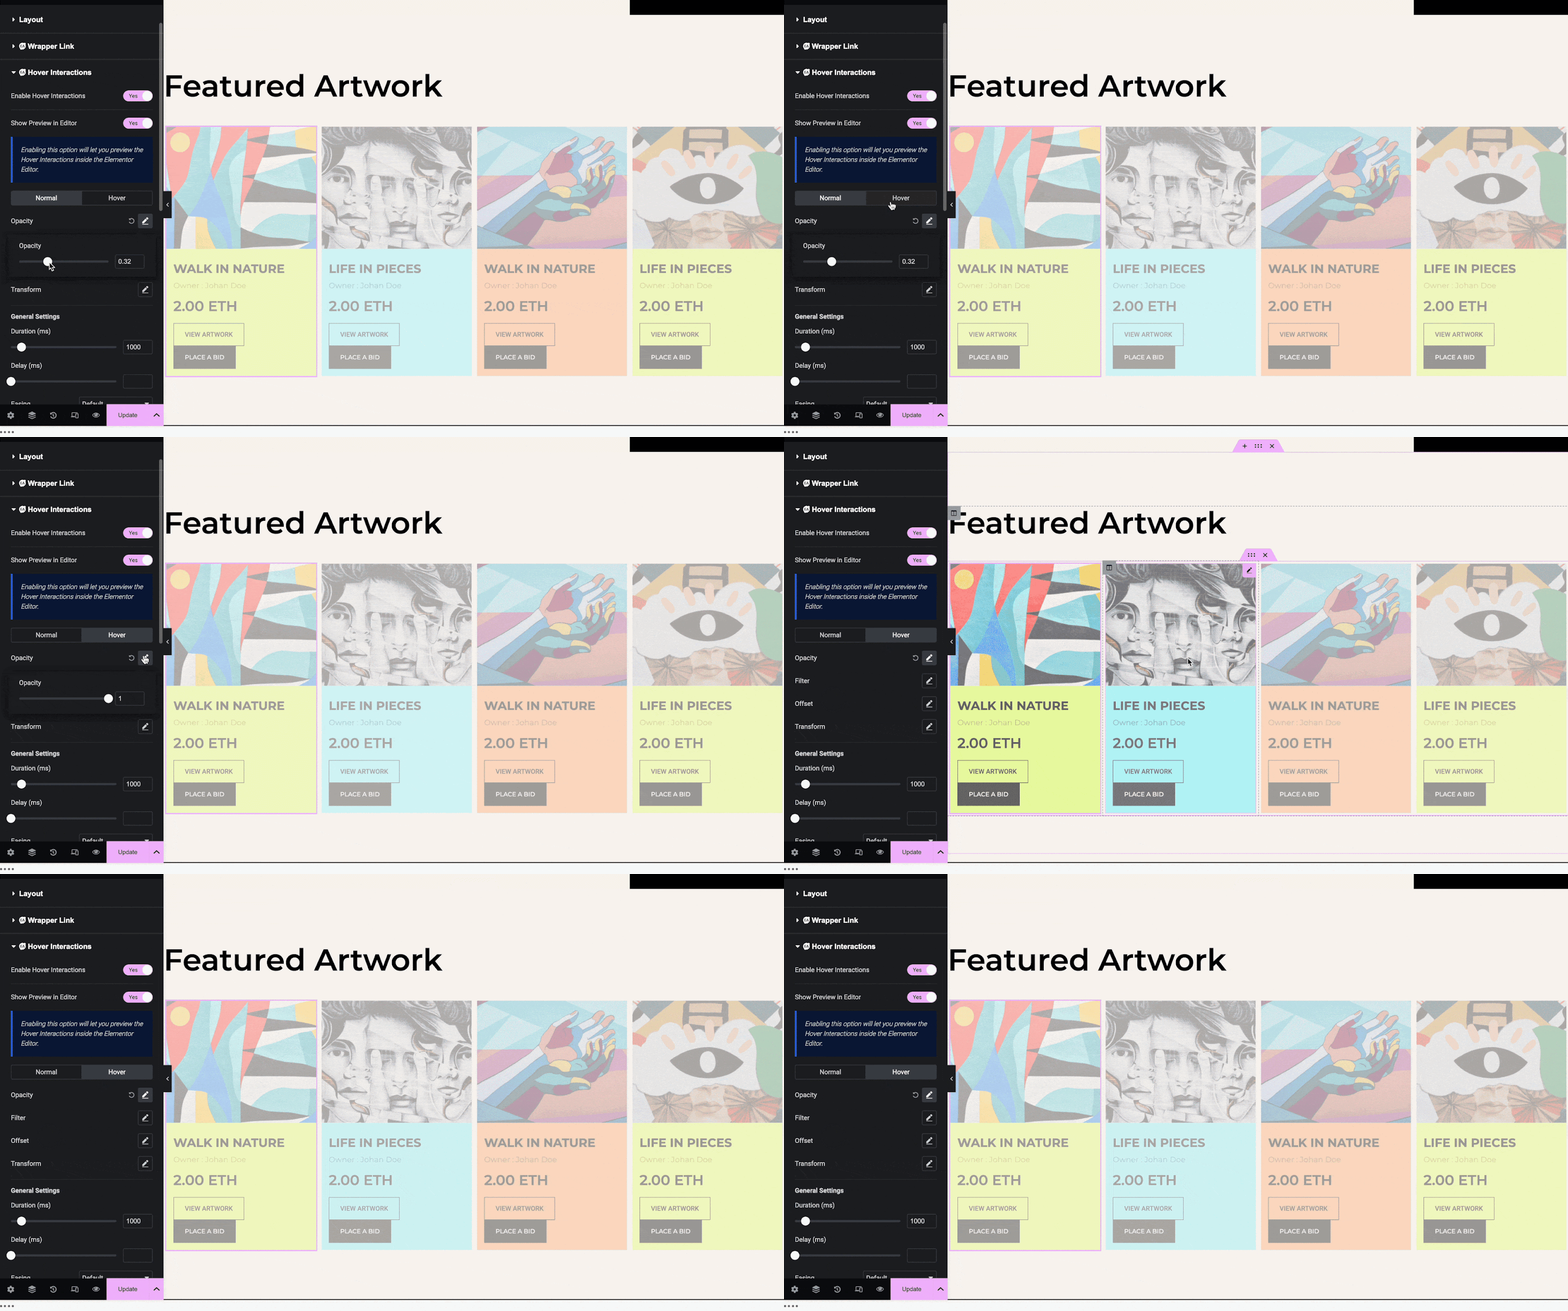
With the opacity effects, you can focus on products or elements on your web page by dimming others around a specific one.
Filter Options #
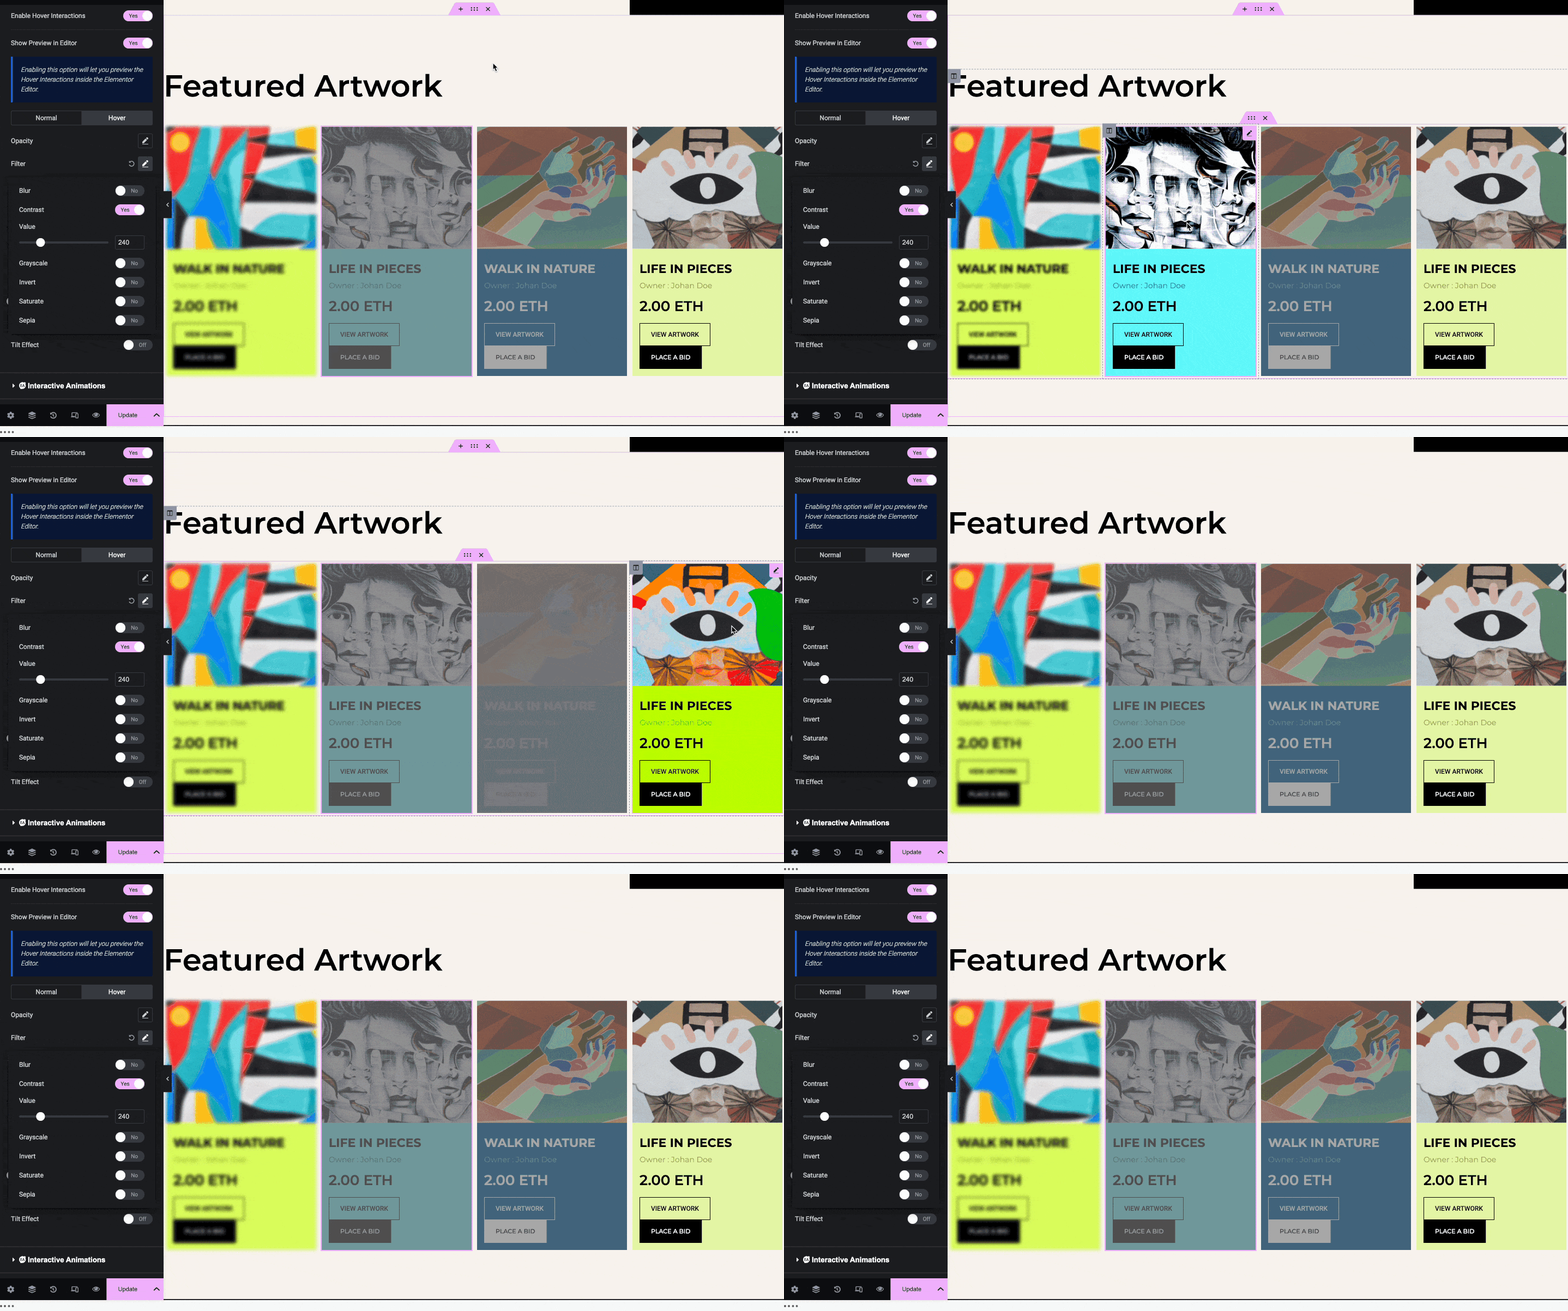
Filter options let you change the Blur, Contrast, Grayscale, Invert, Saturate, and Sepia while dragging mouse cursors over content on your web pages between normal and hover options.

You can adjust the value to choose how content will display between normal and hovering times. This way, you can draw attention to key elements by blurring, boosting vibrancy with color saturation, utilizing grayscale for timeless looks, and more.
Offset Controls #
You can shift elements on hover, get them to change their positions to highlight CTAs, or create dynamic menus. Change the value of Offset Top and Offset Left between normal and hover to make it perfectly adjusted.

Transform Options #
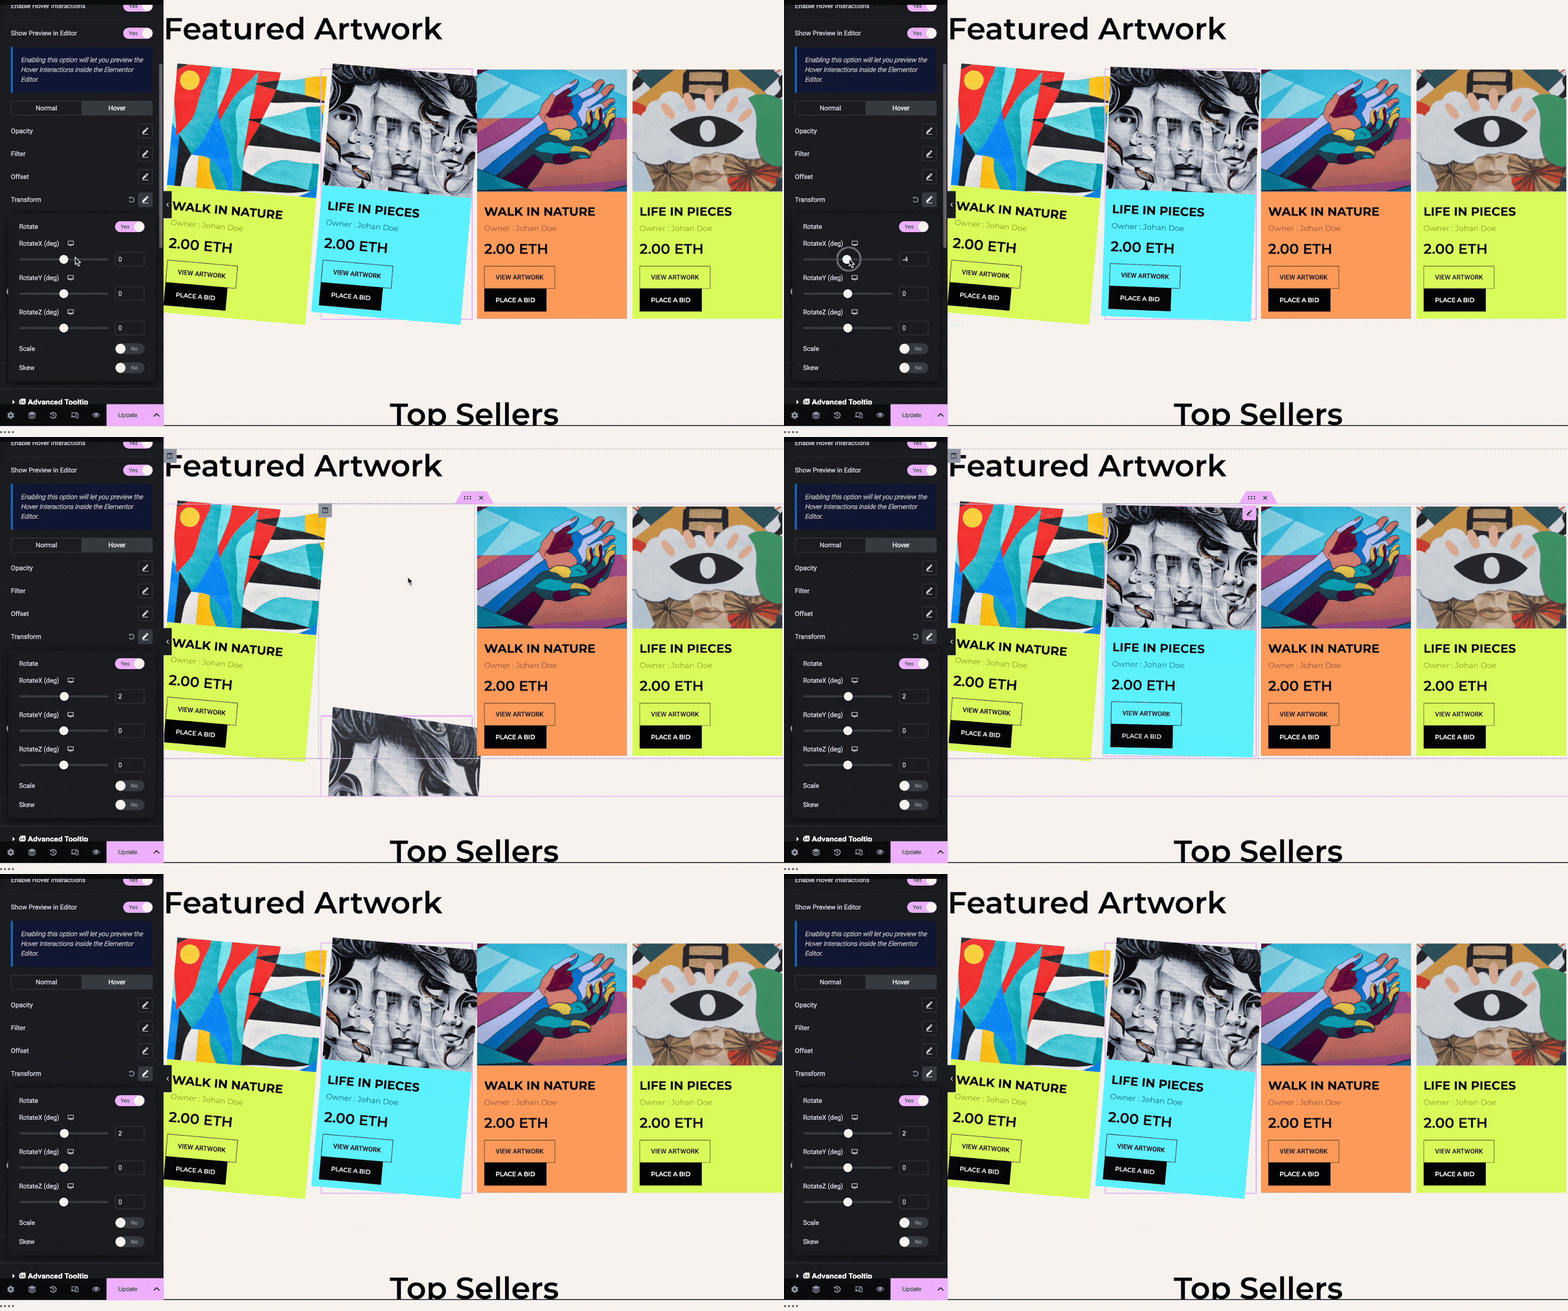
With creative transformations, you can rotate, scale, and skew content display for a playful and closer look. For each of the options, you can adjust the scaling with X, Y, and Z values to define their positions.
Tilt Effects #
The tilt effect to your content with subtle movement can help you spotlight focus on a specific element with interactions. However, this is only available on ‘Hover’ actions. Just enable the option to get a sense of dynamics to the website visitors.

General Settings #
Alongside these options, you can adjust the duration and delay effects to define how long an effect lasts or delays in between normal and hover interactions. Additionally, you can adjust the easing options to set the positions for a smoother transition.

This is how easily you can activate and configure Hover Interaction for Elementor on your website.
Getting Stuck? Feel free to contact our helpful support team.


