Advanced Tabs is quite similar to the element Advanced Accordion. However, the most noticeable difference is in how these two elements display and present the underlying text. And this is what every business should be looking for the most appropriate manner to present their content.
How to Configure And Style EA Advanced Tabs #
How to Activate Advanced Tabs #
To use this Essential Addons element, find the ‘EA Advanced Tabs‘ element from the Search option under the ‘ELEMENTS‘ tab. Simply drag & drop the ‘EA Advanced Tabs‘ into the ‘Drag widget here‘ or the ‘+’ section.

After you are done with step 1, this is the basic layout you are going to view:

How to Configure Content Settings #
Under the ‘Content’ tab, you will find the General & Content Settings sections.
General Settings #
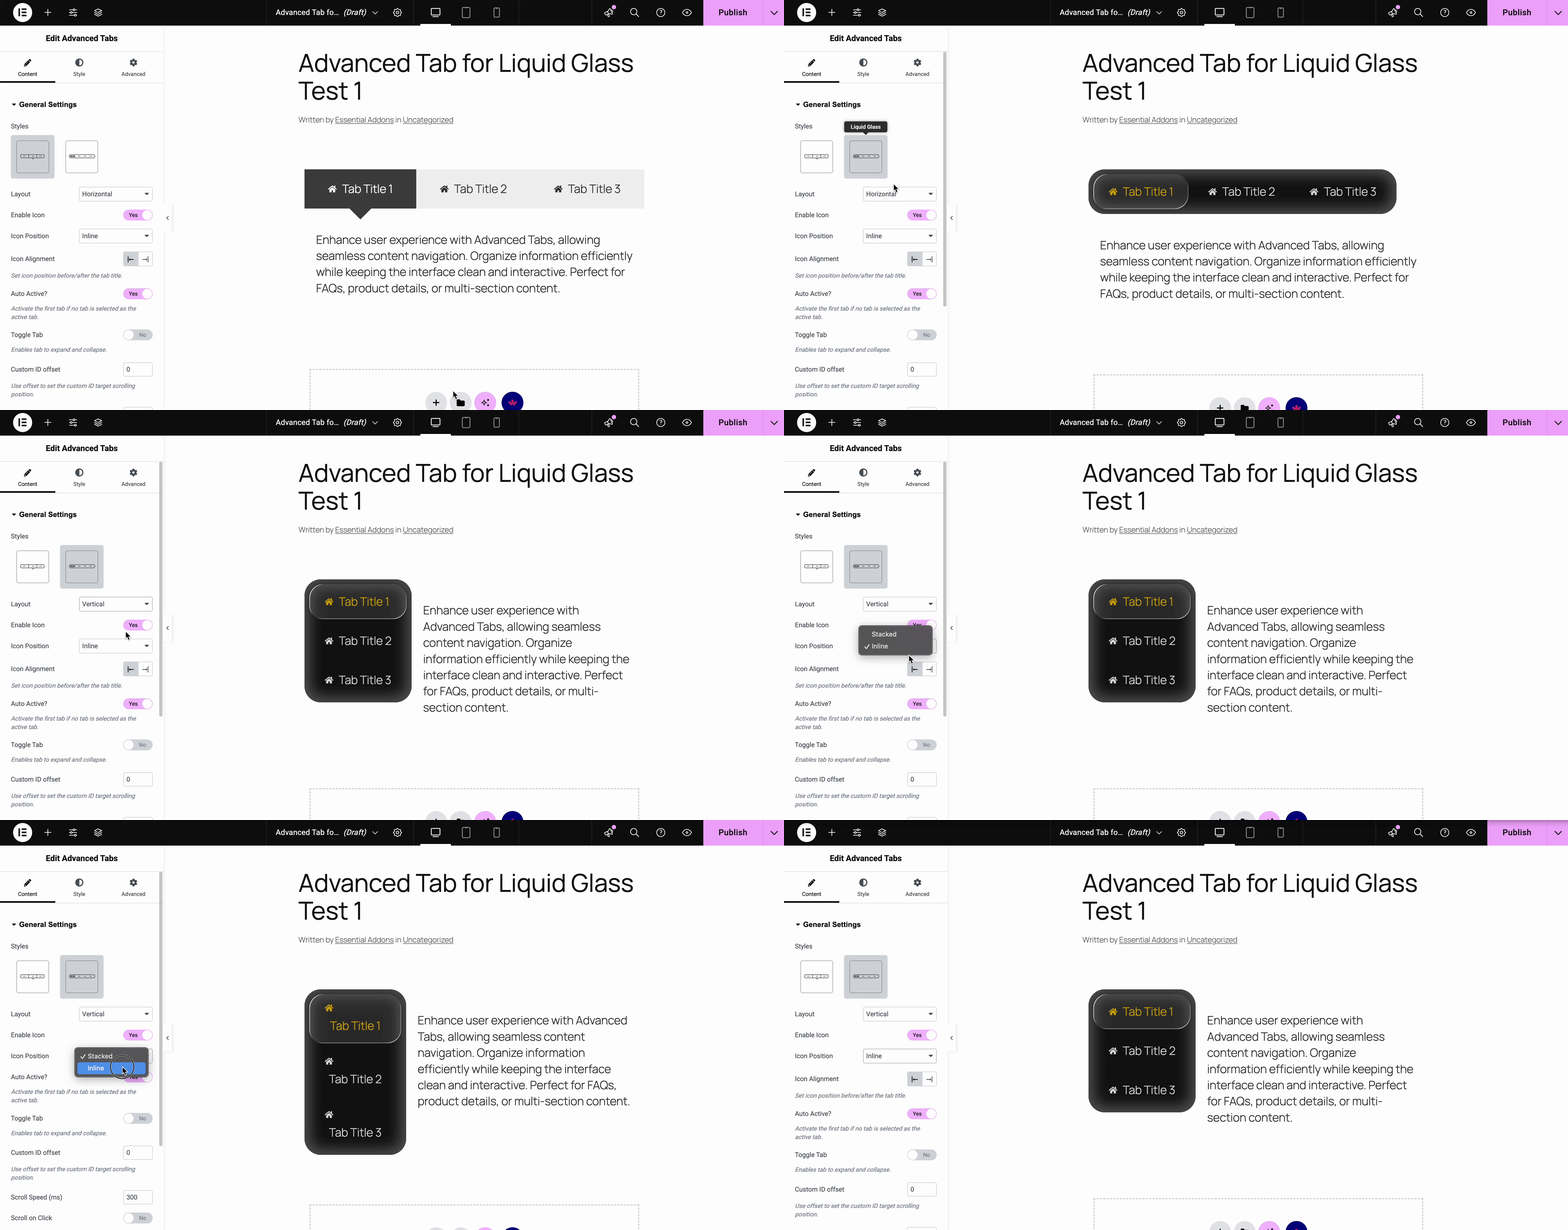
From the ‘General Settings’ section, you have the freedom to choose ‘Default’ and ‘Liquid Glass Effect’ style for the tab. You can also choose your preferred layout from the two options: Horizontal & Layout. Simply use the toggle to display or hide ‘Icons’ for the tabs. If it’s enabled, you are able to change the position to either ‘Inline’ or ‘Stacked’.

Content #
From the ‘Content’ section, you can change your ‘Tab Title’ and ‘Content Type’. You have the freedom to add your own ‘Tab Content’ as well. If you want to increase the number of tabs, simply click on the ‘+ ADD ITEM’ button right at the bottom.

You can also use your ‘Saved Templates’ as ‘Content Type’. You can also change the Icon Type, Tab Icon and enable/disable ‘Active as Default’ tab option. If the ‘Active as Default’ is enabled, a certain tab will always be open when you visit the ‘Advanced Tabs’ section.

The new addition of this widget is the ability to edit the ‘Saved Templates’ directly from the editor. That means you can easily edit your saved templates the way you prefer—no need to go back and forth in the WordPress editor to edit the ‘Saved Templates.’
Note: The changes you make on your specific ‘Saved Templates’ will be global across the entire website wherever you’ve applied the widget beforehand or will apply later on—the outcome will be the same.

How to Style Advanced Tabs #
Switch to the ‘Style’ tab to style all the elements of Advanced Tabs.
General #
The ‘General’ section lets you add ‘Padding’ and ‘Margin’ to the tabs. You can also change the ‘Border Type’ and ‘Border Radius’ of the tabs. If you want, you can even add ‘Box Shadow’ too.

Others #
From ‘Tab Title’ & ‘Content’ sections, you can change the ‘Background Color’, ‘Text Color’, ‘Border’ and ‘Typography’. If you have the ‘Icon’ option enabled, you can also modify the ‘Icon Size’ and ‘Icon Gap’ from the ‘Tab Title’ section.
On top of that, you can even control the ‘Background’, ‘Text’ & ‘Icon’ color of the tabs based on when it’s in Normal, Hover or in an Active view. Simply use the toggle to display or hide ‘Caret’ when a tab is active from the ‘Caret’ section. If it’s enabled, you can change the size and color of the ‘Caret’ as well.
Final Outcome #
By following these mentioned steps and a bit more modifying & styling, you can easily design your Advanced Tabs as per your preference.

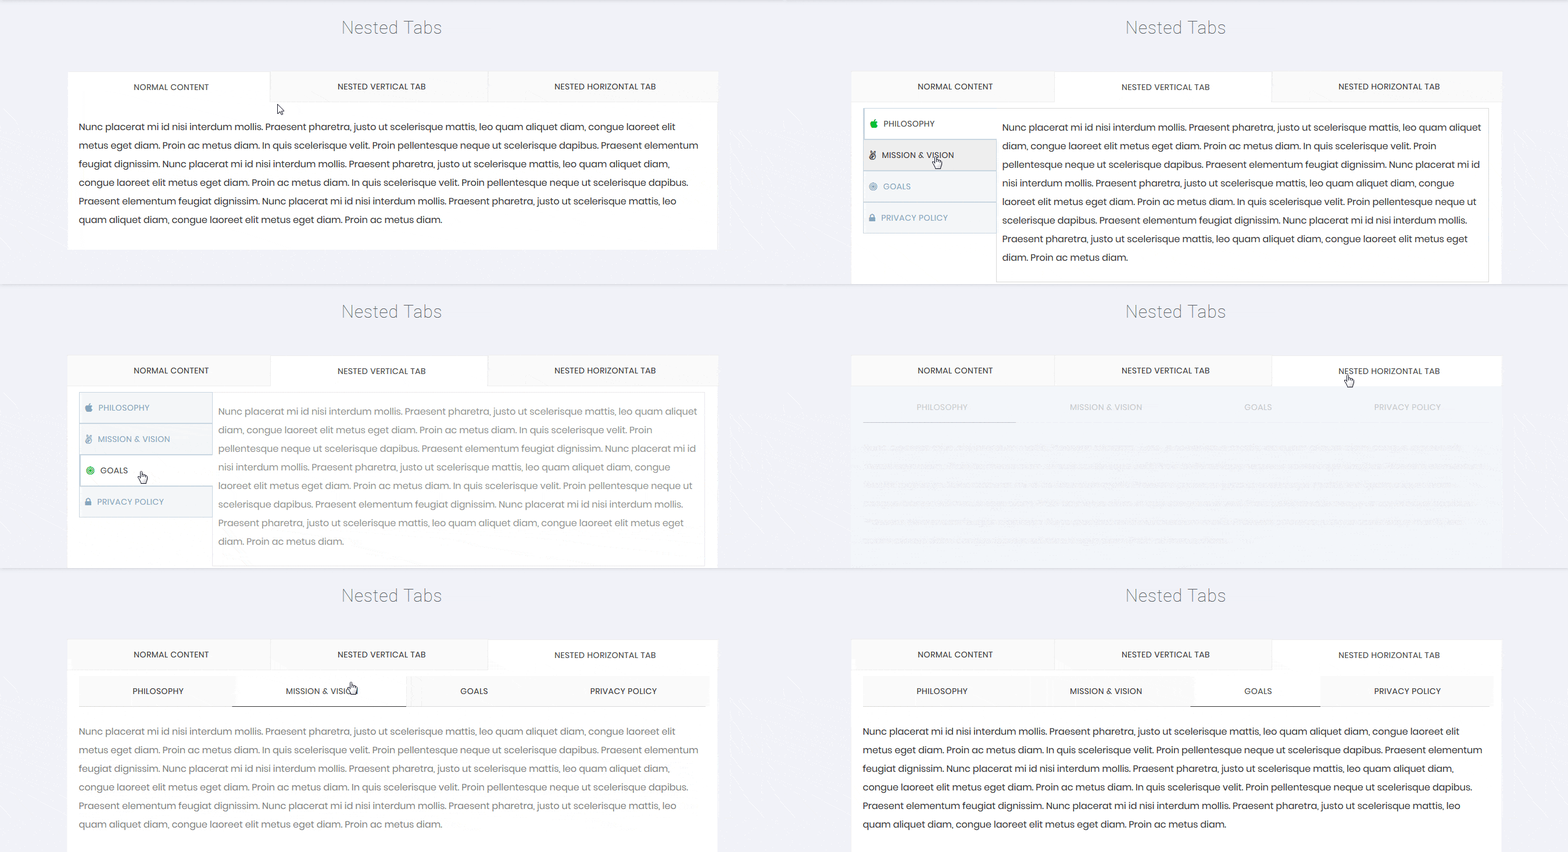
By using EA Advanced Tabs, this is how you can easily put the spotlight on your significant content & make them appealing to your visitors.
Getting stuck? Feel free to Contact Our Support for further assistance.


