Dynamic Tags draws content from the website, or from the current page/post, changing dynamically according to the Page or Post it’s on. EA Dynamic Tags allows you to display contents dynamically anywhere in your site.
Dynamic Tags provides 4 types of Tags to display content. Follow the steps to showcase your contents easily.
Note: Before you get started, make sure to install and activate the Essential Addons PRO to access the Dynamic Tags Extension.
How to Activate EA Dynamic Tags #
To activate EA Dynamic tags and display your content dynamically, you first need to activate the Extension. Go to ‘Extensions’ and find the ‘Dynamic Tags’. Toggle on to activate and hit on the ‘Save’to use this extension in your website.
Display Content Using EA Posts Dynamic Tag #
Posts allow you to display post titles in a list format, which can be incredibly useful when you need to present a filtered list of posts in any section of your site so that visitors can easily navigate through a curated list of posts. Follow the step-by-step process below:
Step 1: Open the Page or Posts of Your Site #
First, open a page where you want to show the list of post titles and select a section. Then go to the ‘Content’ tab of the sidebar and click on the Dynamic Tags button from the right corner of the box.

Find the heading under the content tab and choose ‘Posts’ from the Title bar and click on the ‘Posts’. Afterwards, a menu will pop up on the screen.

Step 2: Customize the Settings of Posts Tag #
Select the source of the tags from ‘Pages’ or ‘Posts’ and choose the ‘Author’, ‘Categories’, ‘Tags’ from the menu.

You can exclude any posts from the selected Category or Tags. Click on the ‘Exclude’ button, and select the pages that you want to avoid showing on your site. Adjust the ‘Count’, ’Offset’, ‘Order by’ and ‘Order’ of the posts as your preferences.

Next, choose the ‘Post Status’ from ‘Draft’, ‘Pending Review’, ‘Private’, ‘Published’, then select a ‘Data Format’ from the menu and use a ‘Separator’ to display the list of posts and click on the ‘Update’ button.

Final Outcome #
Now, open the page to see the lists of posts in your preferred section of the page.

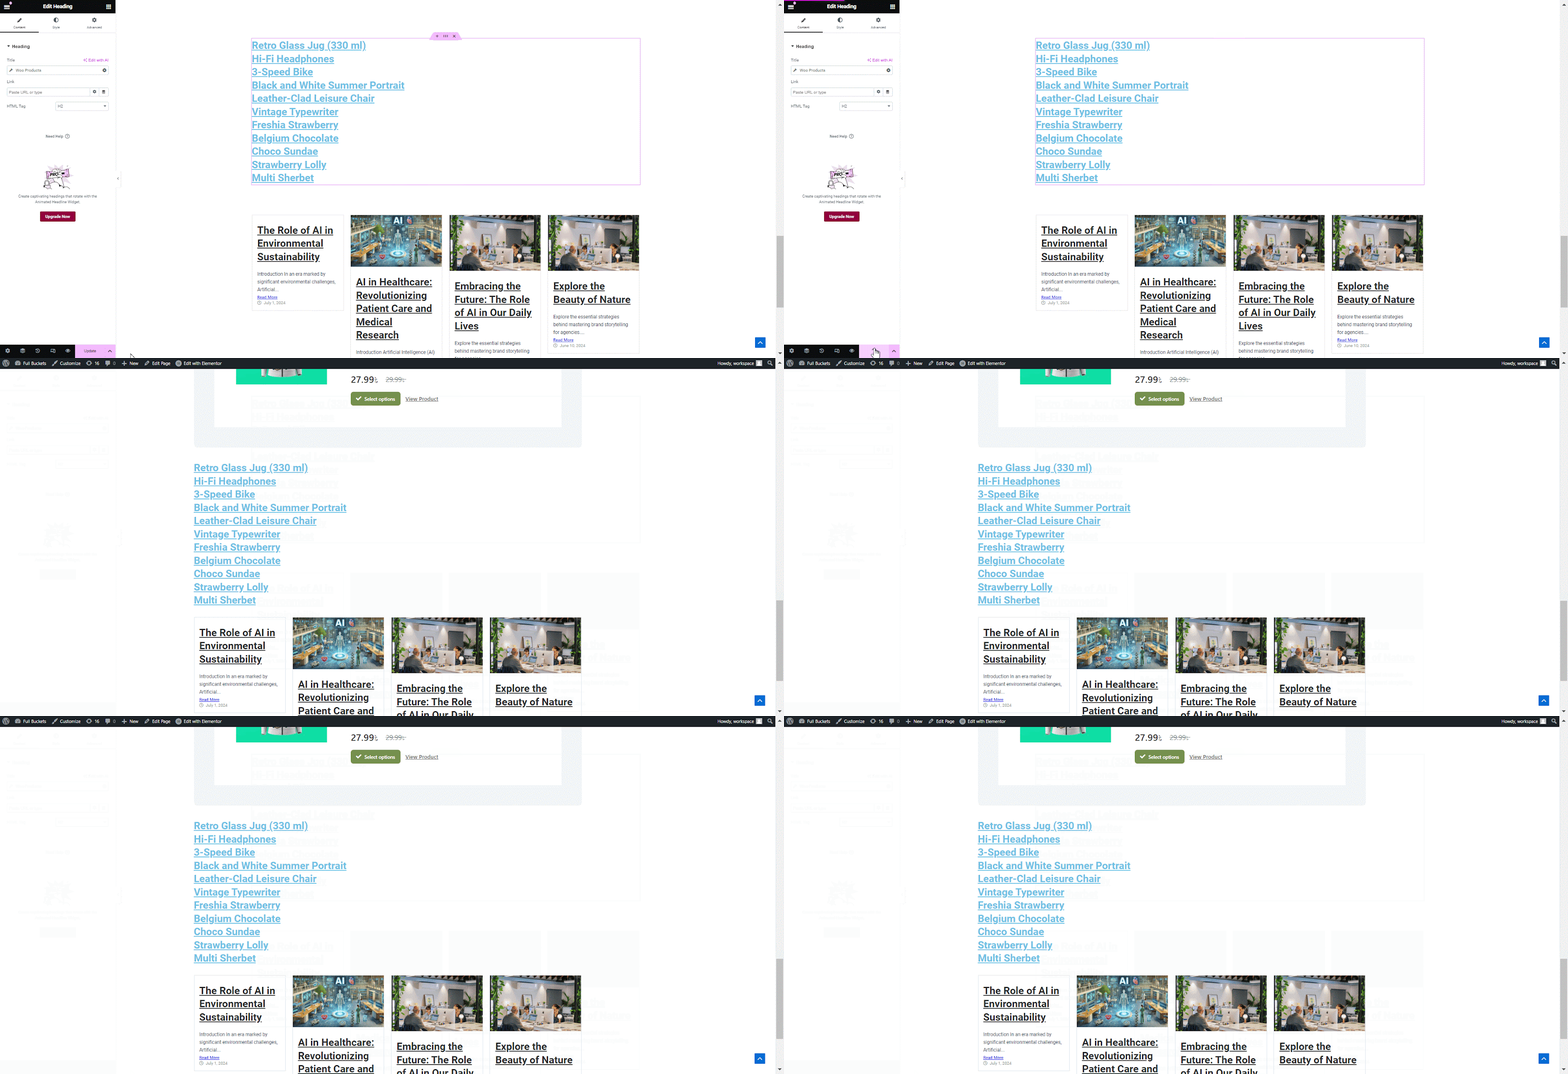
Showcase Products Using EA Woo Products Dynamic Tag #
EA Woo Products Tag allows you to display your Woo Products in a list format, which can be incredibly useful when you need to present a filtered list of posts in any section of your site so that visitors can easily navigate through a curated list of products. Follow the step by step process below:
Step 1: Open the Page or Posts of Your Site #
First, open a page where you want to show the list of Woo product posts and select a section. Then go to the ‘Content’ tab of the sidebar and click on the Dynamic Tags button from the right corner of the box and choose ‘Woo Products’.

Now click on the ‘Woo Products’ from the Title bar. Afterwards, a Settings menu will pop up on the screen.

Step 2: Customize the Settings of Woo ProductsTag #
Select your product from the ‘Filter by’ menu that you want to showcase on the page and set the products order from the ‘Order by’ menu.

Choose the ‘Author’, ‘Product Type’, ‘Product Categories’, ‘Product Tags’, ‘Product Brand’ from here. You can even exclude any product adding in the list by including them in the ‘Exclude’ list.

Adjust the ‘Count’,’Offset’, ‘Order by’ and ‘Order’ of the posts as your preferences.

Next, choose the ‘Post Status’ from ‘Draft’, ‘Pending Review’, ‘Private’, ‘Published’ then select a ‘Data Format’ from the menu and use a ‘Separator’ to display the list of posts and click on the ‘Update’ button.

Final Outcome #
Now, click on the ‘Publish’ or ‘Update’ button and open the page to see the lists of Woo Products in your preferred section of the page.
Display Taxonomies Using EA Terms Dynamic Tag #
Terms allows you to display your taxonomies in a list format, which can be incredibly useful when you need to present a filtered list of terms in any section of your site so that visitors can easily navigate through a curated list of terms. Follow the step by step process below:
Step 1: Open the Page or Posts of Your Site #
First, open a page where you want to show the list of Terms and select a section. Then go to the ‘Content’ tab of the sidebar and click on the Dynamic Tags button from the right corner of the box and choose ‘Terms’.
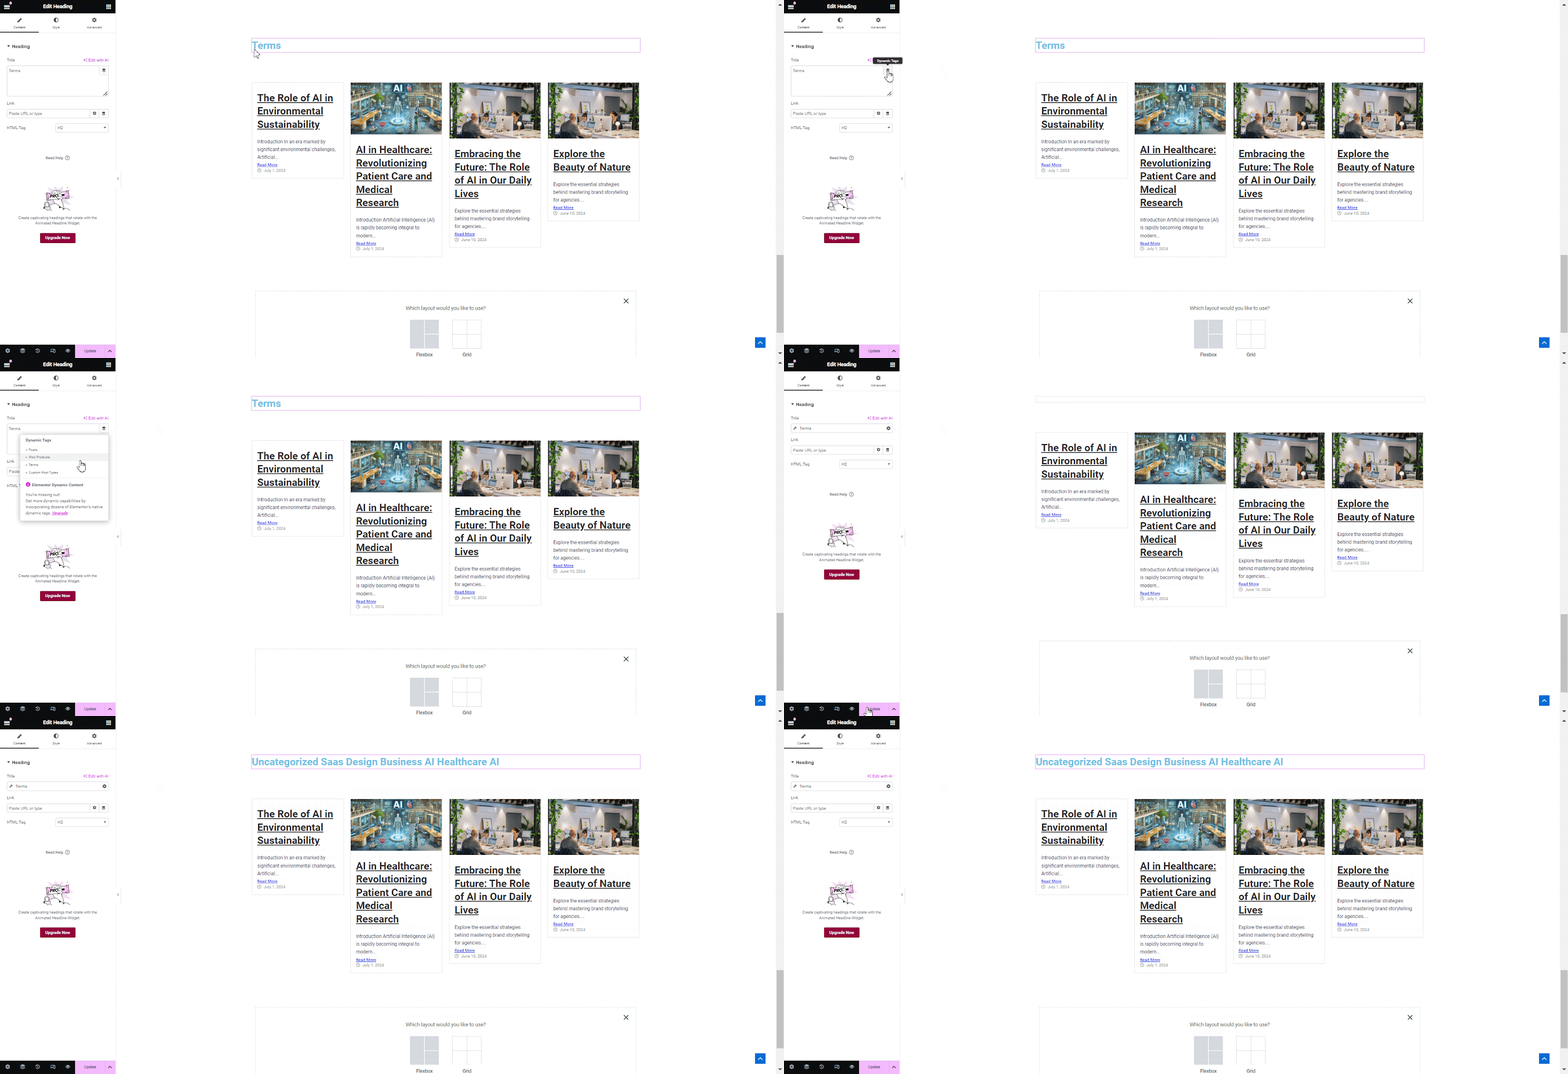
Now click on the ‘Terms’ from the Title bar. Afterwards, a Settings menu will pop up on the screen.
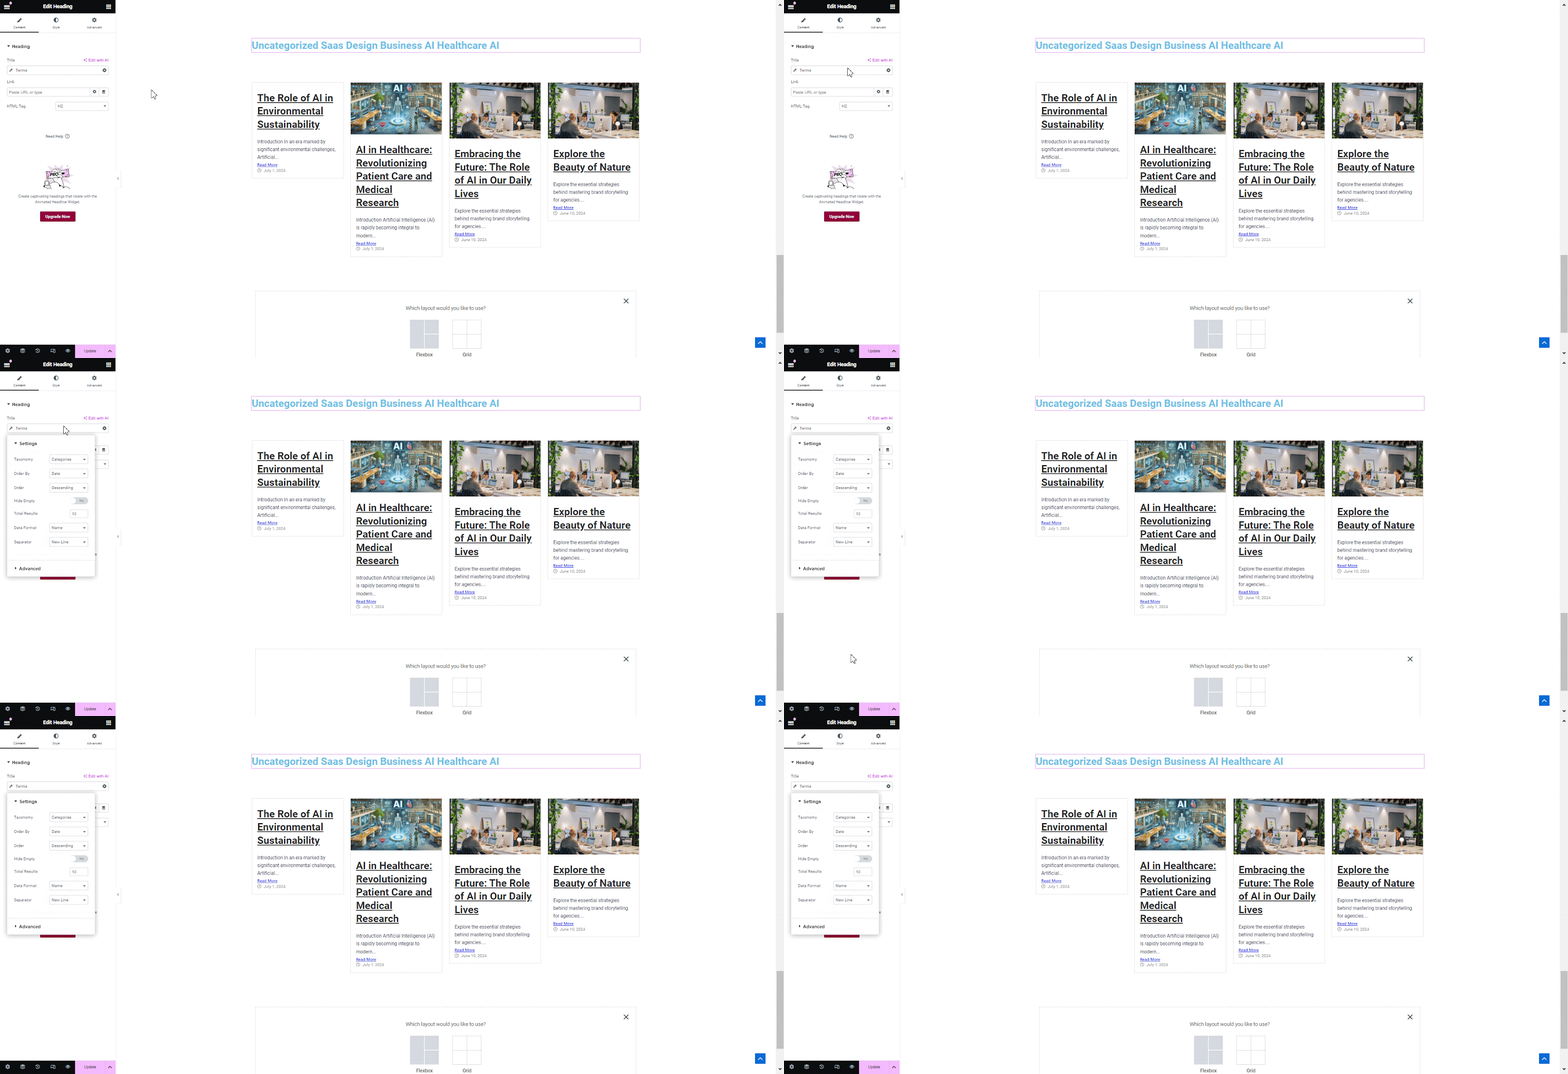
Step 2: Customize the Settings of Terms Tag #
Click on the ‘Taxonomy’ and choose any one from the menu that you want to show. Next, set the terms order from the ‘Order by’ and ‘Order’ from the menu.
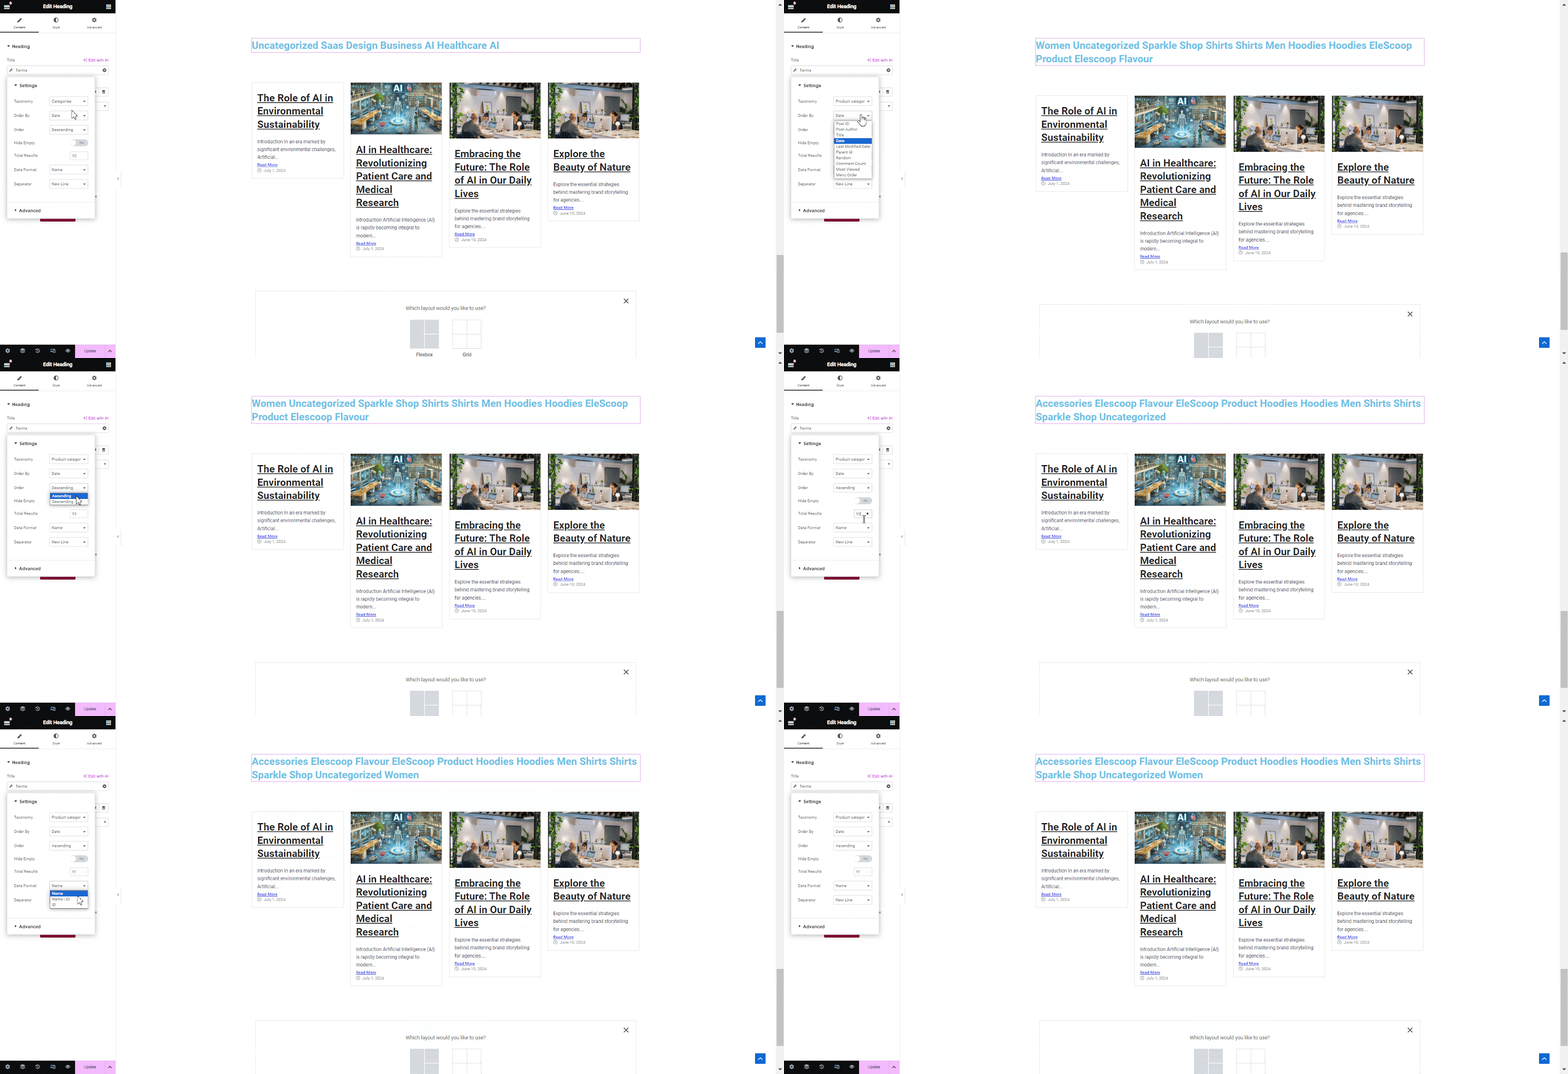
From your selected terms, you can hide the terms that do not contain any posts. Then choose the ‘Data format’, click on the ‘Separator’ and select the Link break to show the terms in a list view.
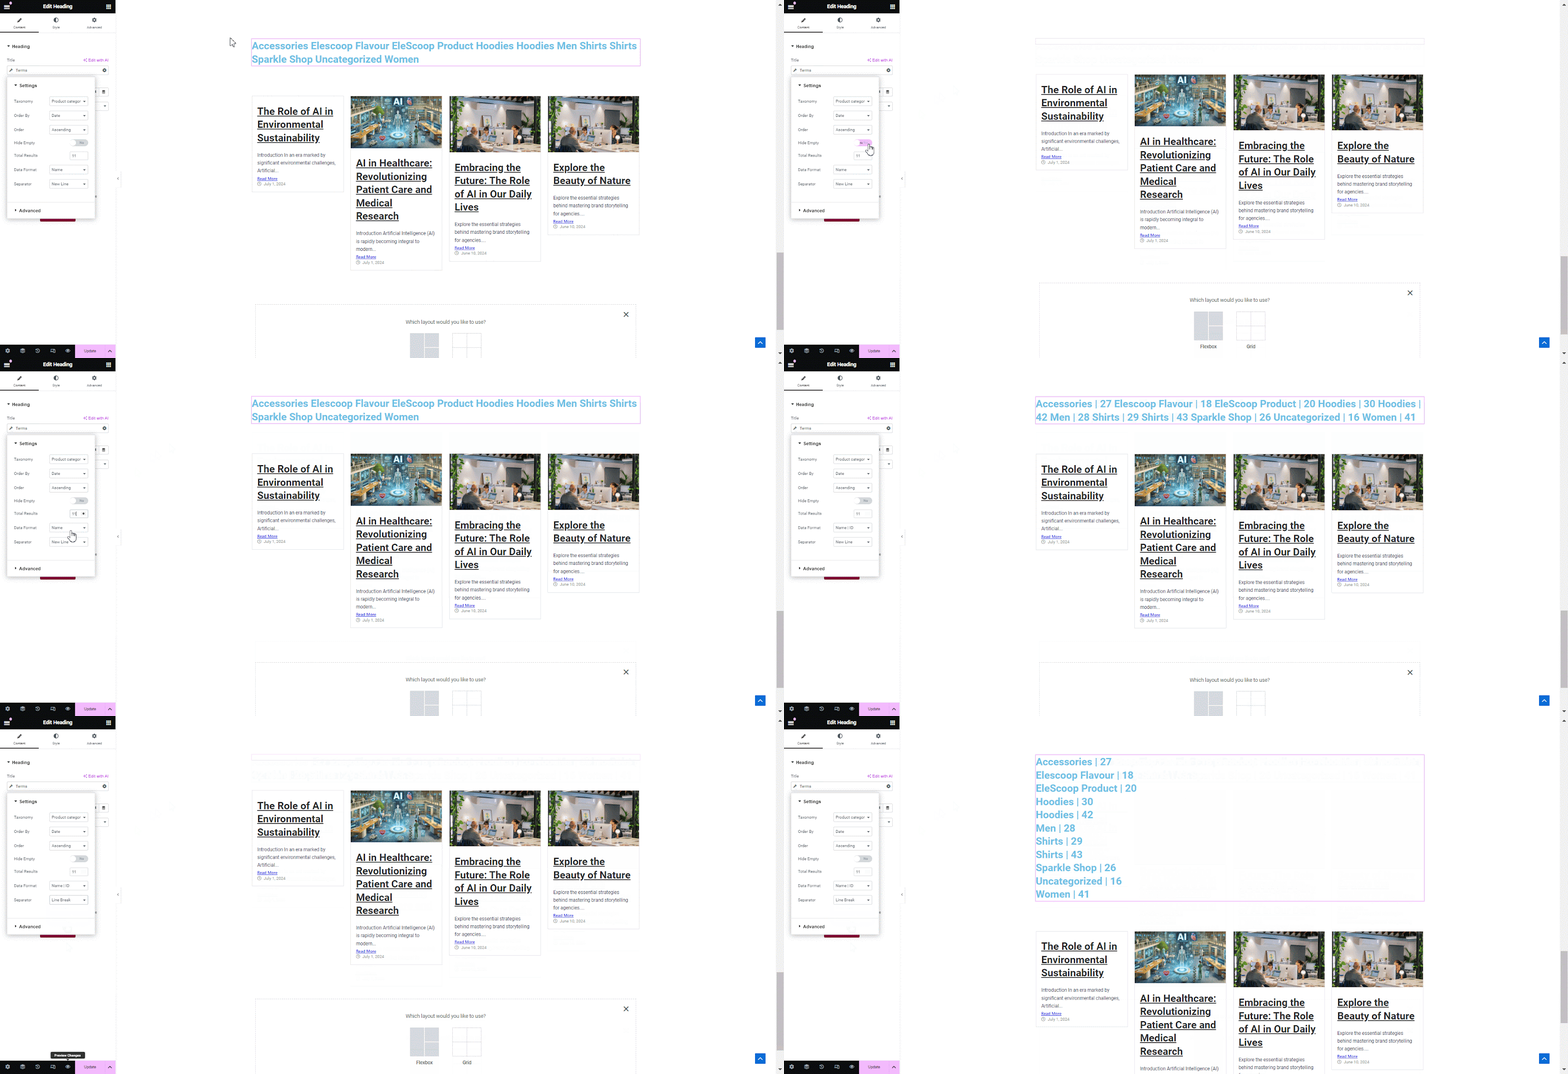
Final Outcome #
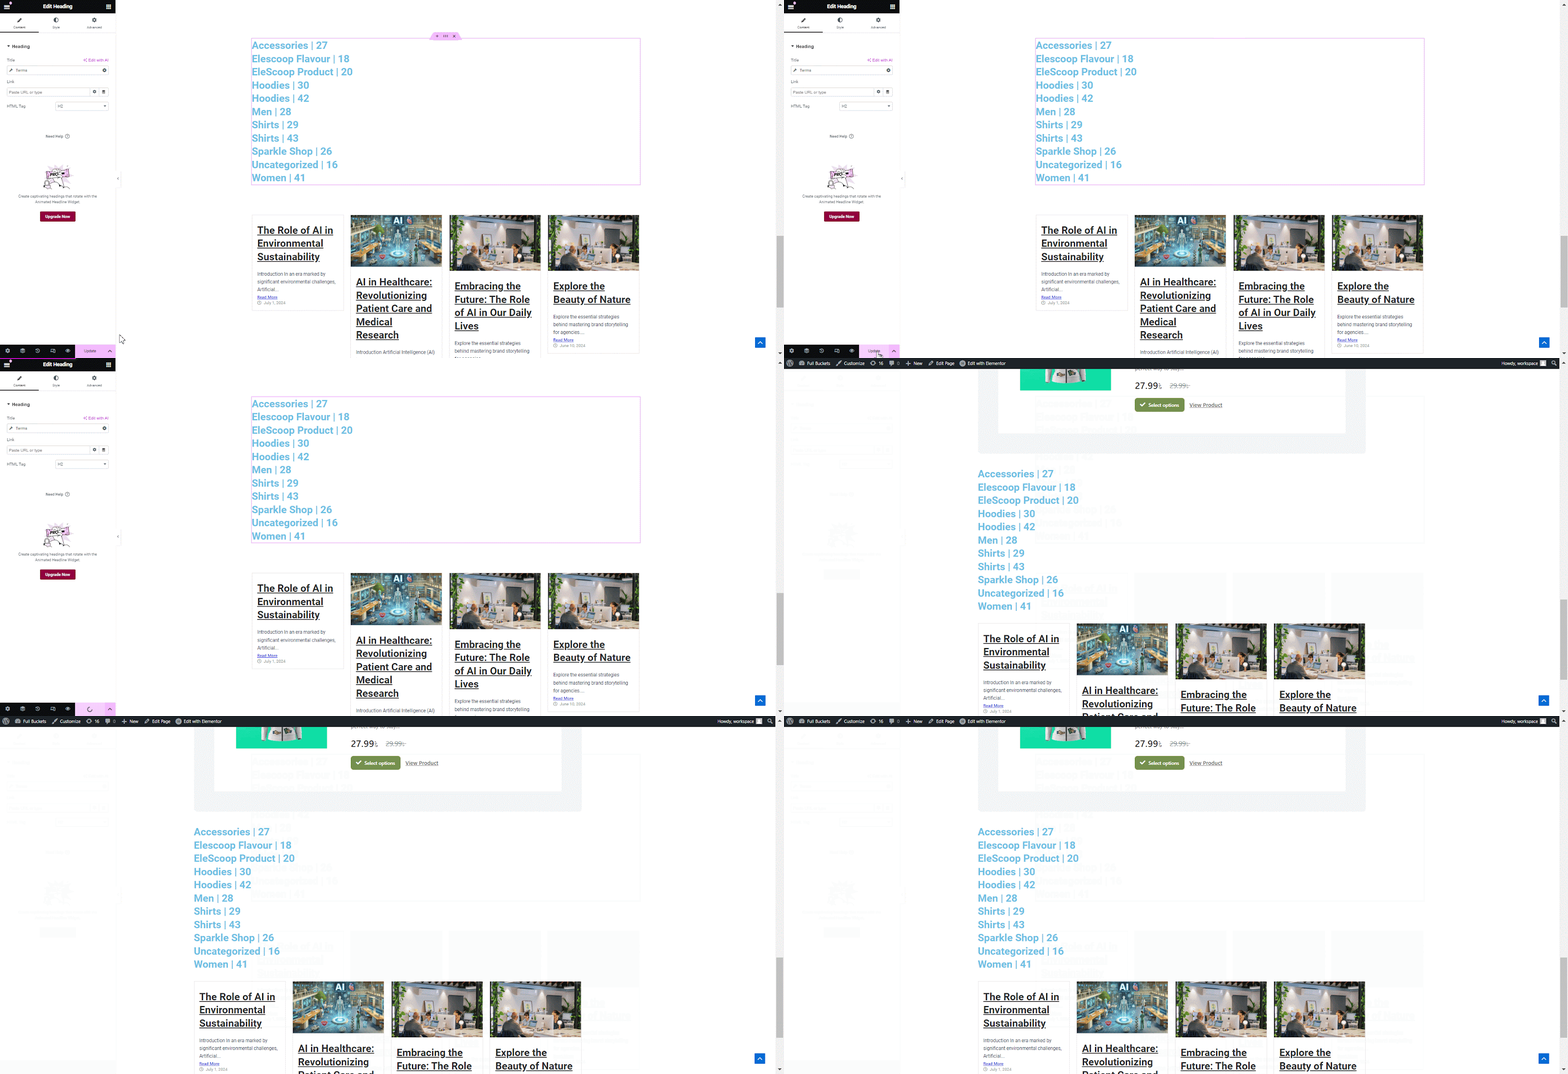
Now, click on the ‘Publish’ or ‘Update’ button and open the page to see the lists of terms in your preferred section of the page.
Display Custom Posts Using EA Custom Post Types Dynamic Tag #
Custom Posts Types allows you to display your Custom Post Types in a list format, which can be incredibly useful when you need to present a filtered list of contents in any section of your site so that visitors can easily navigate through a curated list of products. Follow the step by step process below:
Step 1: Open the Page or Posts of Your Site #
First, open a page where you want to show the list of posts titles and select a section. Then go to the ‘Content’ tab of the sidebar and click on the Dynamic Tags button from the right corner of the box and choose ‘Custom Post Types’.
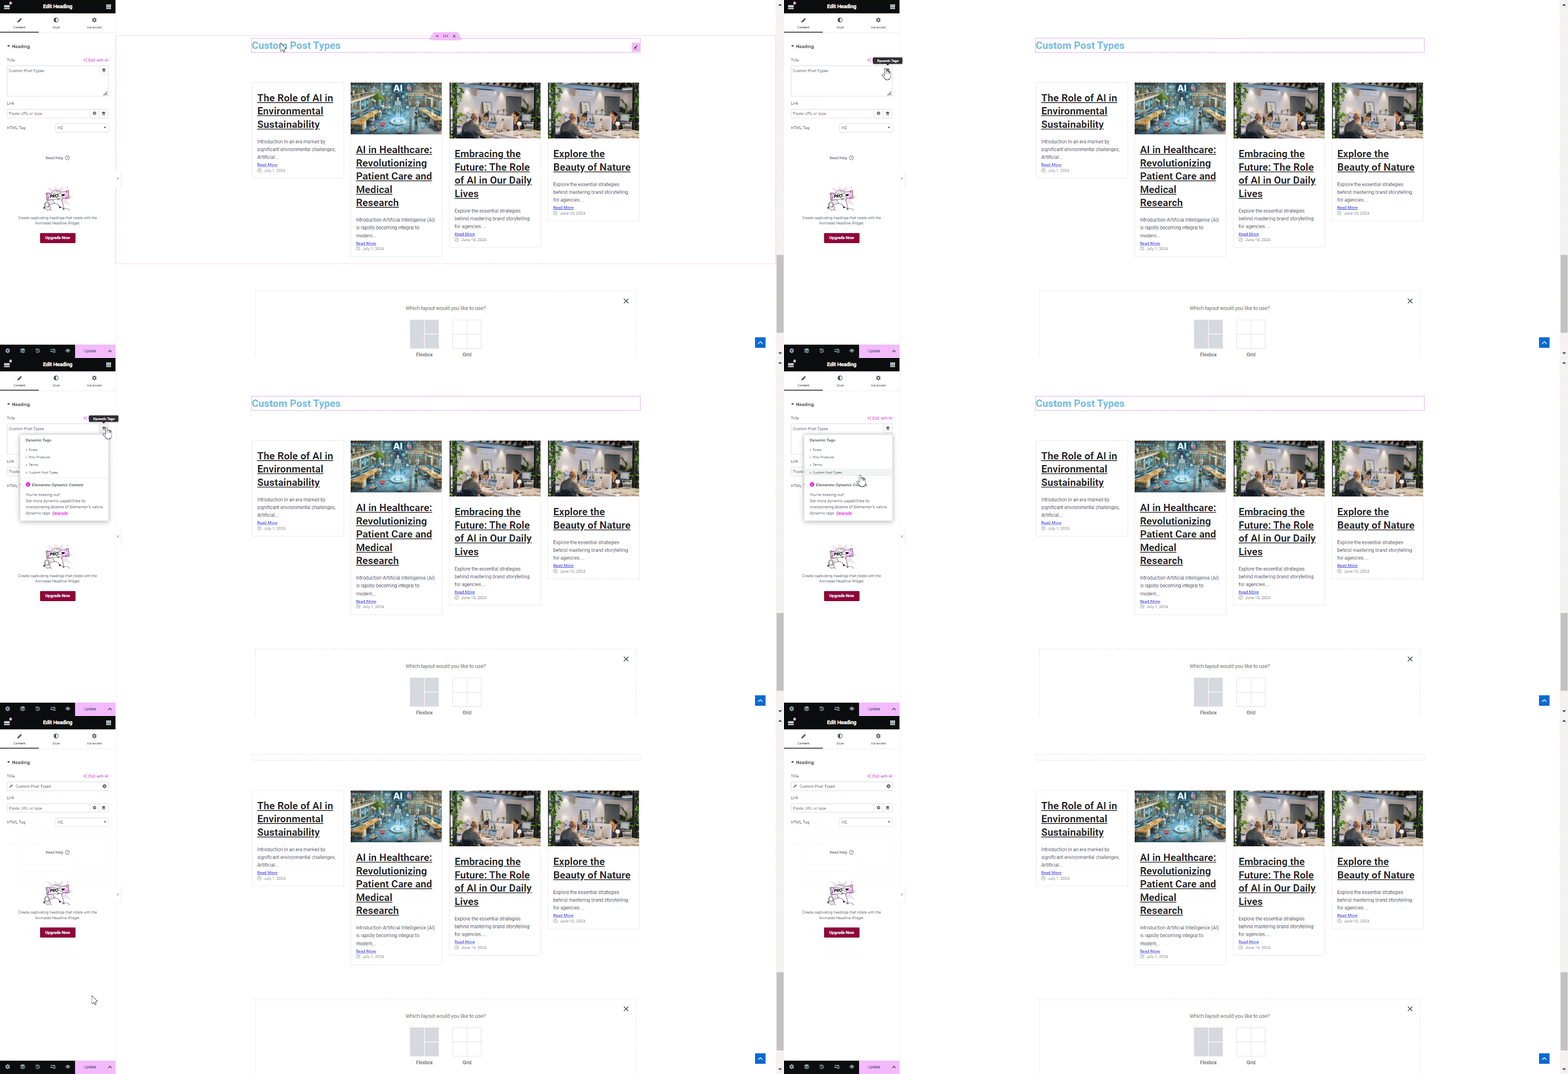
Now click on the ‘Custom Post Types’ from the Title bar. Afterwards, a Settings menu will pop up on the screen.
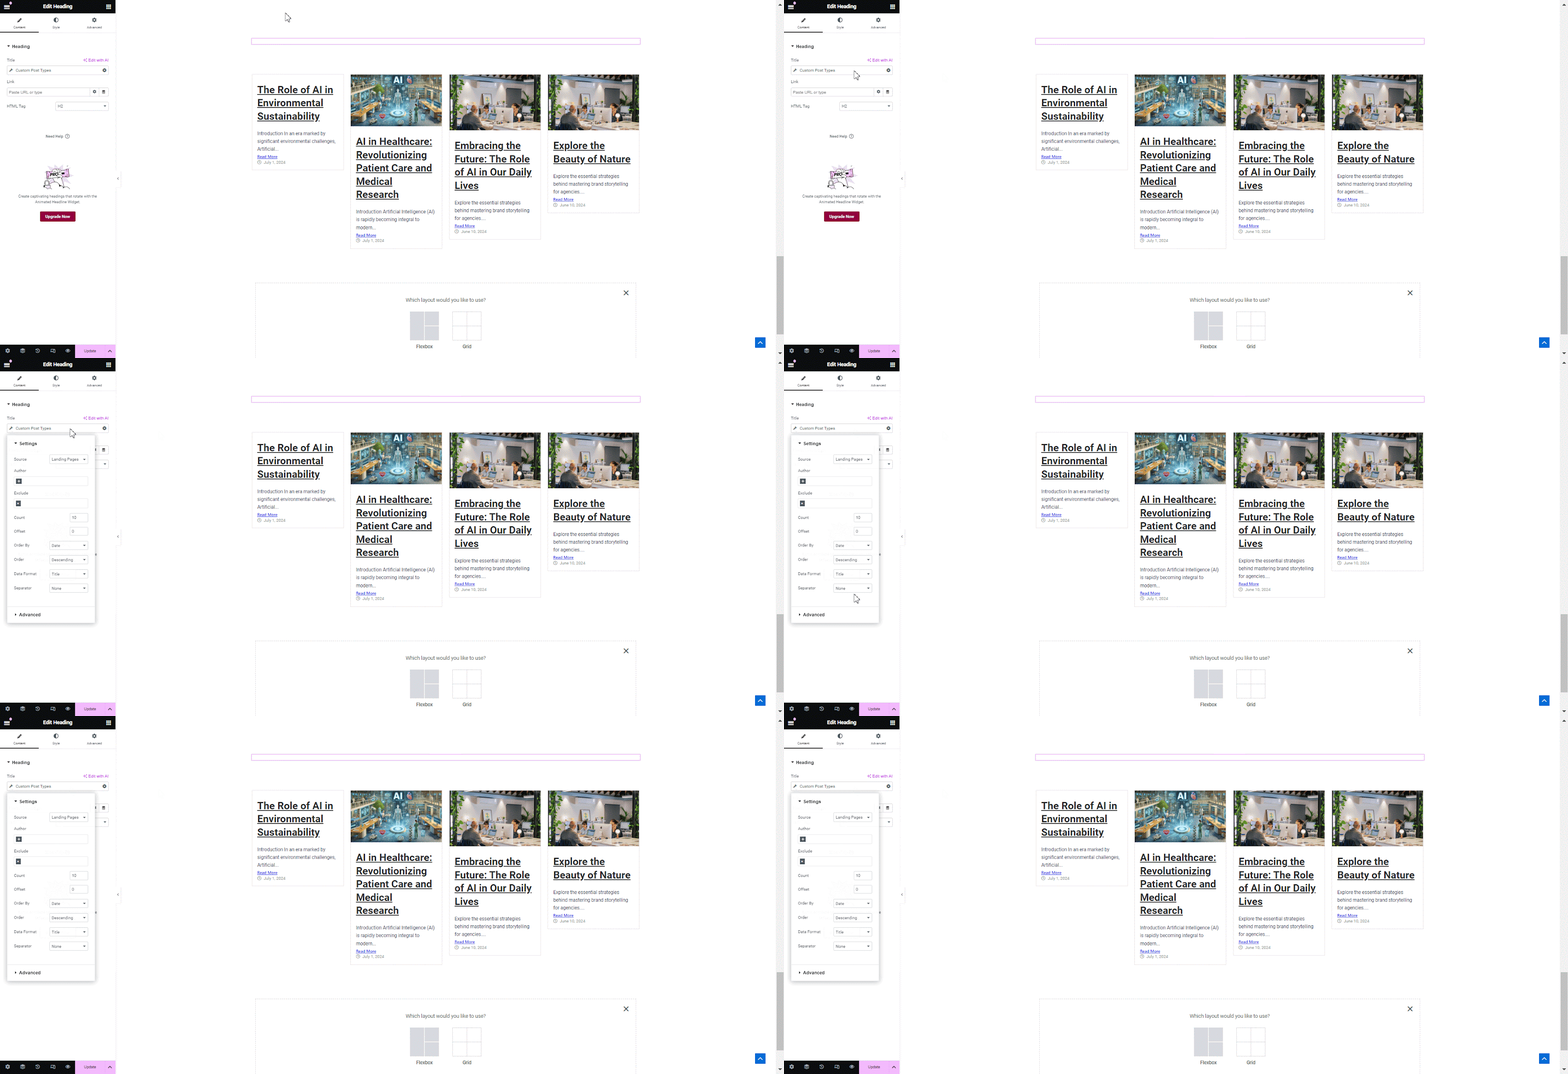
Step 2: Customize the Settings of Custom Post Types Tag #
Select the source of the tags from ‘Landing Pages’ or ‘Docs’ and choose the ‘Author’, ‘Categories’ and ‘Tags’ of the content that you want to display. You can even exclude any content adding in the list by including them in the ‘Exclude’ list.
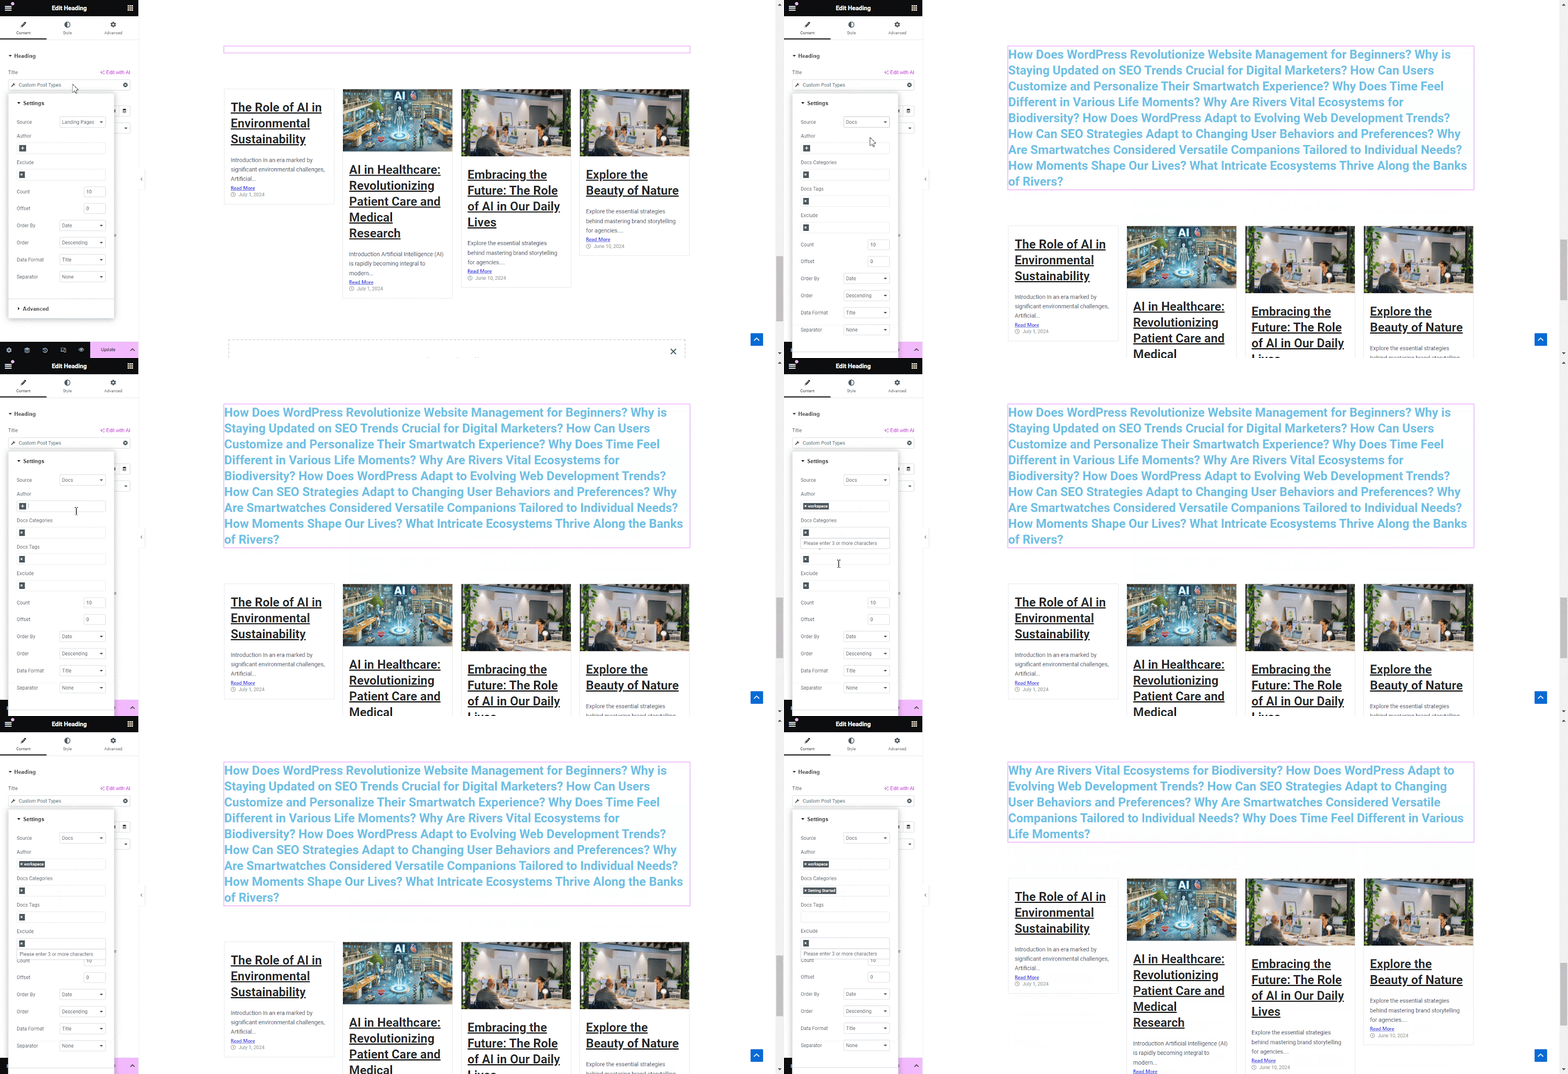
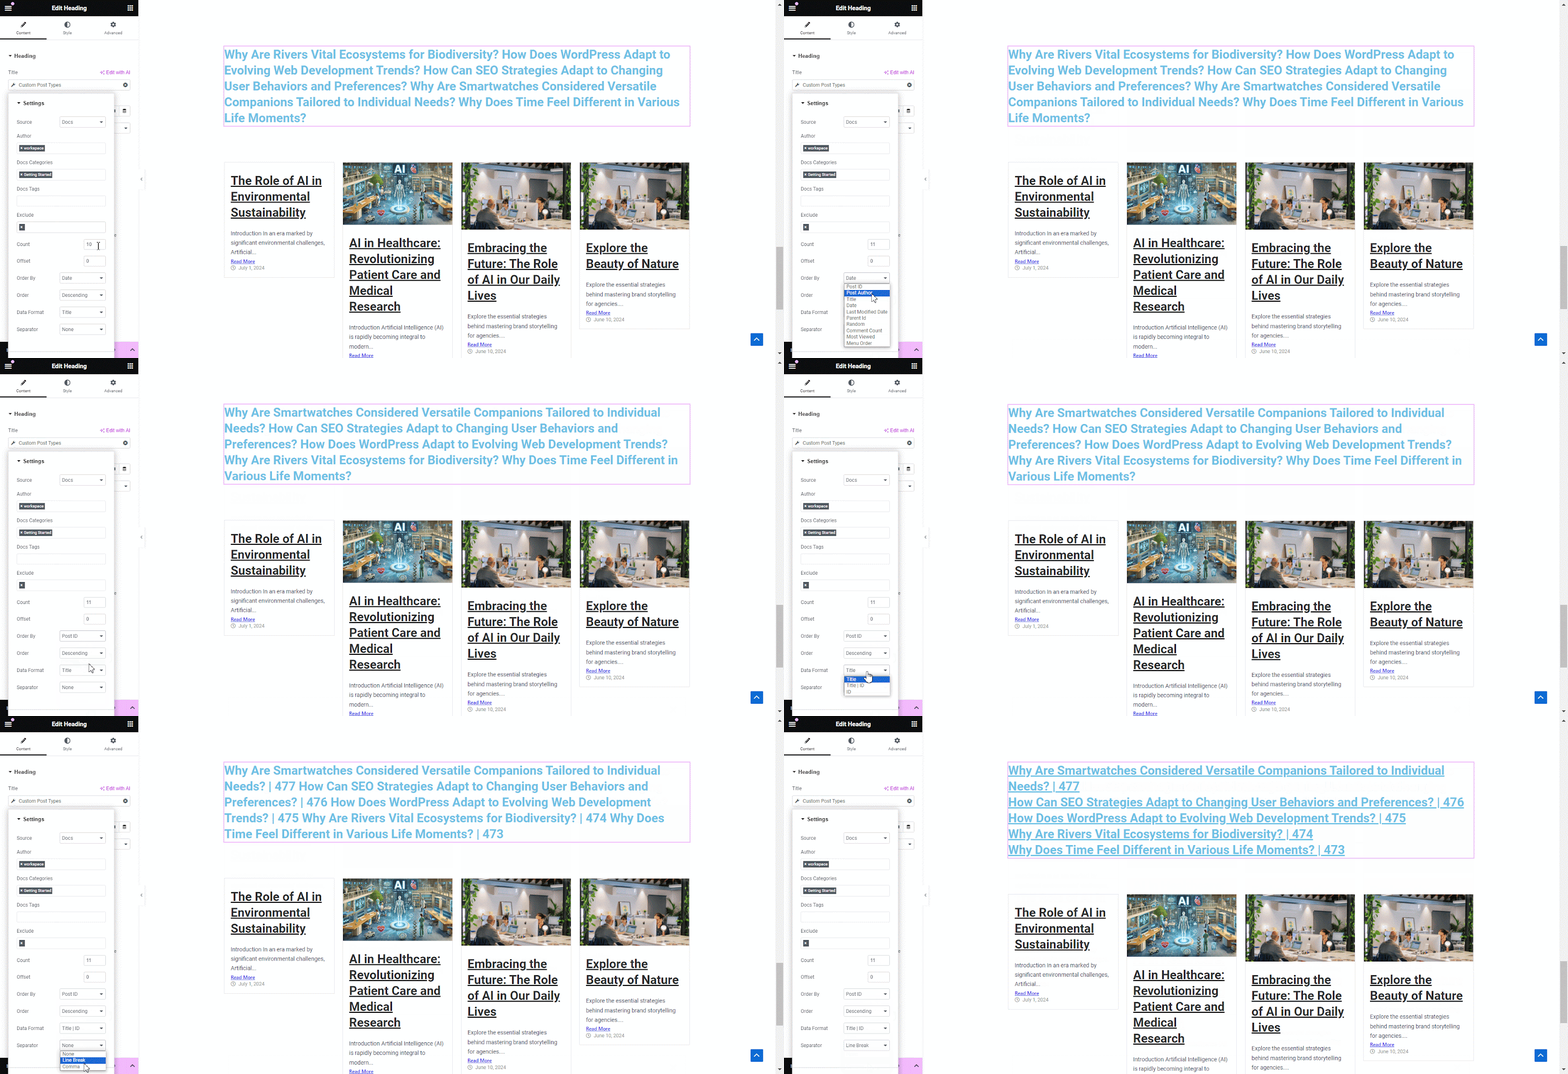
Adjust the ‘Count’,’Offset’, ‘Order by’ and ‘Order’, ‘Data Format’ from the menu and use a ‘Separator’ to display the list of posts.
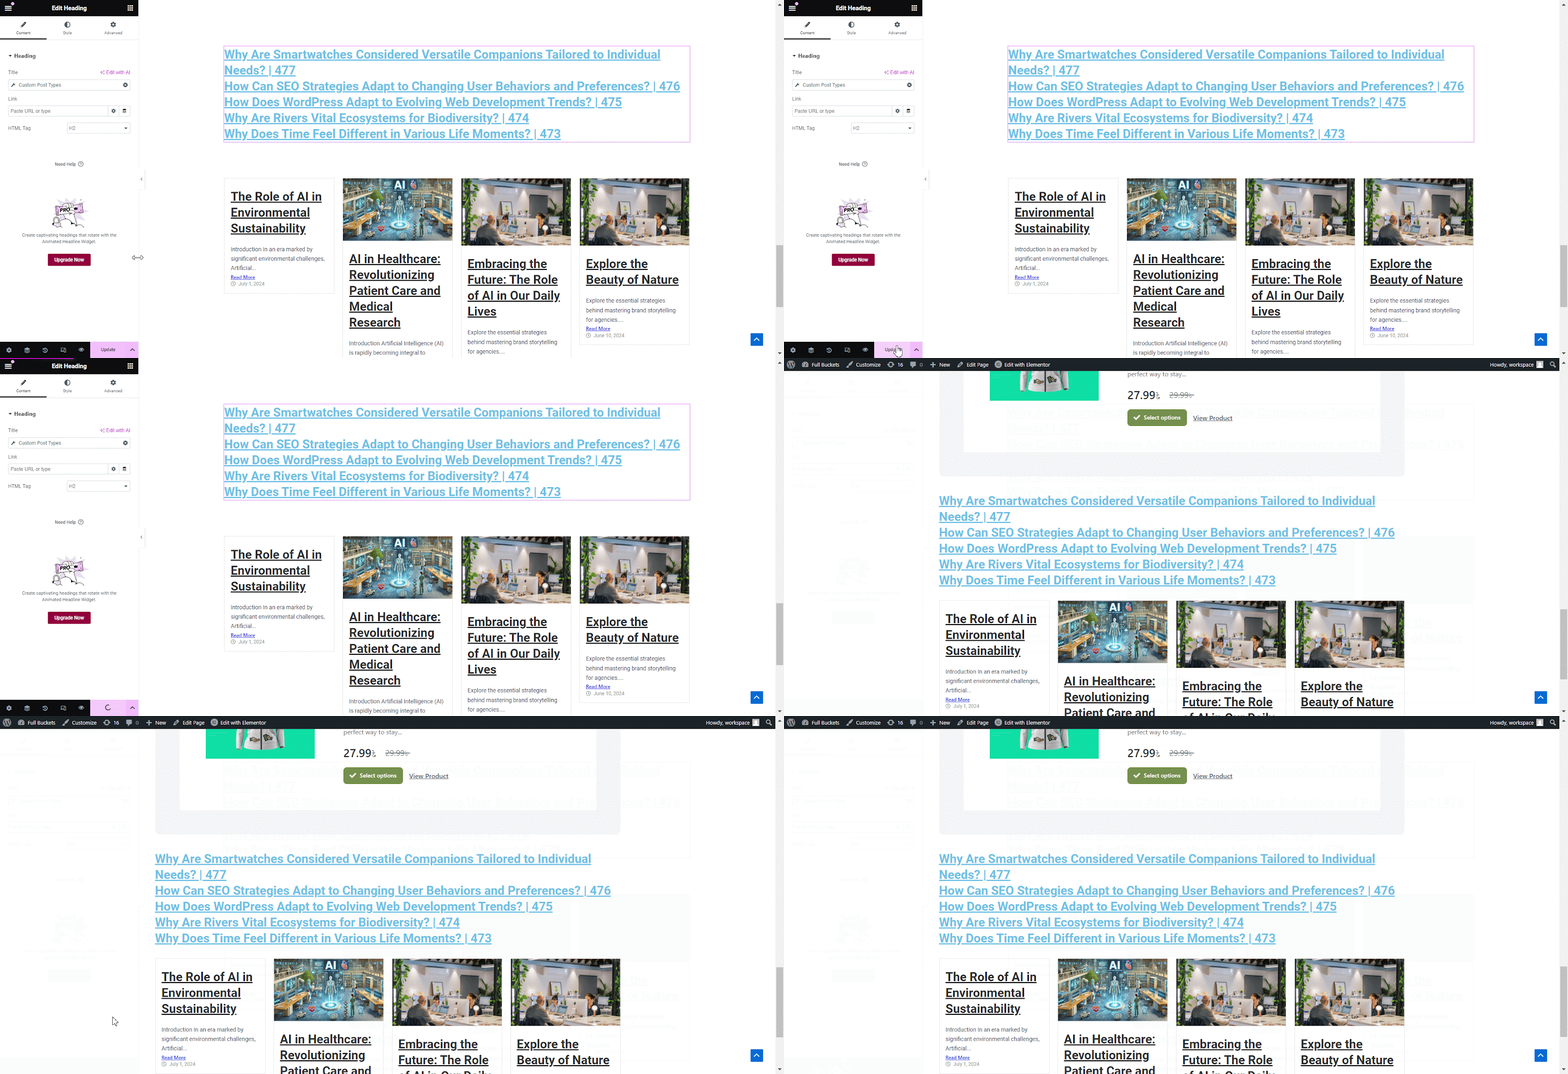
Final Outcome #
Now, click on the ‘Publish’ or ‘Update’ button and open the page to see the lists of Custom Post Types in your preferred section of the page.
With EA Dynamic Tags, you can automatically pull and display content from Posts, Woo Products, Terms, and so on based on your preferred predefined parameters. It helps create dynamic pages, minimize manual updates, and enhance content management efficiency.
If you still face any difficulties, feel free to contact our support team for further assistance.


