Liquid Glass Effects is an advanced extension that lets you add sleek, glossy and fluid glass-like visuals to your websites with ease. It blends smooth transparency, realistic light refraction and subtle liquid distortions to create a modern, high-end look. Perfect for websites, apps and creative visuals, it transforms any interface or graphic into an eye-catching, futuristic design.
How to Activate EA Liquid Glass Effects #
To access the Liquid Glass and display images more attractively, first, you need to activate the ‘Extension’. To activate, go to the ‘Extensions’ and find the ‘Liquid Glass Effect’. Toggle on to activate and hit the ‘Save’ button to use this extension on your website.
Note: Liquid Glass effects rely on advanced browser features (like backdrop filters).
- Chrome, Edge, Opera, and Brave (all Chromium browsers) support them fully.
- Safari and Firefox have only partial support, so effects fall back to a simpler glassmorphism look.

How to Configure the EA Liquid Glass Effects #
When you have activated the EA Liquid Glass Effects extension on your element, you will find multiple options to customize it. You can use this effect in all Elementor widgets. For this documentation, let’s have a look at how it will work on the ‘Infobox’ Element.
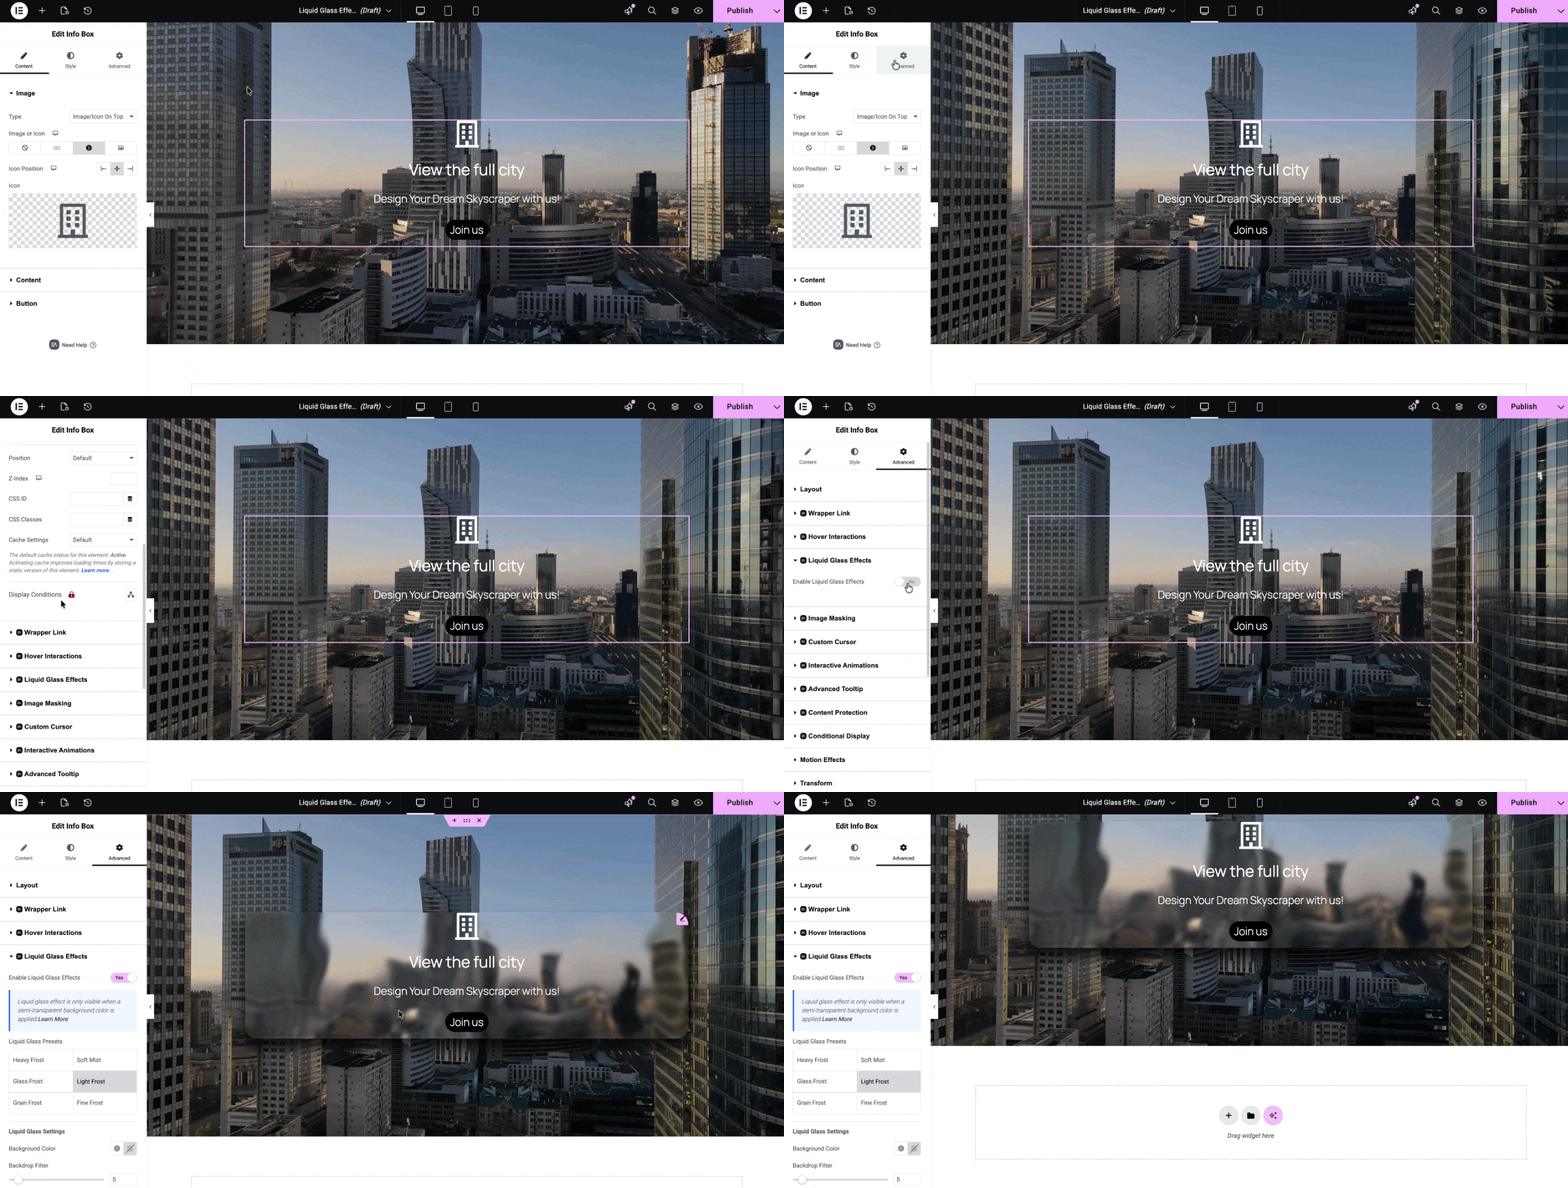
First of all, let’s take the ‘Infobox’ element in Elementor to configure EA Liquid Glass Effects. Then, go to the ‘Advanced’ tab, where you will find the ‘Liquid Glass Effects’ extensions. Toggle the button to enable it.
Note: Liquid Glass Effects is only visible when a semi-transparent background color is applied.
Set Liquid Glass Presets #
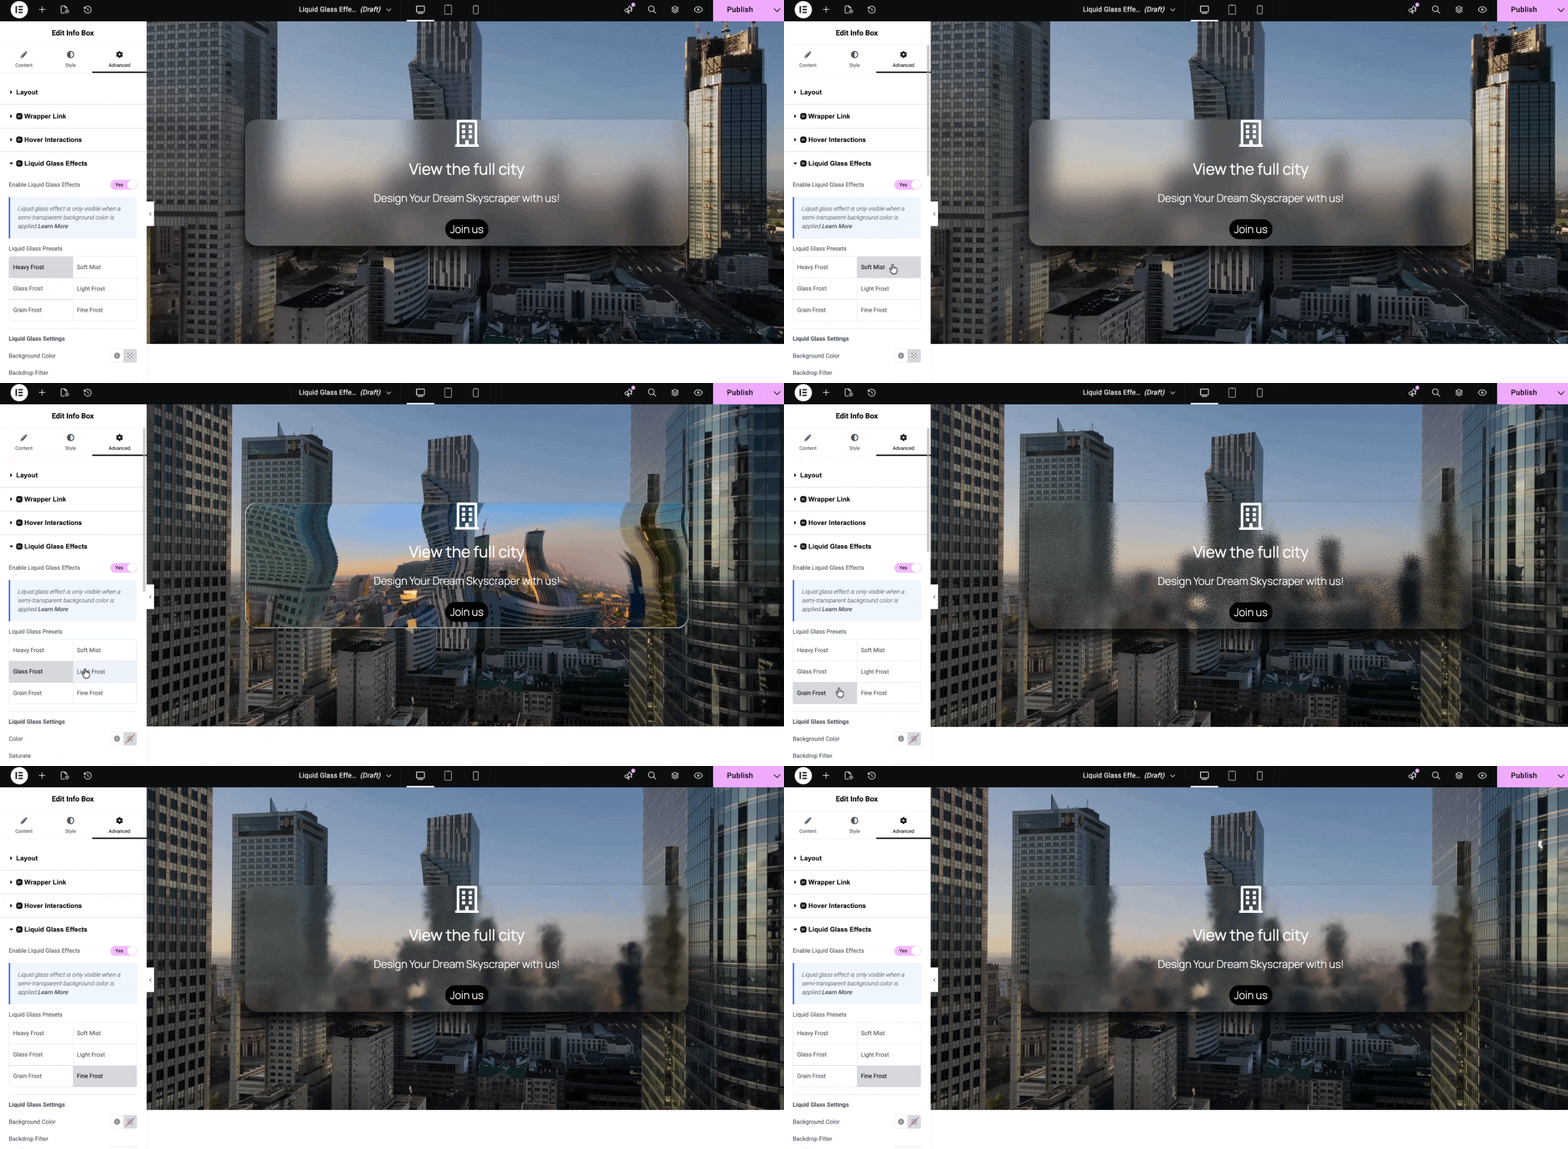
Next, choose the presets that you want to show on your website. There are five presets available in Liquid Glass. Those are –
- Heavy Frost
- Soft Mist
- Glass Frost
- Light Frost
- Grain Frost
- Fine Frost
Configure Liquid Glass Settings #
For each of these presets, you will find different settings to change the background color, backdrop filter and add different shadow effects. For ‘Light Frost’, ‘Grain Frost’ and ‘Fine Frost’, you will also be able to set the ‘Noise Distortion’ for the preset.
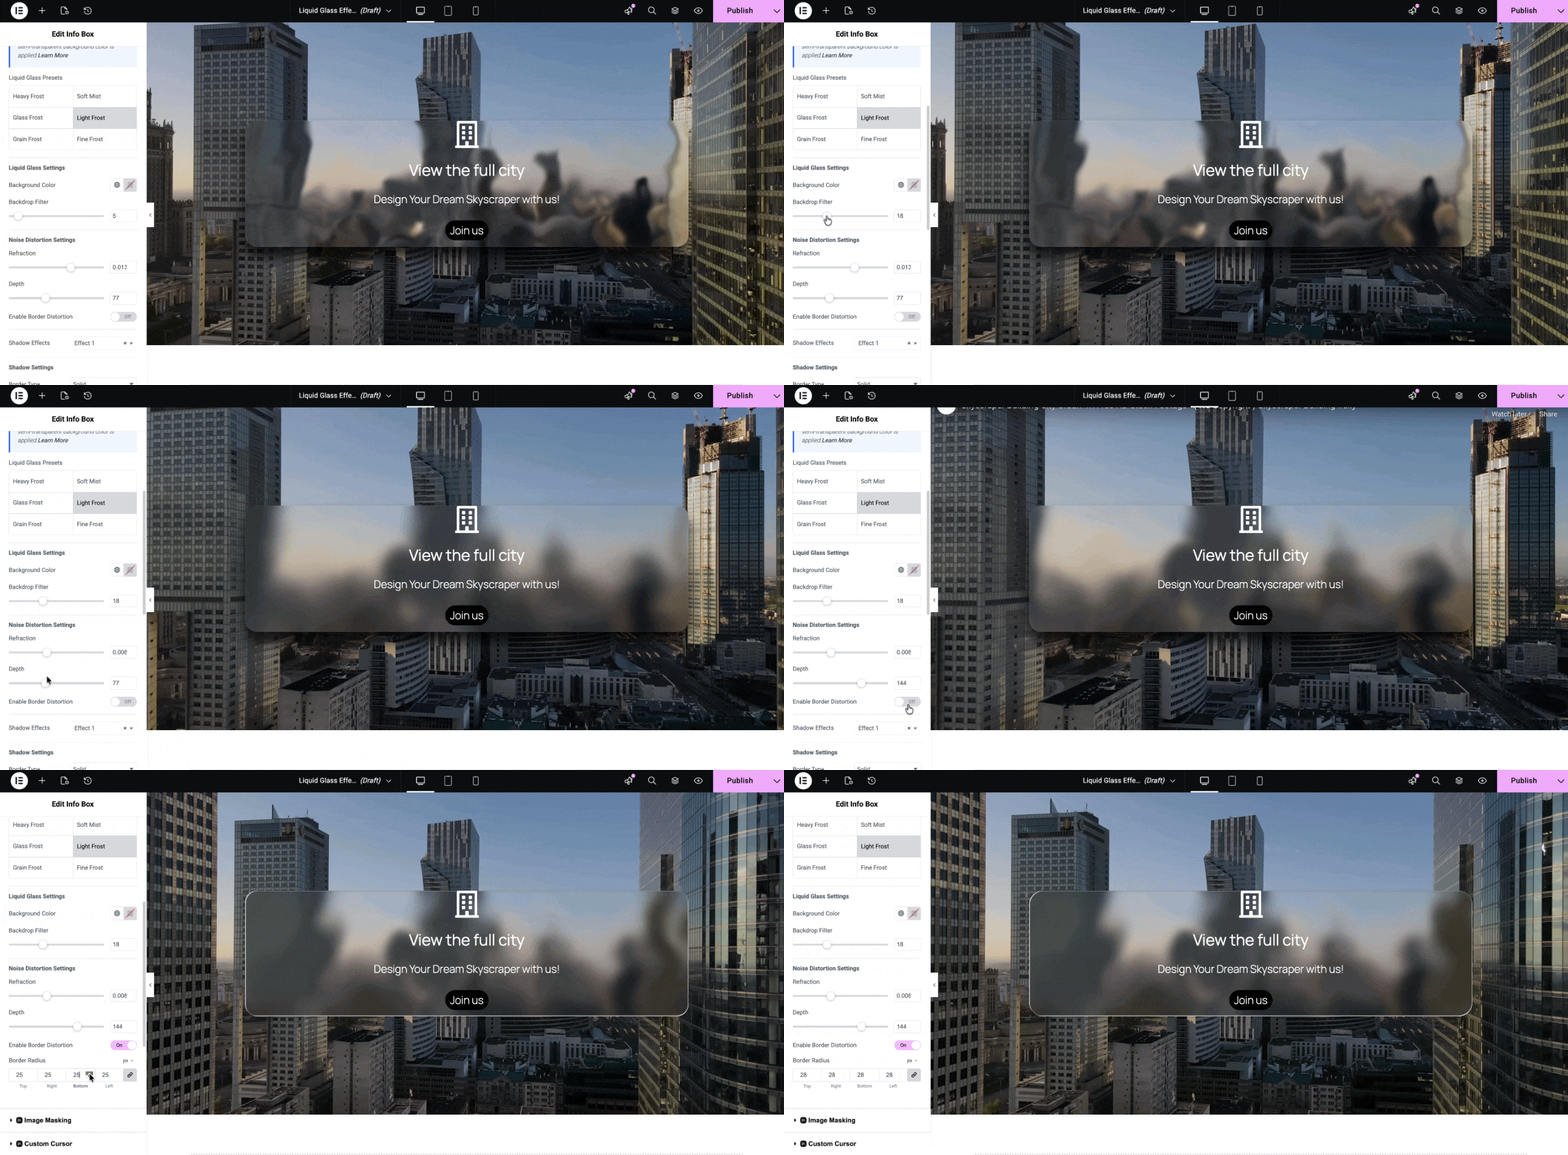
For the ‘Glass Frost’ effect, you can adjust ‘Saturation’ on the glass effect to make it look more aesthetic.
There is also another option called ‘Border Distortion’, where you can tweak the border of the effect. Apart from Glass Frost, you will find this option in all other presets.
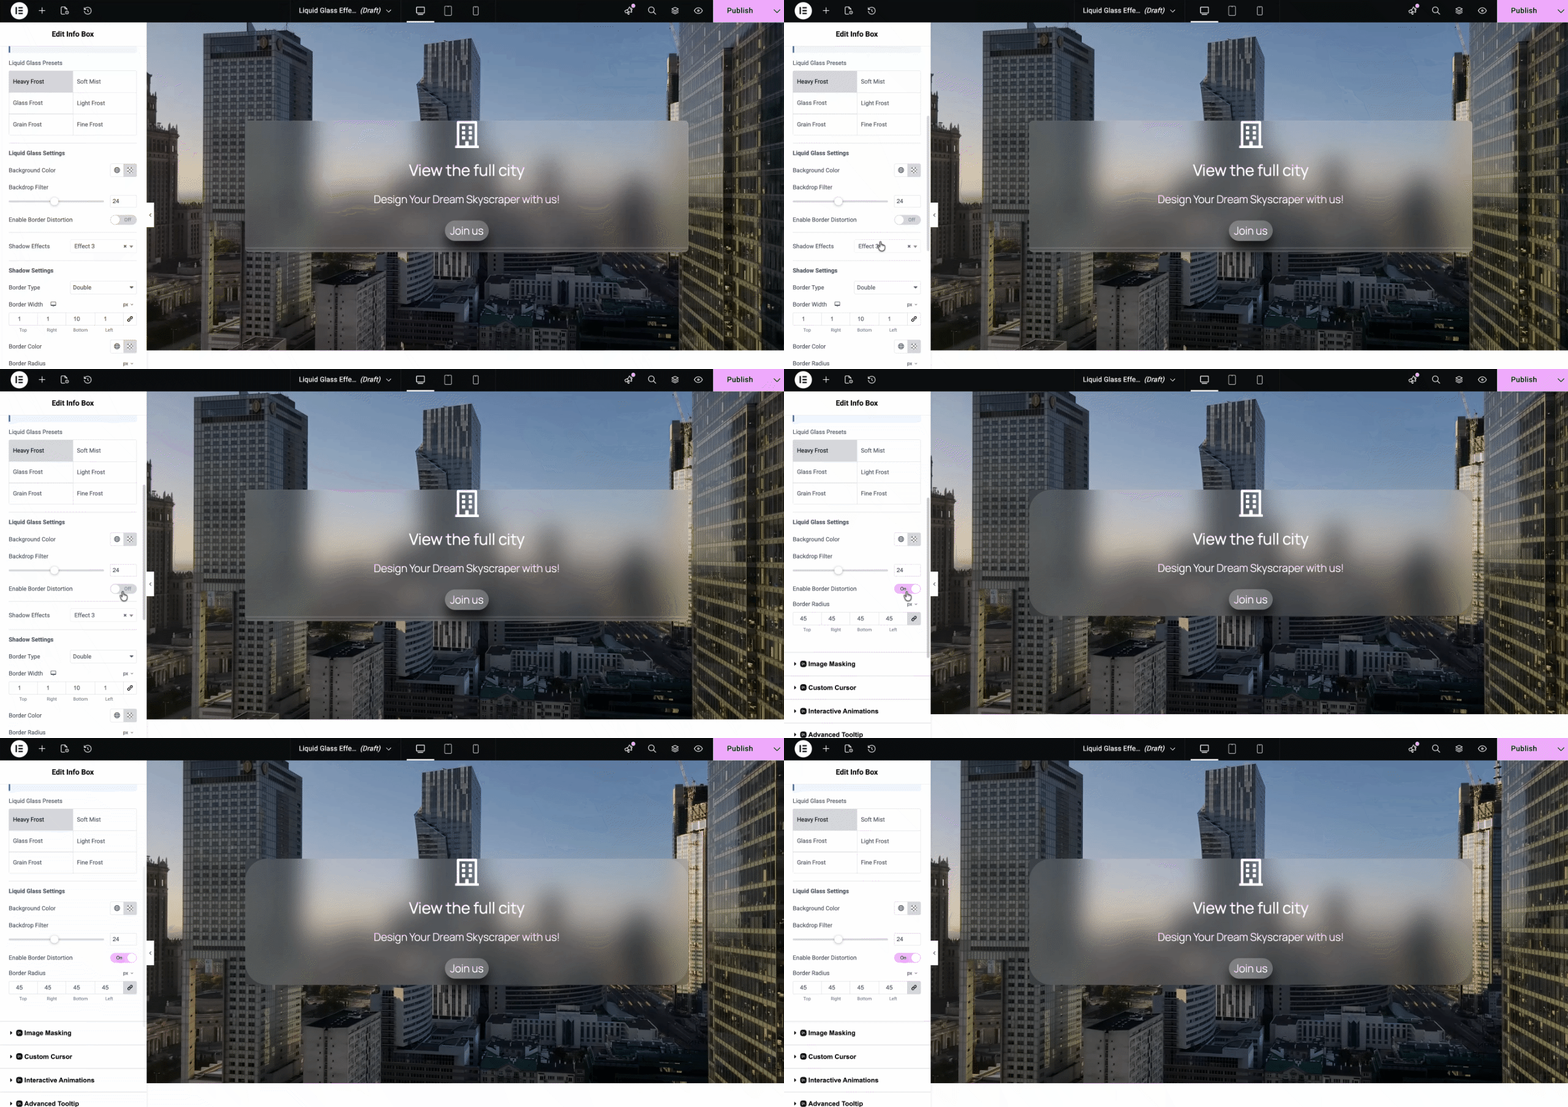
You can also add different Shadow Effects. There are 4 different shadow effects available. Among them, the first two are in the free version and the next two are PRO version.
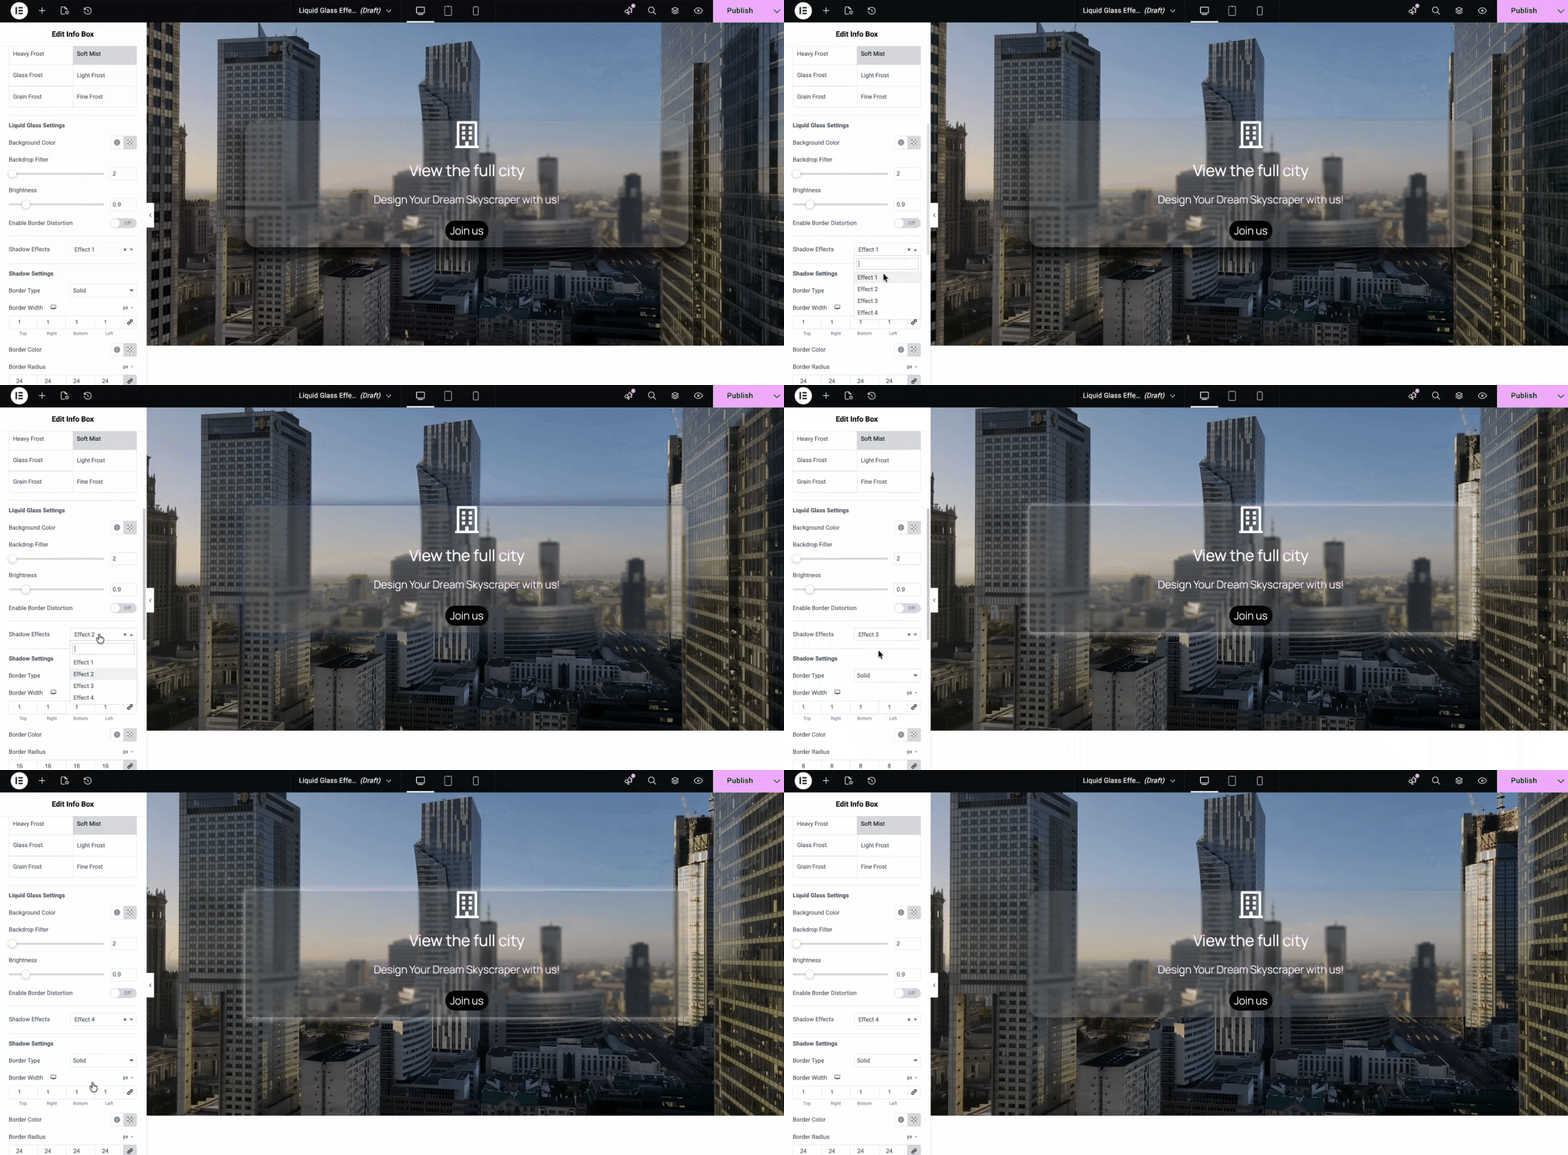
From the Shadow Settings, you will also be able to set different Border Types and choose the margin, padding and color of the border to show the effect more attractively.
Give Liquid Glass Effects to the Button #
If you want to add liquid glass effects to a button, then you can do it too. From the ‘Content’ tab, first enable the toggle to show the button. Then click on ‘Liquid Glass Effects’ to enable the extension.
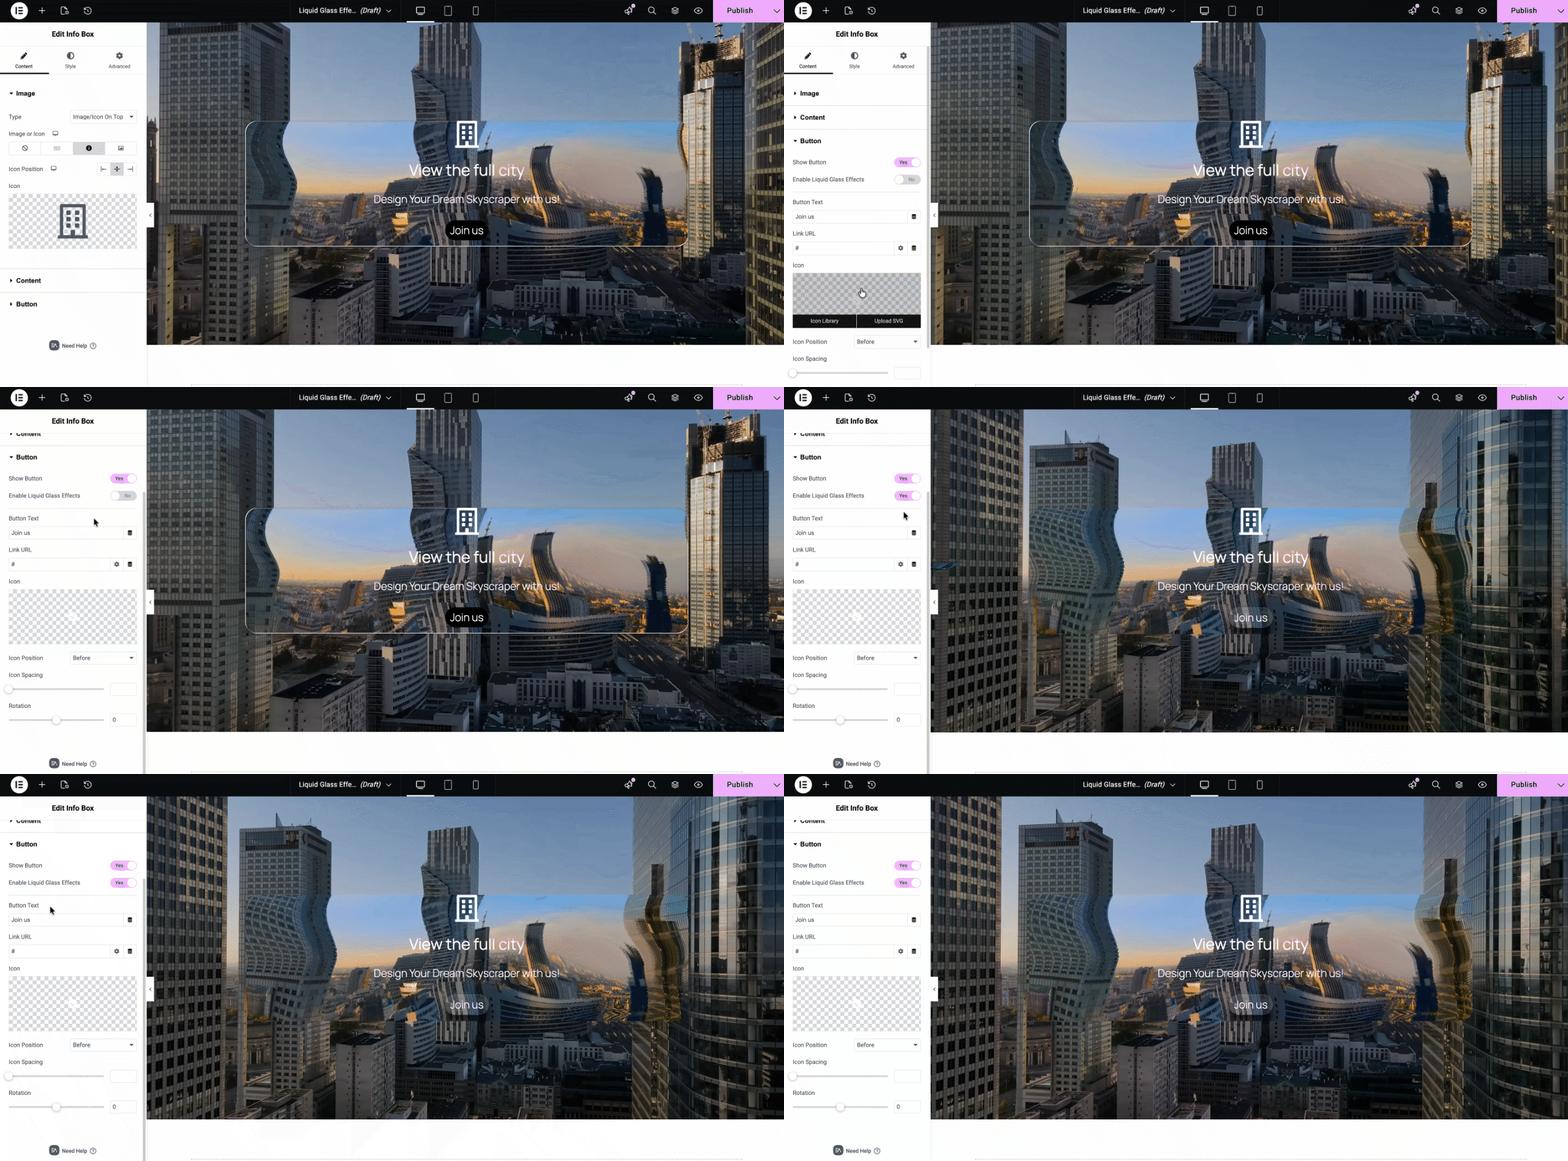
Then, from the ‘Style’ tab, you can add a different preset for the button. You can add different effects and border types to customize the button.
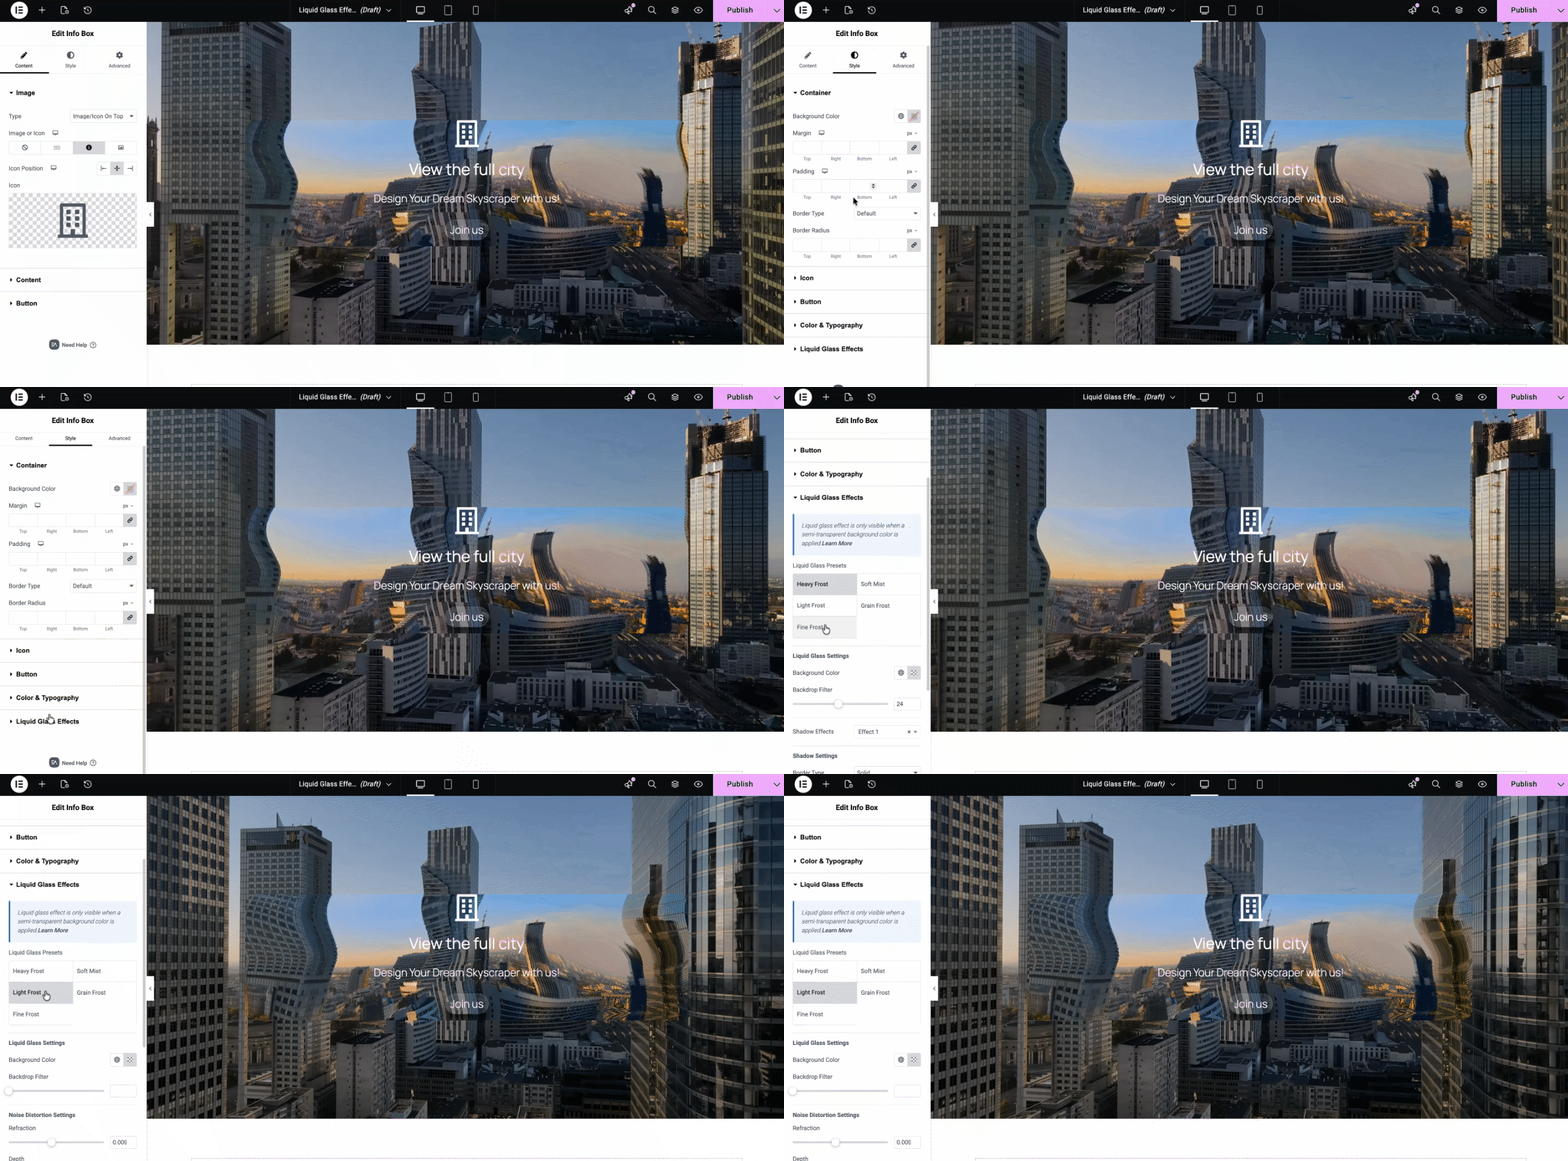
Final Outcome #
This is how you can show your website content beautifully with Liquid Glass Effects. This effect lets you create stunning visuals where elements take on a smooth, glossy, translucent glass look with fluid, liquid-like distortions.
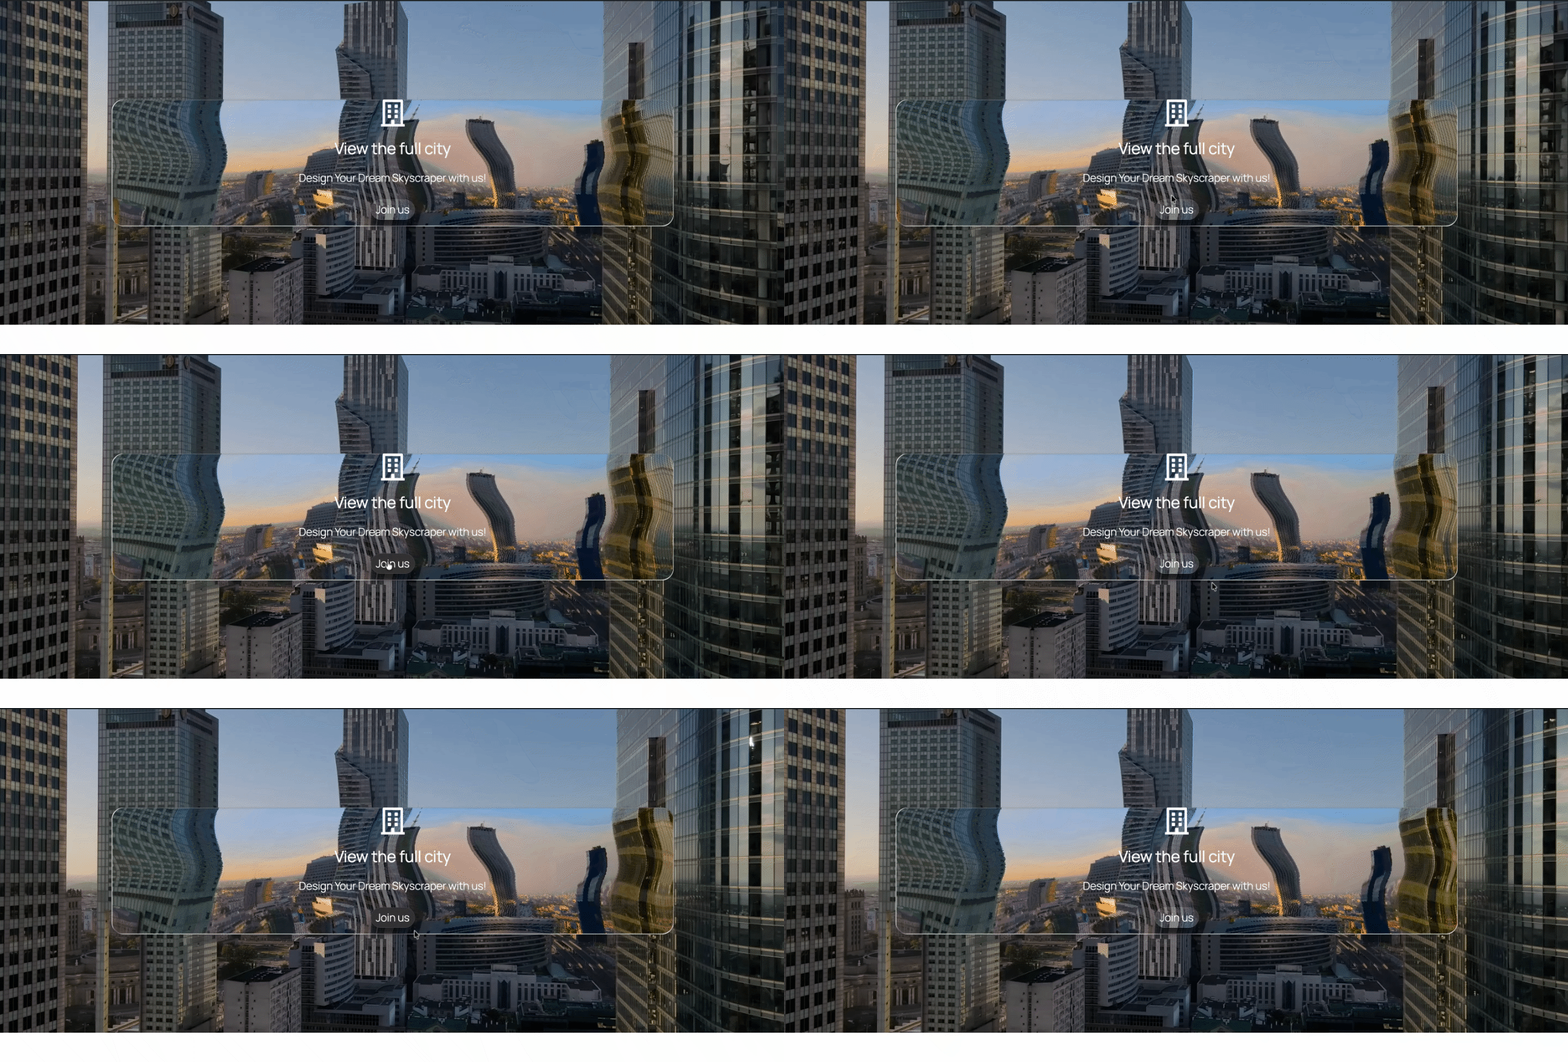
By following these basic steps and modifying them a bit more, you can easily control where you want the EA Liquid Glass Effects to appear and style them as per your preference.
Getting stuck? Feel free to Contact Our Support for further assistance.


