How to Configure and Style Image Comparison
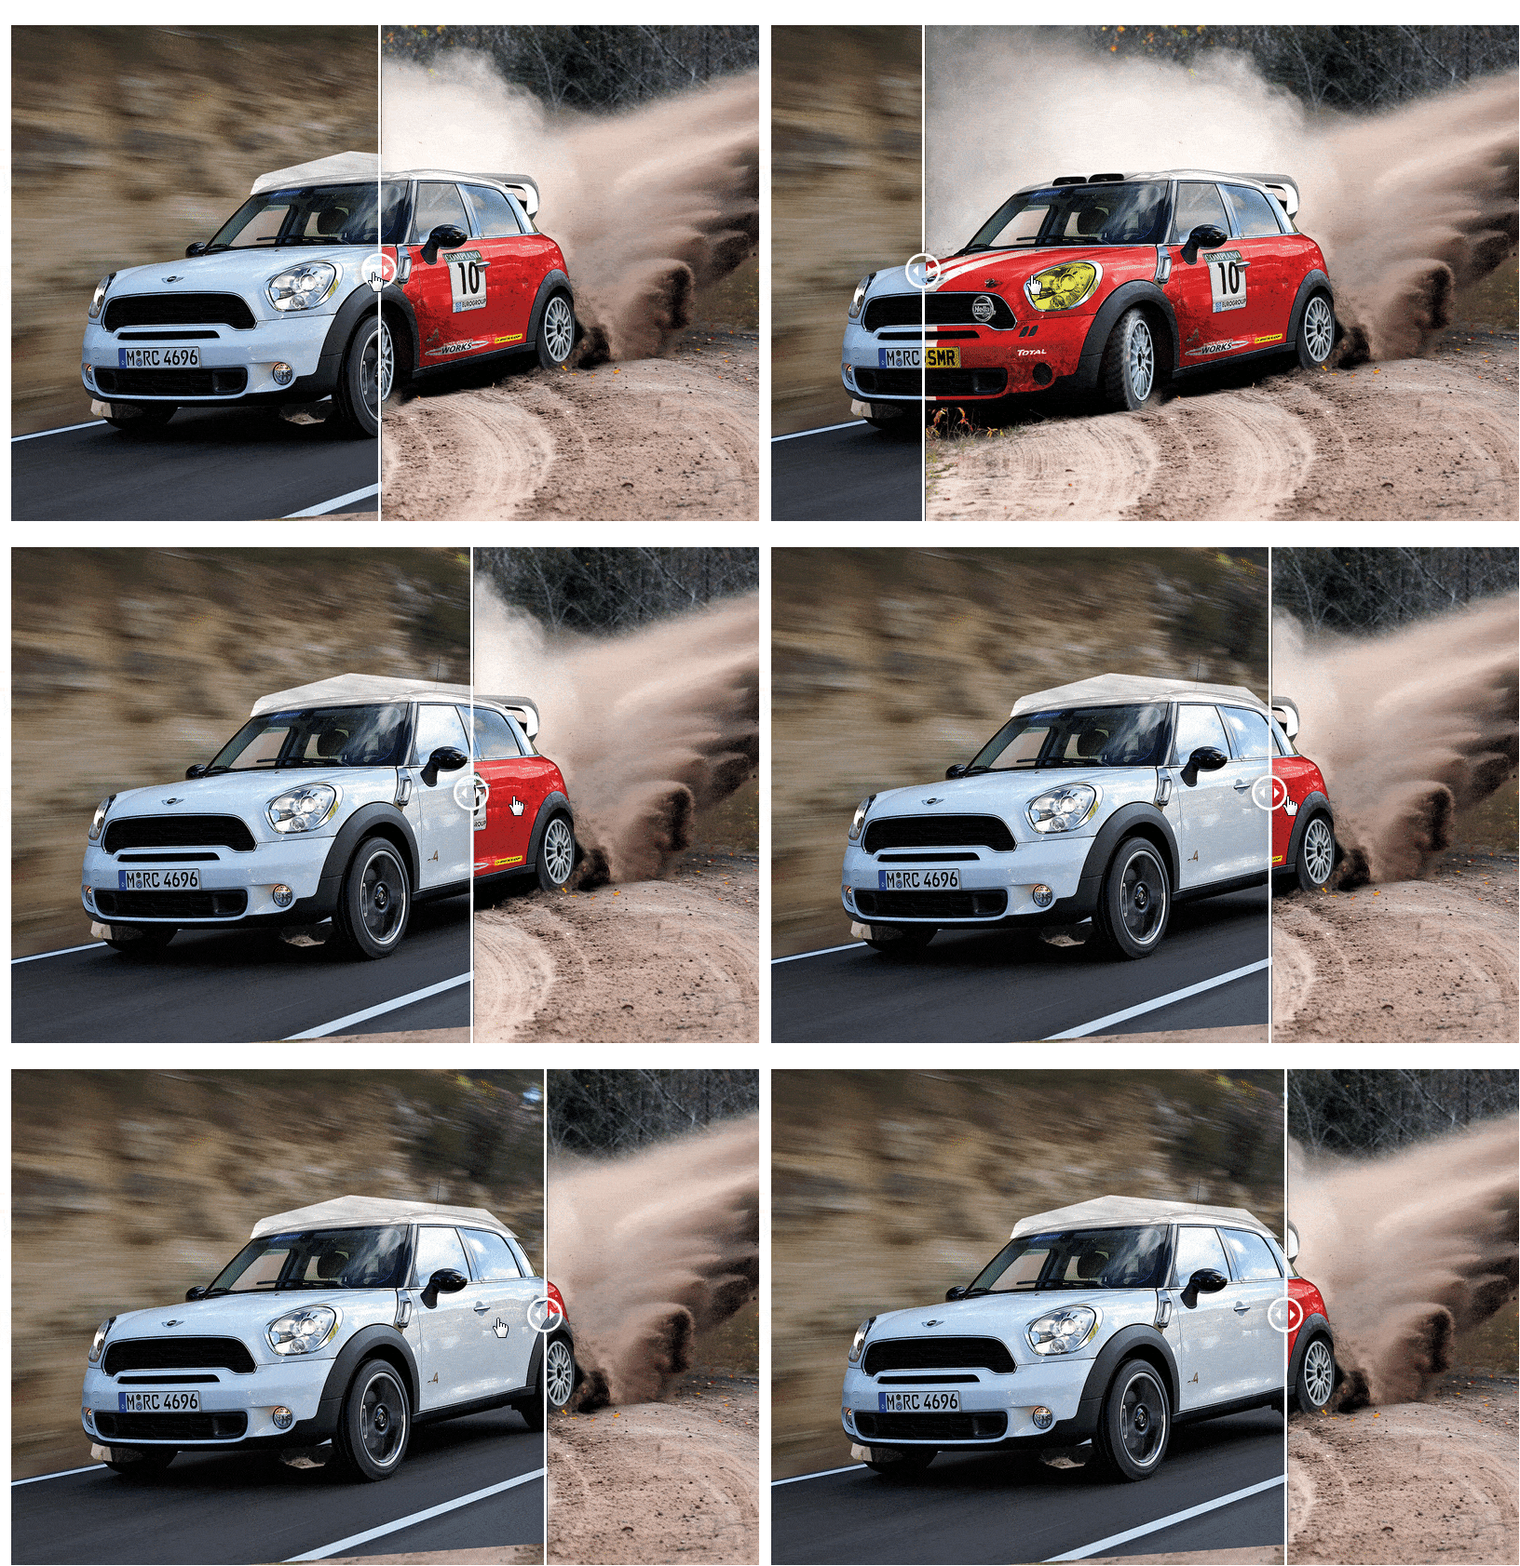
EA Image Comparison lets your viewers easily compare between two images. This is a great way to put a new product and an old product side by side and let visitors see the difference.
How to Activate Image Comparison #
To use this Essential Addons element, find the ‘EA Image Comparison‘ element from the Search option under the ‘ELEMENTS‘ tab. Simply just Drag & Drop the ‘EA Image Comparison’ into the ‘Drag widget here‘ or the ‘+’ section.

After you are successfully done with step 1, this is how the element is going to look like.

How to Configure the Content Settings #
Under the ‘Content’ tab, you will find the ‘Images’ section.
Images #
From the ‘Images’ section, you can upload your prefered Before & After Images, modify the label and add an alter tag for the images.

Settings #
From the ‘Settings’ section, you can increase or decrease the ‘Original Image Visibility’.
Besides, you can use the drop-down menu to change the ‘Orientation’ from out of these two: Horizontal & Vertical. By default, it is set to ‘Horizontal’.
You can turn on or off the toggle to change ‘Overlay’, ‘Move Slider on Hover’ and ‘Move Slider on Click’ settings.

Click to see Live Demo #
How to Style Image Comparison #
Switch to the ‘Style’ tab to style all the features of Image Comparison.
Image Container Styles #
From the ‘Image Container Styles’ section, you can use the toggle to enable or disable the ‘Max Width for the Container’. You also have the option to add Border & style it.

Others #
You can also add styling to ‘Handle’, ‘Divider’ & ‘Label’ by changing the color, typography & many more as per your preference.

Final Outcome #
By following the basic steps and a bit more modifying, you can style your Image Comparison as per your preference.

This is how you can easily create a comparison layout for images to showcase on your website using EA Image Comparison.
Getting stuck? Feel to Contact Our Support for further assistance.


