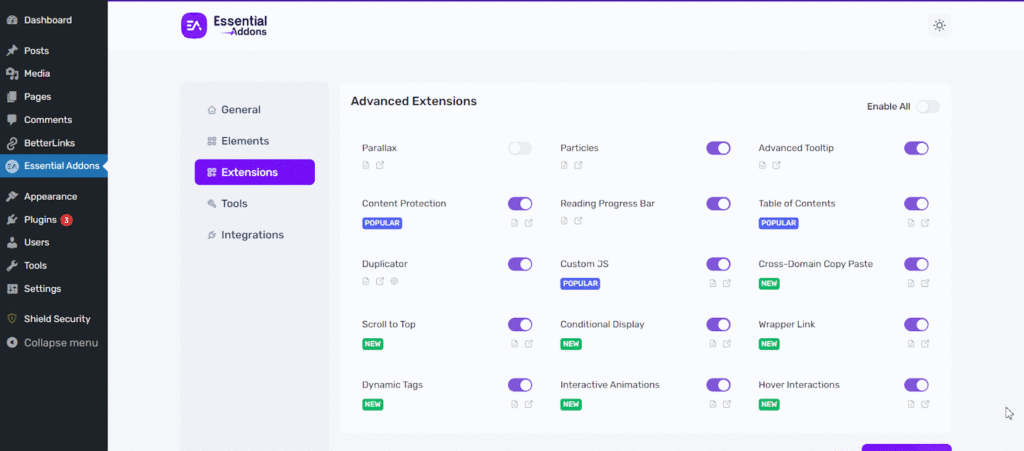
How to Configure EA Parallax #
Parallax Effect is a scrolling technique that causes the background image of your website to move at a slower speed than the foreground content. EA Parallax helps you easily create amazing Parallax Scrolling effects on your website.
With this Essential Addons Extension, you can easily grab the attention of your visitors by making your site very unique & interactive.
How to Activate Parallax #
To use this Essential Addons Parallax effects, go to your WordPress dashboard & navigate to WP-ADMIN -> Essential Addons. Under the ‘Extensions‘ tab, you will find the EA Parallax. By default, it is set to be activated.

How to Edit a Section #
EA Parallax lets you modify Elementor Page Section. You have two options for adding Parallax Effects. First of all, you can insert a background of your own and then add the effect into that area. On the other hand, you can simply just edit your page template & apply the amazing Parallax effect.
Edit Section #
To edit a section, go to your page and click on ‘Edit with Elementor‘ option. Then click on the ‘: : :’ icon of the section you want to modify, then a menu will appear. Simply click on ‘Edit Section‘.

How to Configure the Parallax Settings #
From the ‘Layout‘ tab of your section, you will find the ‘EA Parallax‘. To enable it, simply turn on the toggle. Then you would view the configuration settings for the Parallax Extension.
You can use the drop-down menu to choose your preferred Parallax Effect out of the given 7 effects. Besides, you can modify the ‘Parallax Speed’ as well. By default, it is set to 1.3. You can also use the toggle to enable Parallax Effects for Android and iOS devices. They are set to disable by default.
To see all the changes in the Live Editor, make sure to click on ‘Apply Changes’ after you modify any configuration settings.

Scroll & Zoom Parallax #
EA Parallax provides 5 effects with Scroll & Zoom feature along with the Fade option. You can simply choose any of them from the ‘Type’ drop-down menu. Then you can set the ‘Parallax Speed’ as per your preference. Following is an example of ‘Scroll’ effect.

In-Motion Parallax
In-Motion Parallax is basically a moving Parallax effect. You can use the drop-down menu to change the ‘Moving Direction’. By default, it is set to ‘Left to Right’.

Multi-Layered Parallax
Multi-Layered Parallax Effect lets you add items as contents which will be used as a layer. By simply hovering your mouse on that certain content, you will be able to interact with it.
You can insert an image from the ‘Item’ section. Use the toggle to enable ‘Mouse Hover Interaction’. If you disable it, you won’t be able to interact with the content regardless of the movement of your mouse.
You can change the position of your Image content by modifying the ‘Horizontal’ and ‘Vertical’ position. To avoid contents from overlapping, you can change the value of ‘z-index’. Besides, you can use the dropdown menu to change the ‘Image Size’ as per your preference.
You can click on the ‘+ Add Item’ to add more content for your Parallax Effect as well.

Final Outcome #
By following the basic steps and a bit more modifying, you can easily add amazing Parallax effects to your website.

This is how you can easily display attractive & interactive atoms on your WordPress website using EA Parallax. If you need any help, feel free to contact our support.


